
DIY withes broom
This post may contain affiliate links.
I love some fun halloween decor and I especially love when I can make it cheap! This broom cost me only $5 to make and it was so easy that I think I'm going to make a few more in different colors and make a "broom parking" area for the front porch this year :)
Alright, this is what you'll need:
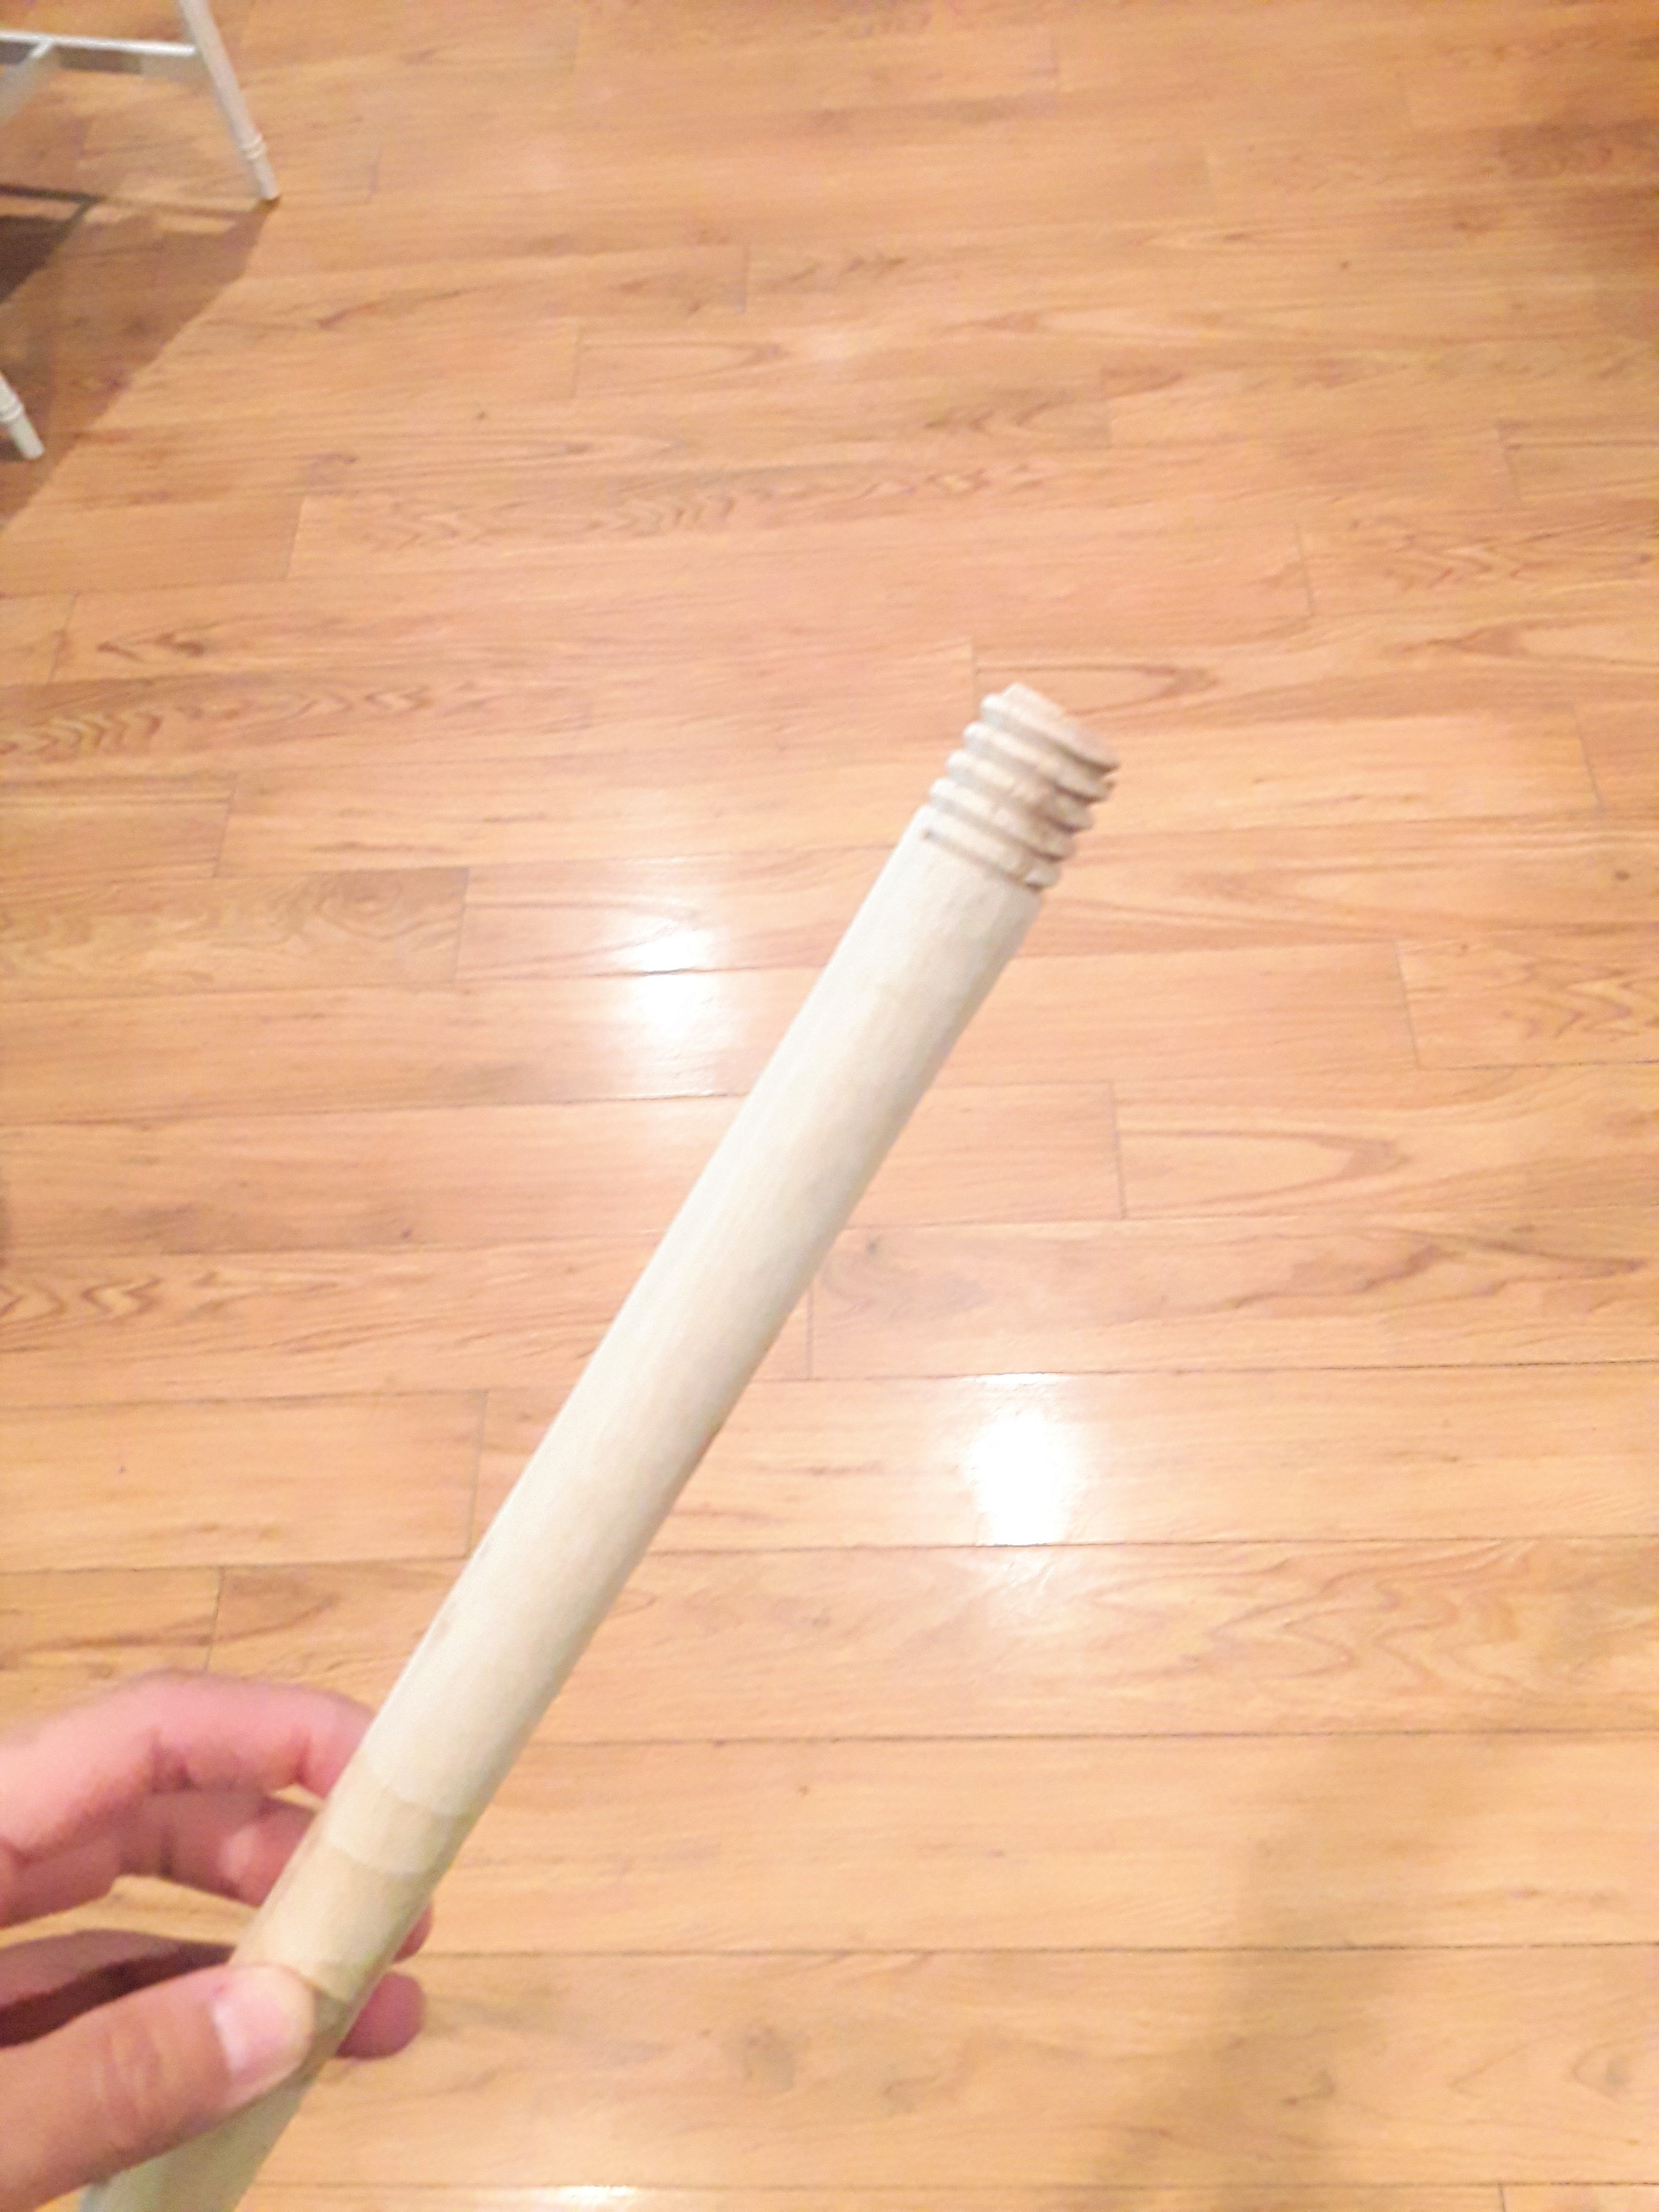
wood handled plunger
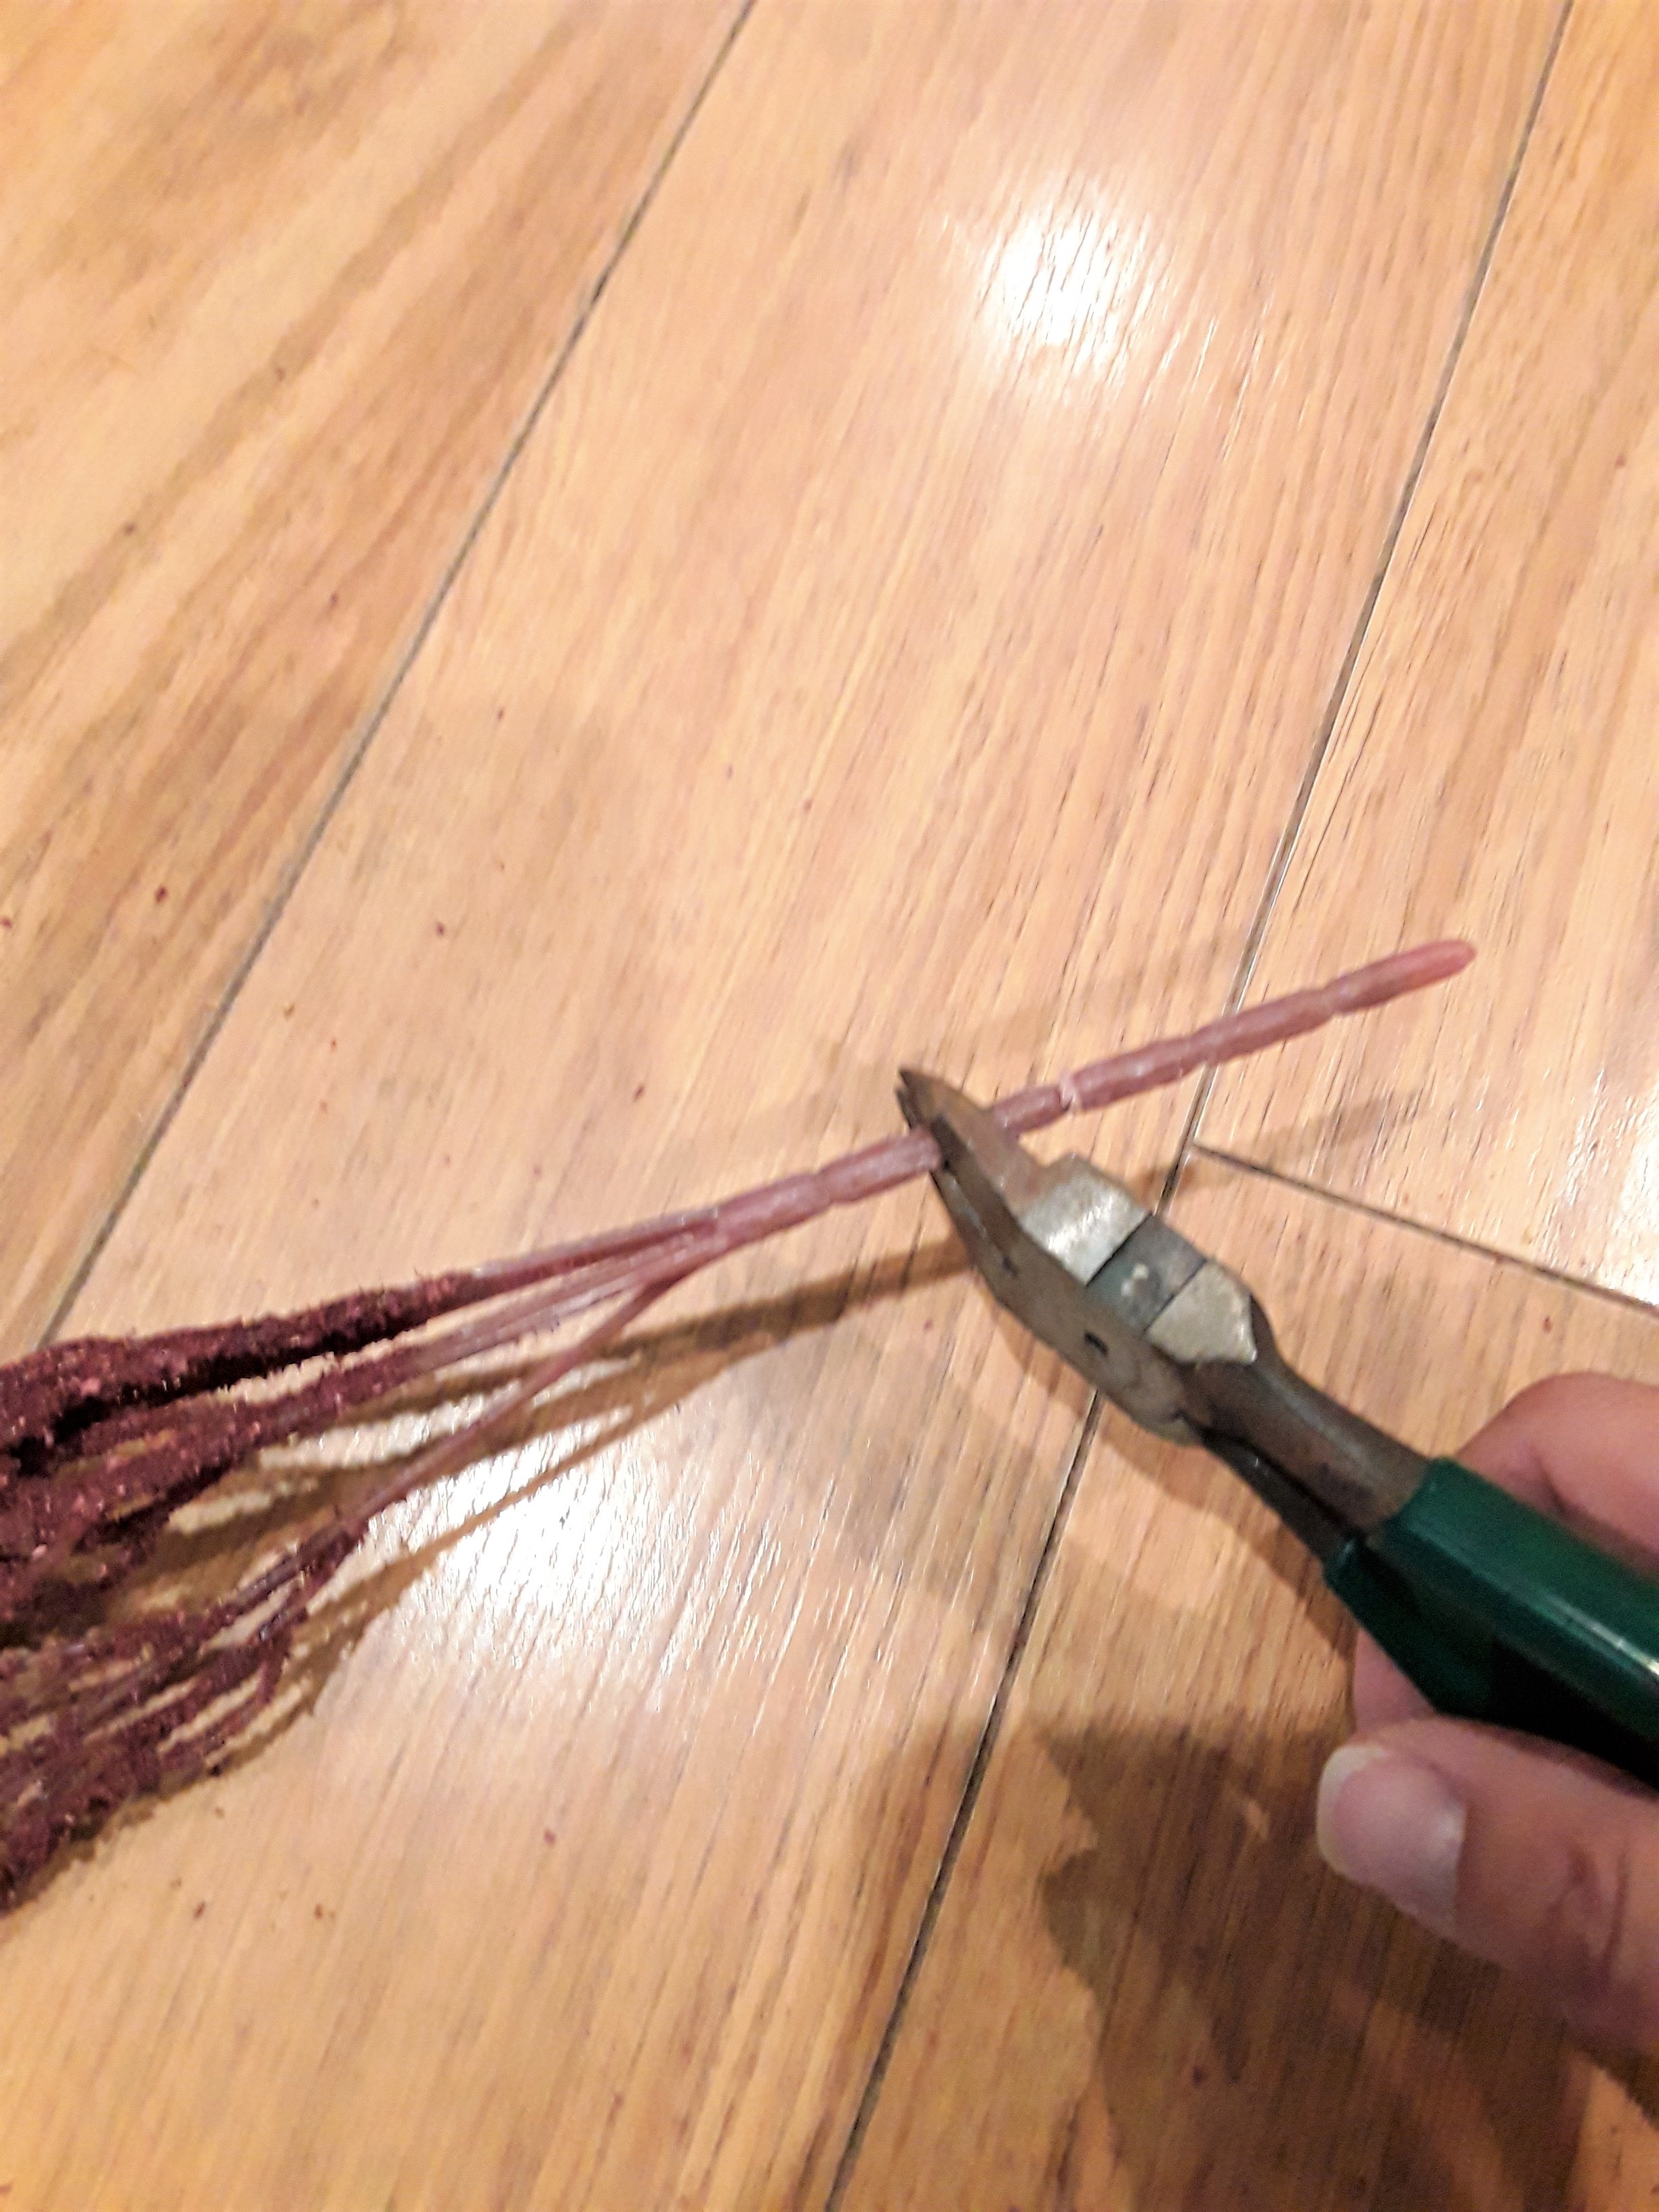
artificial flower branches
twine
hot glue gun and glue
Start by taking apart your plunger. Pull the top piece off so you are left with just the wood handle.

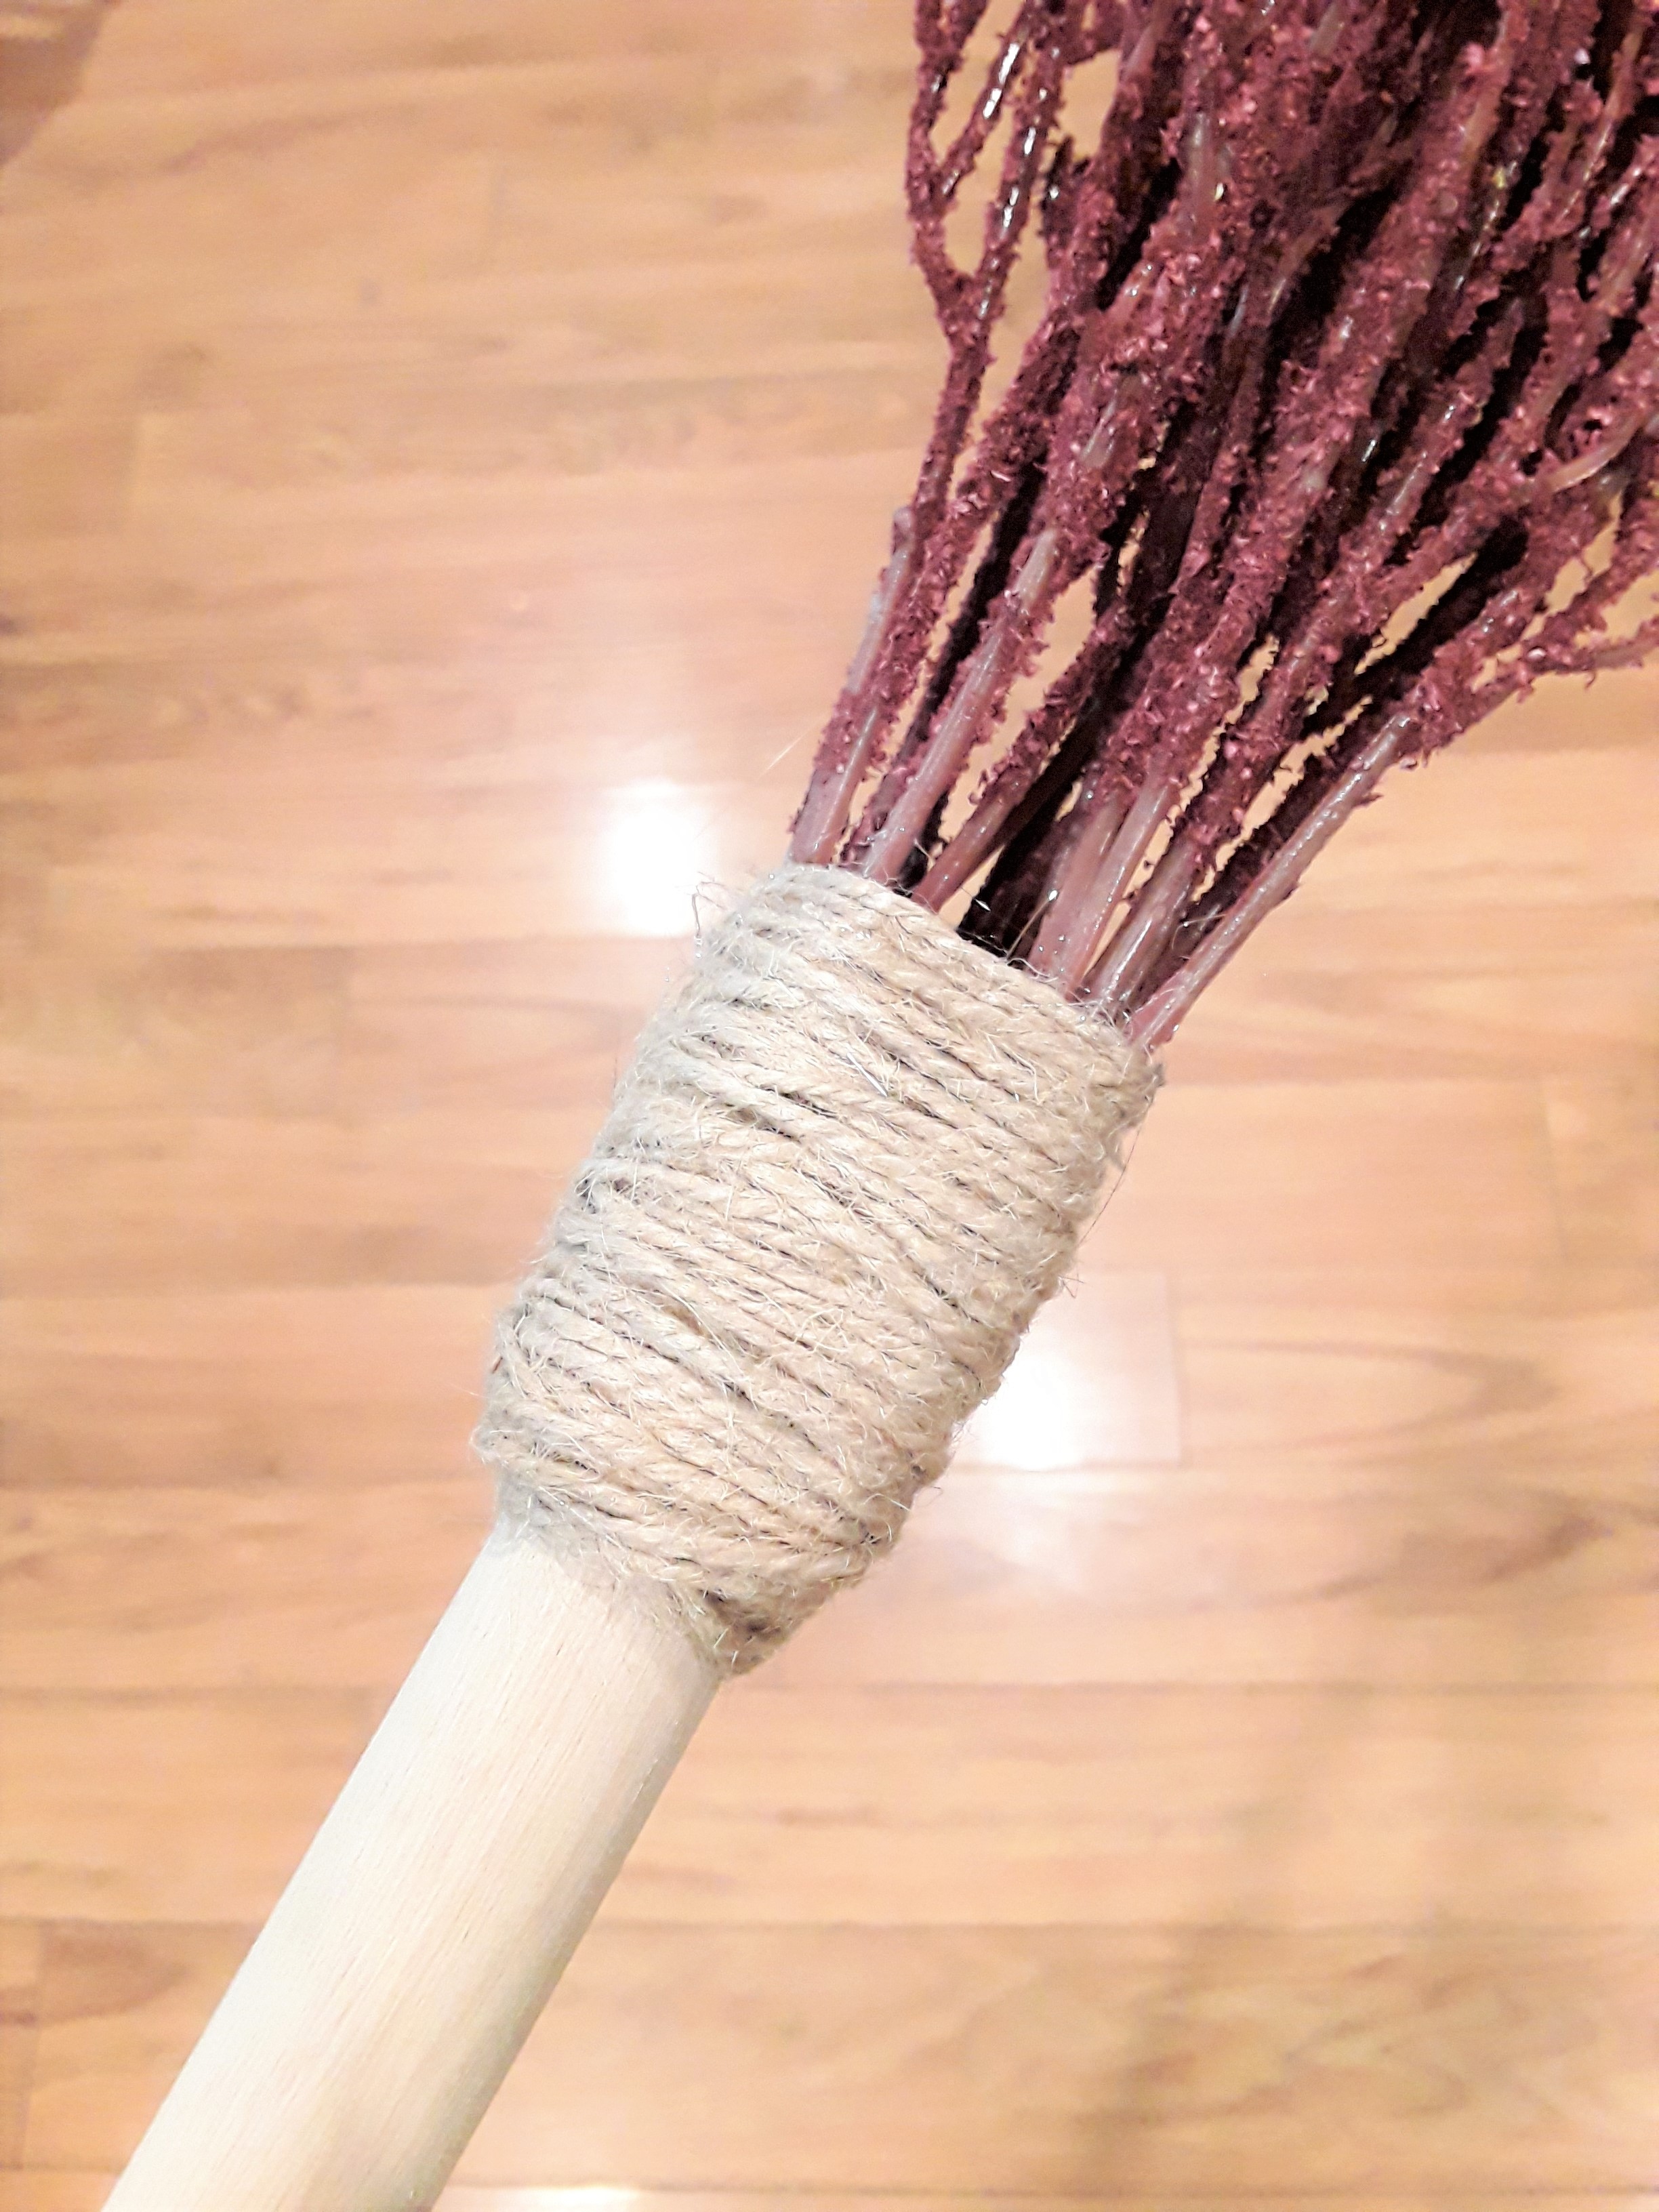
Next I used my wire cutter to trim down the ends of the stems so they weren't so long. Once you have them trimmed down, start to hot glue them around the bottom end of the plunger handle. I used about 5 branches, but you can use more or less depending on how "full" you want your broom to look.
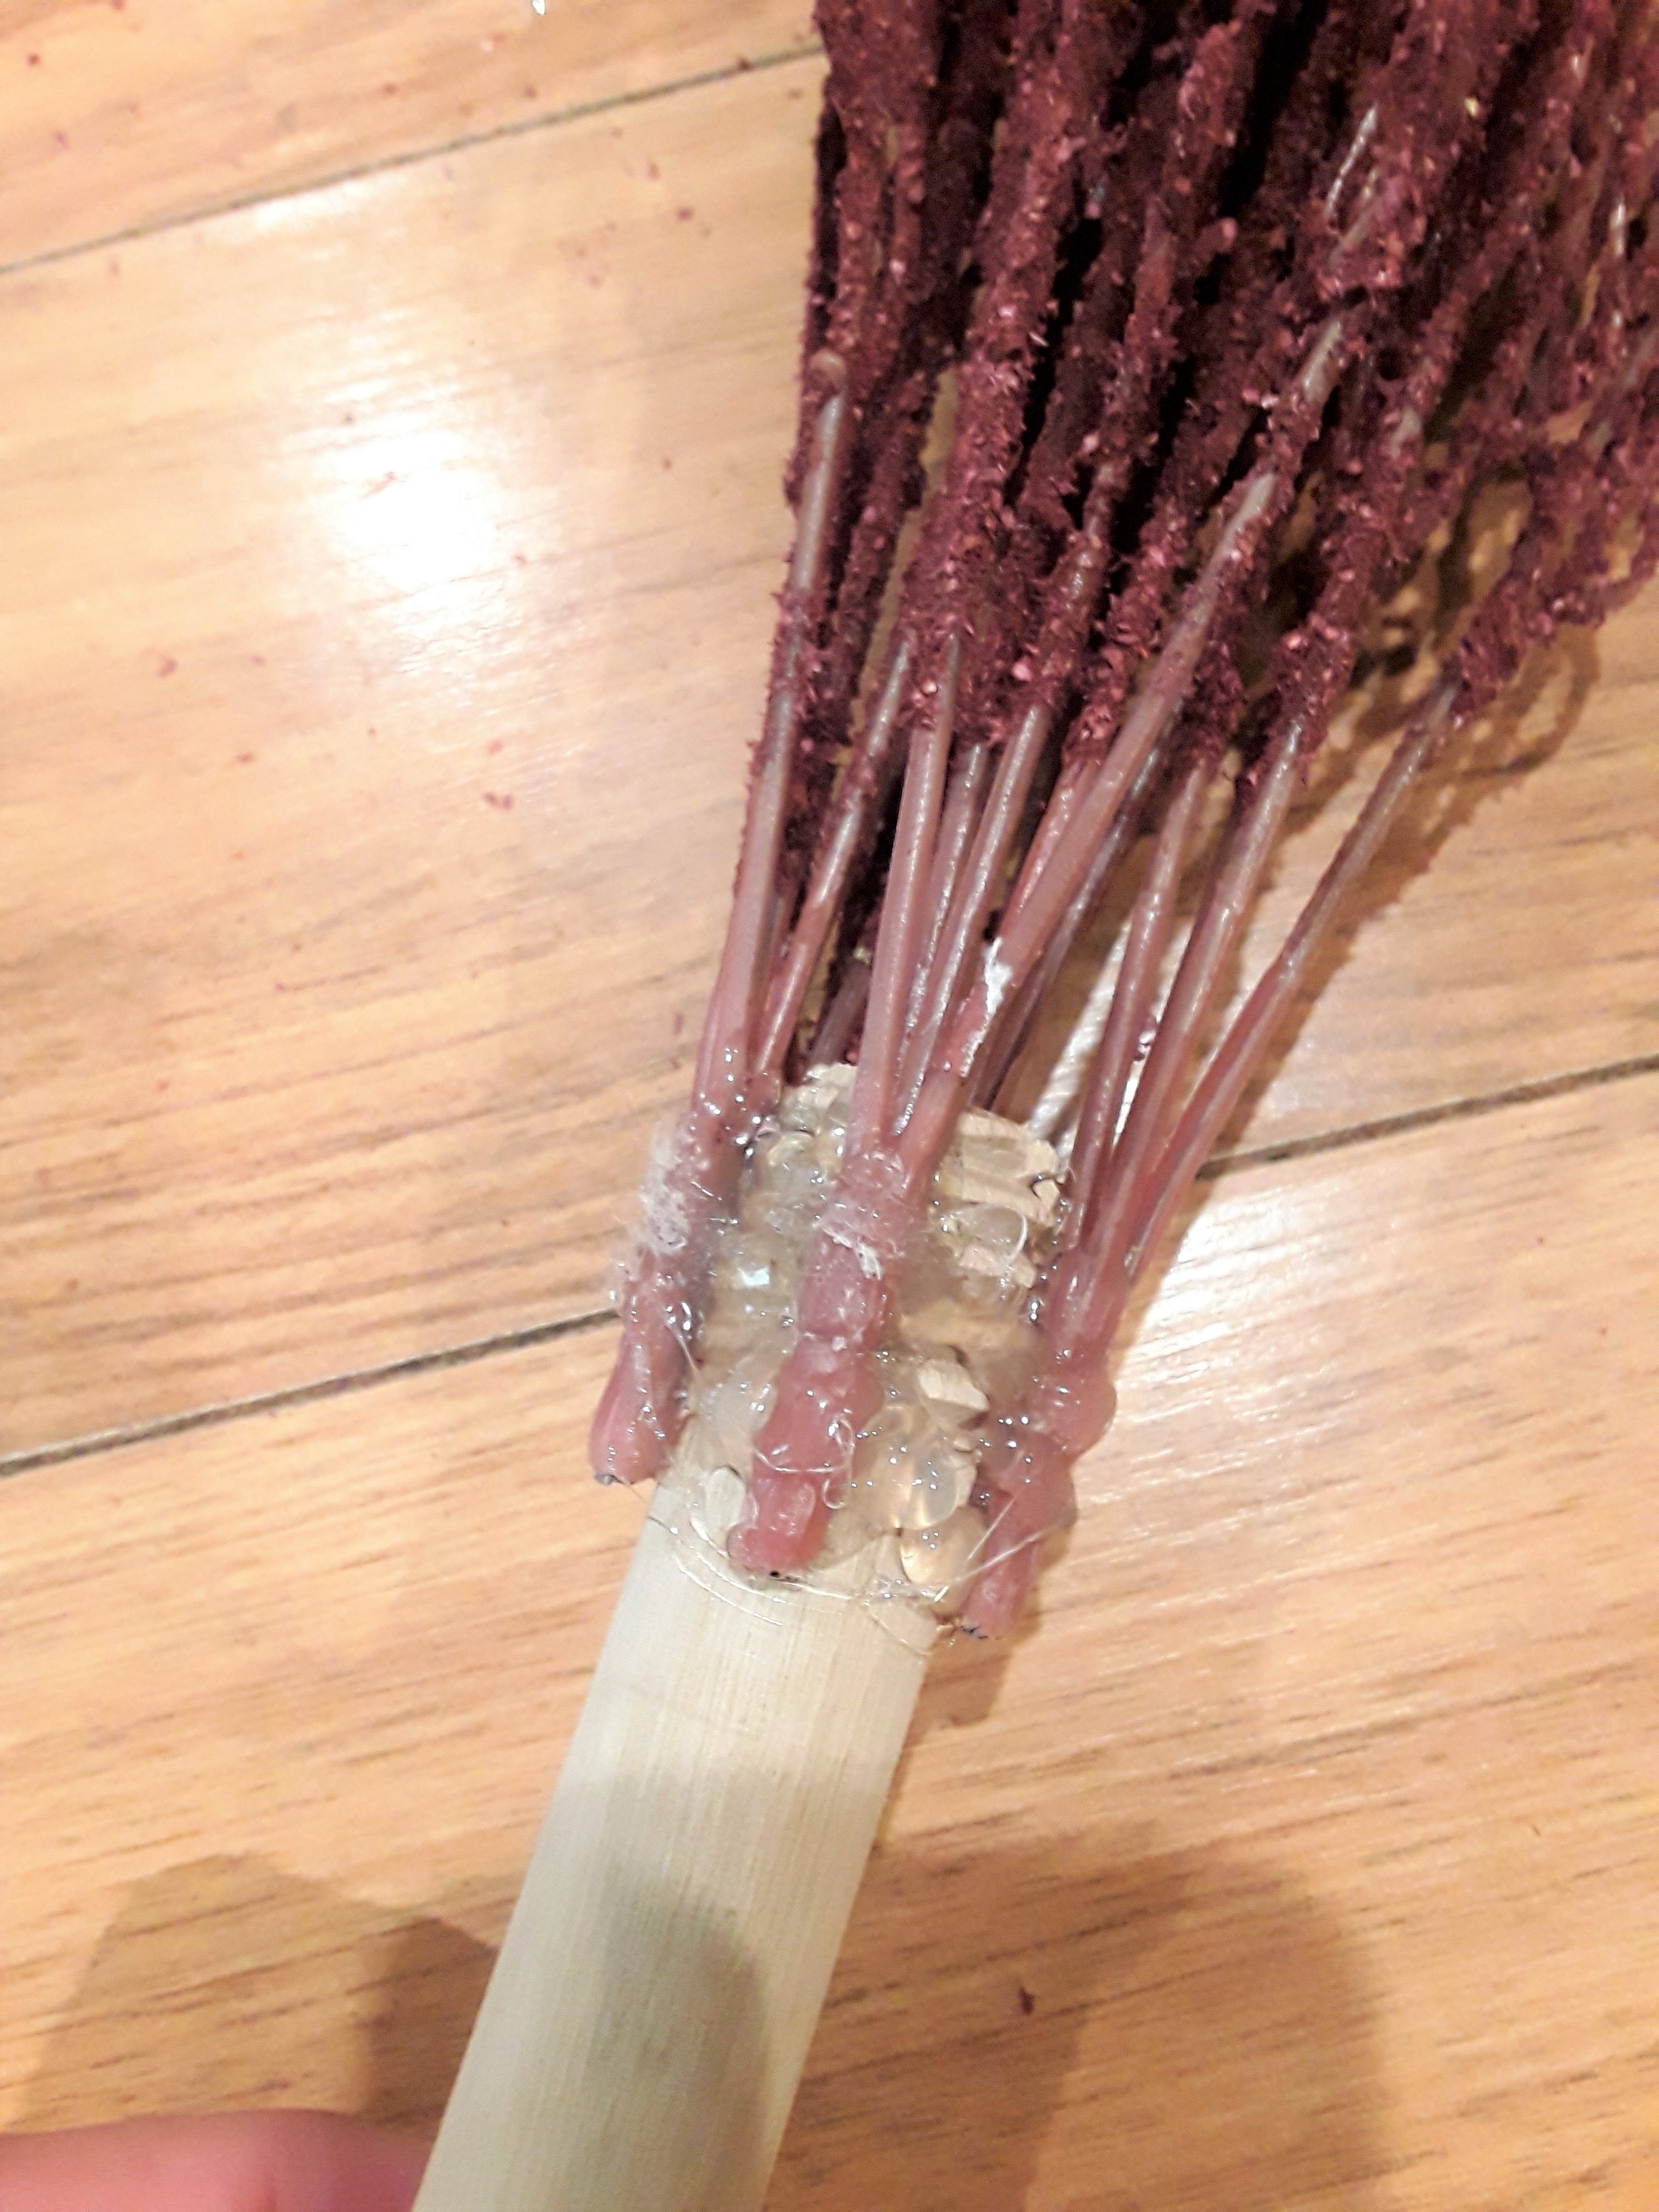
When your hot glue has dried, then take your twine and start wrapping it around where the stems are attached to the handle to cover up all that messiness. I used a drop of hot glue to hold my twine in place and just kept wrapping until I was happy with how it looked.
Then display it however you would like! You can rest it in a corner, or make a "broom parking" sign and hang it like I have too. To add the twine to hang I just predrilled a hole through the end of the handle and ran more twine through it and tied it in a knot.
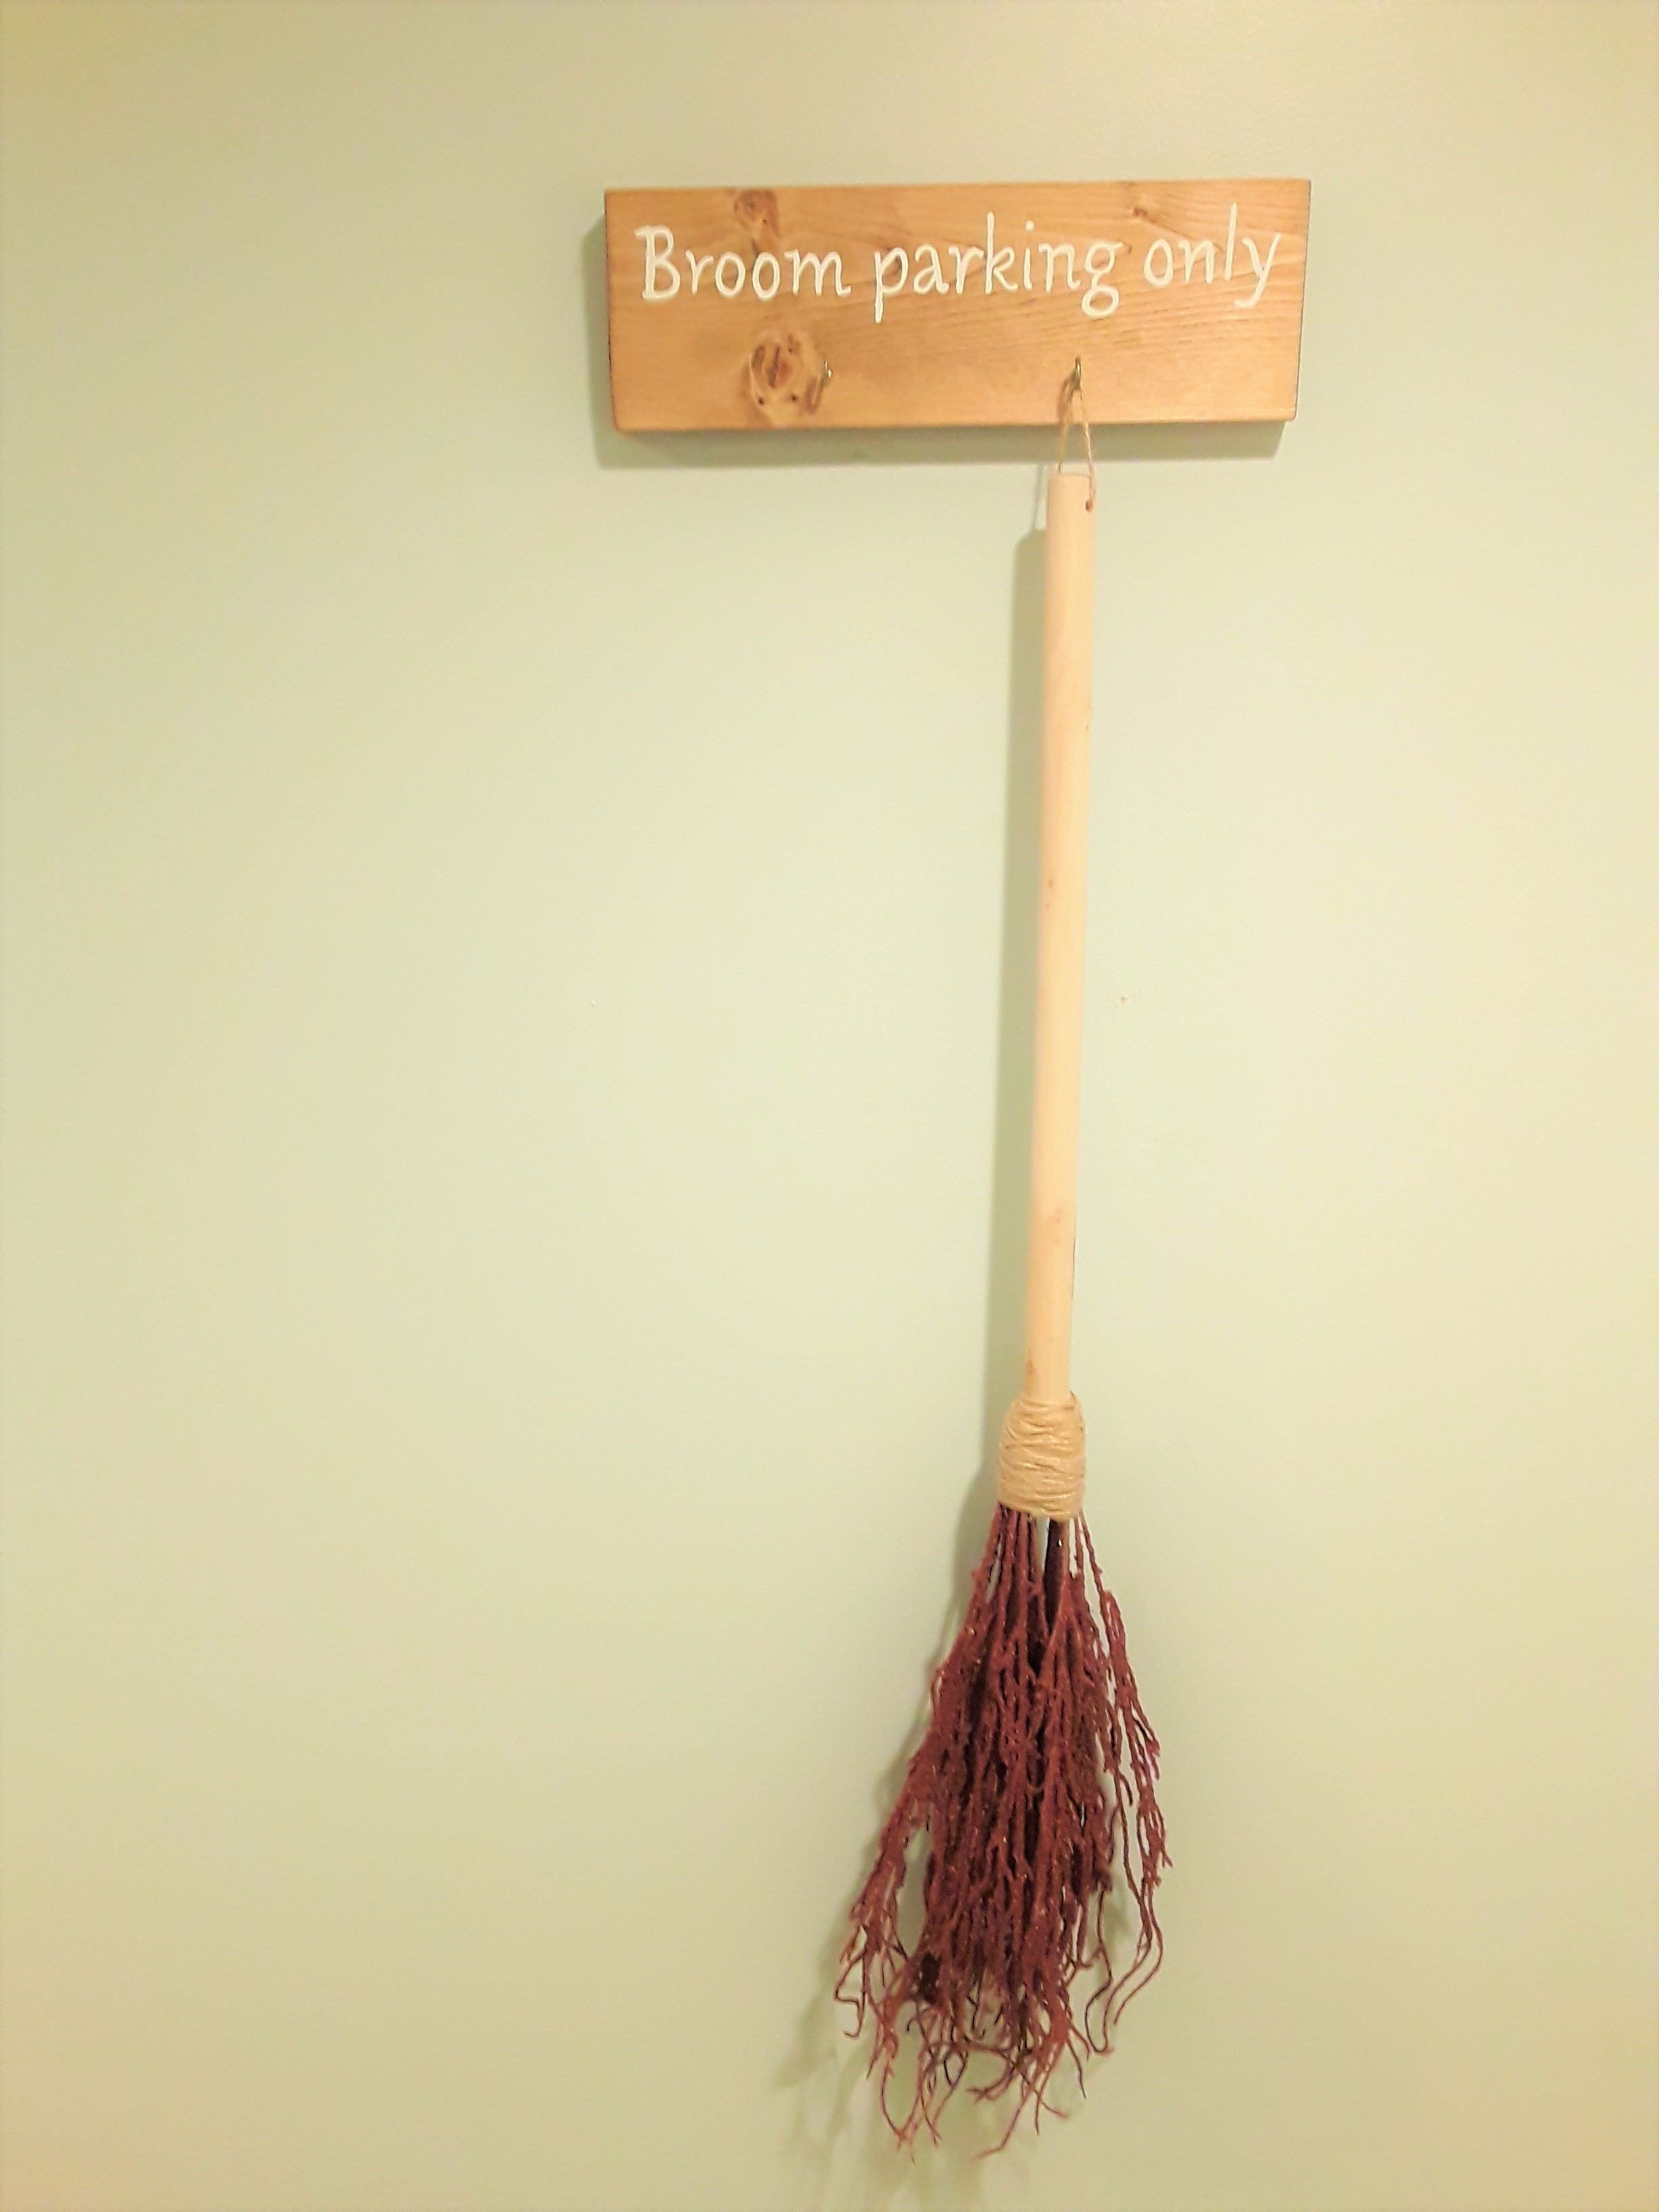
Now you can invite all your witches over and keep track of their brooms! :)
Can't find these items at your local dollar store? Get them online at DollarTree.com
do it yoursel
CrazyDIYmom.com Contact Us Privacy Policy Disclaimer About me