
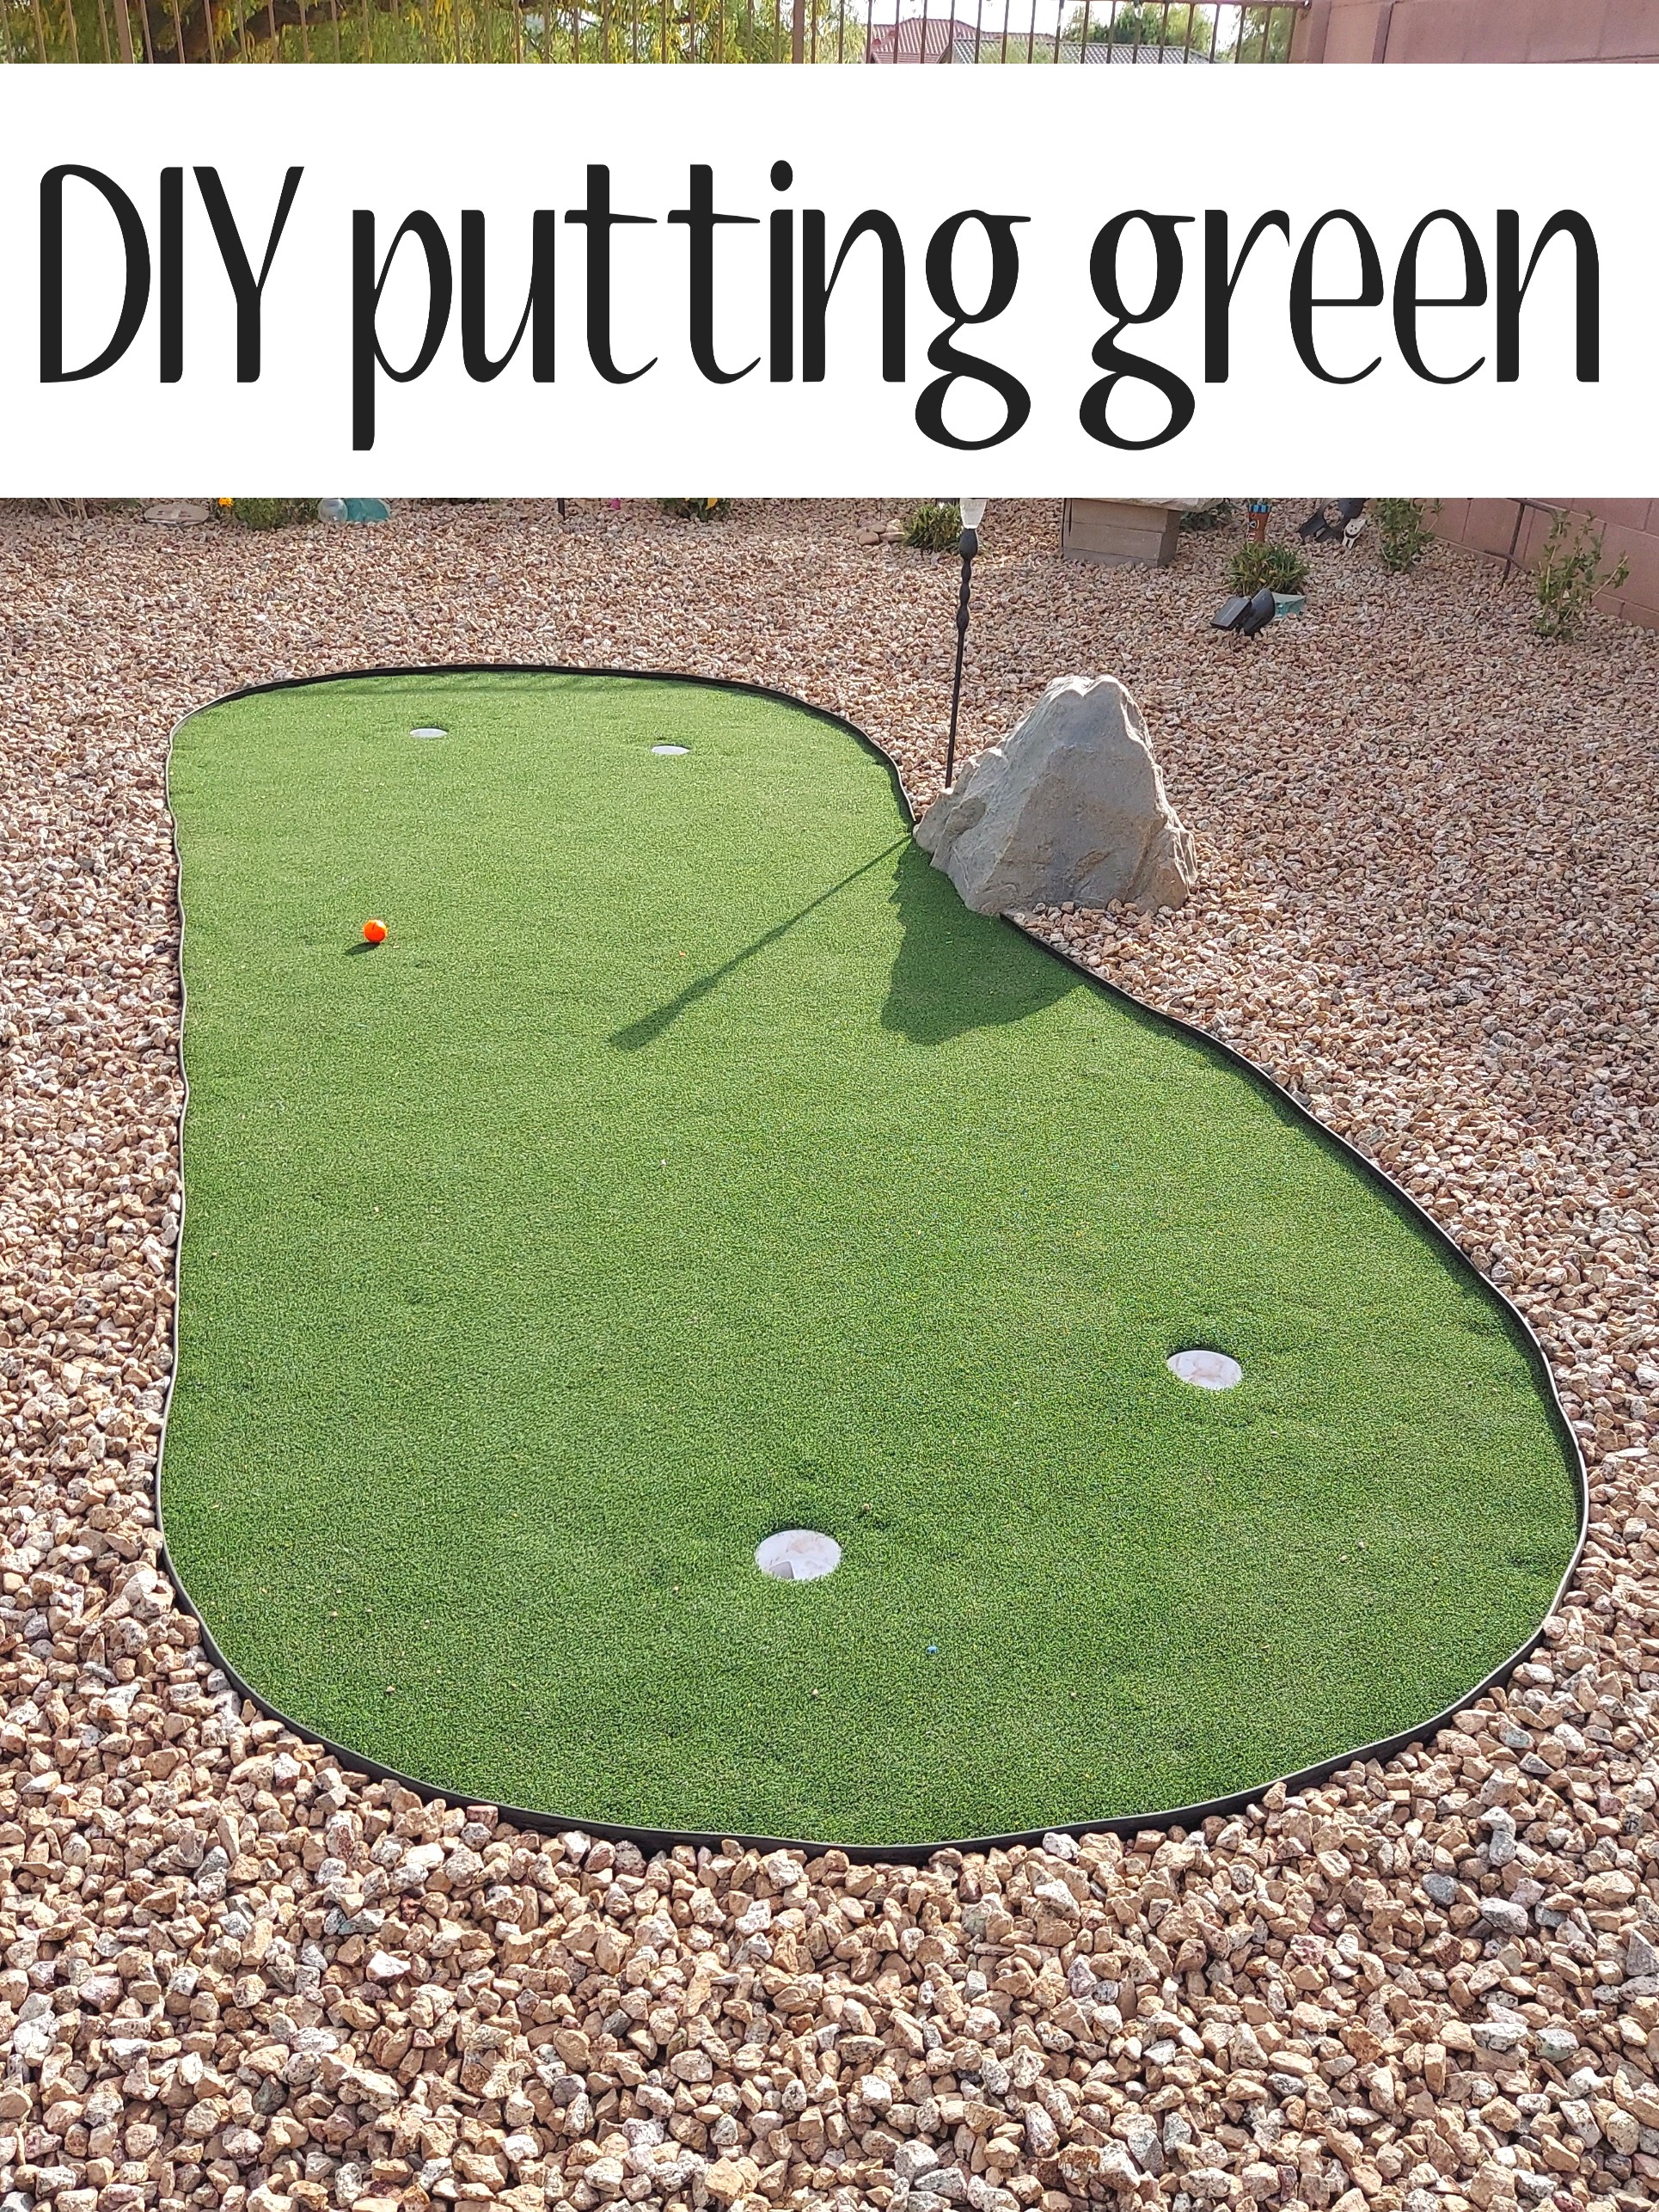
DIY putting green

This post may contain affiliate links.
Have you always wanted a putting green in your backyard but have been putting* it off because you weren't sure where to start or if you could do it yourself? Let me help you!
Let me start by saying we worked around the putting green we bought. This company and product had amazing reviews and we liked it because it didn't require as much work prior to setting it up. However we still wanted a nice putting green set up so we prepared the ground before hand. We also liked this product because it was a neat shape and had all of the holes precut out and it did not need to be filled with sand after it was in place which made for a lot less work for us. And the price was right too!
What you will need:
putting green
putting green hole cups
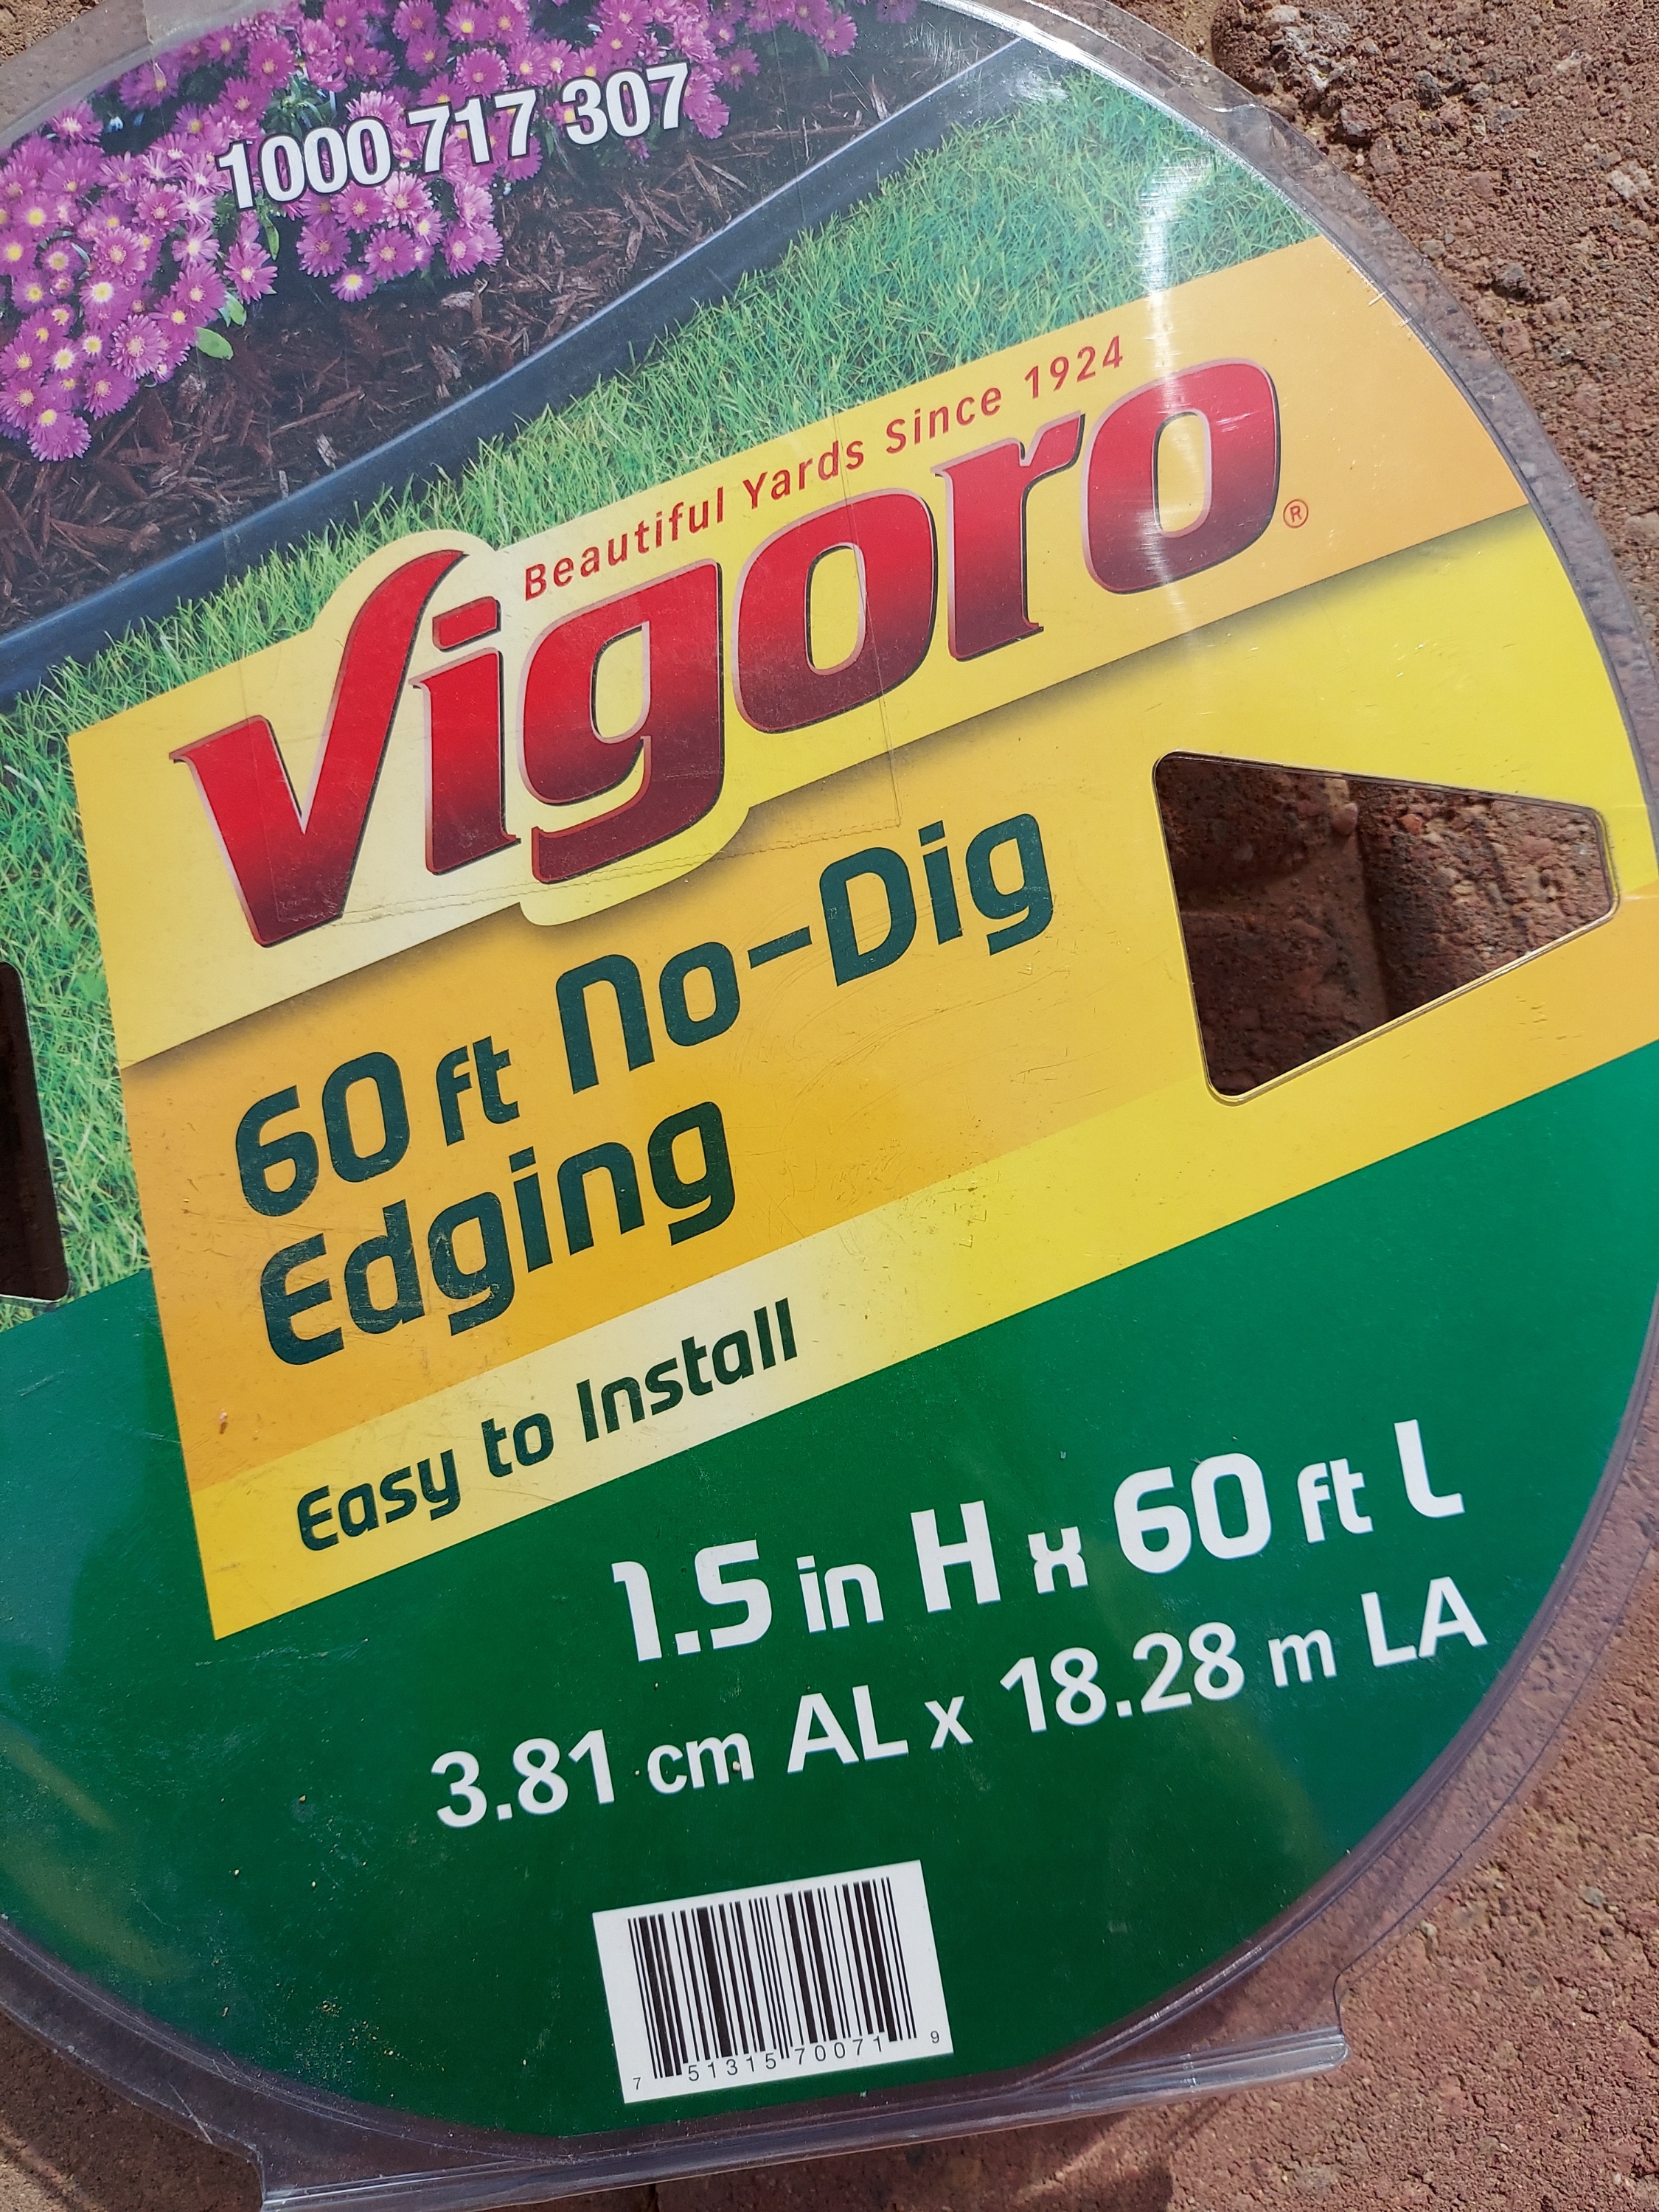
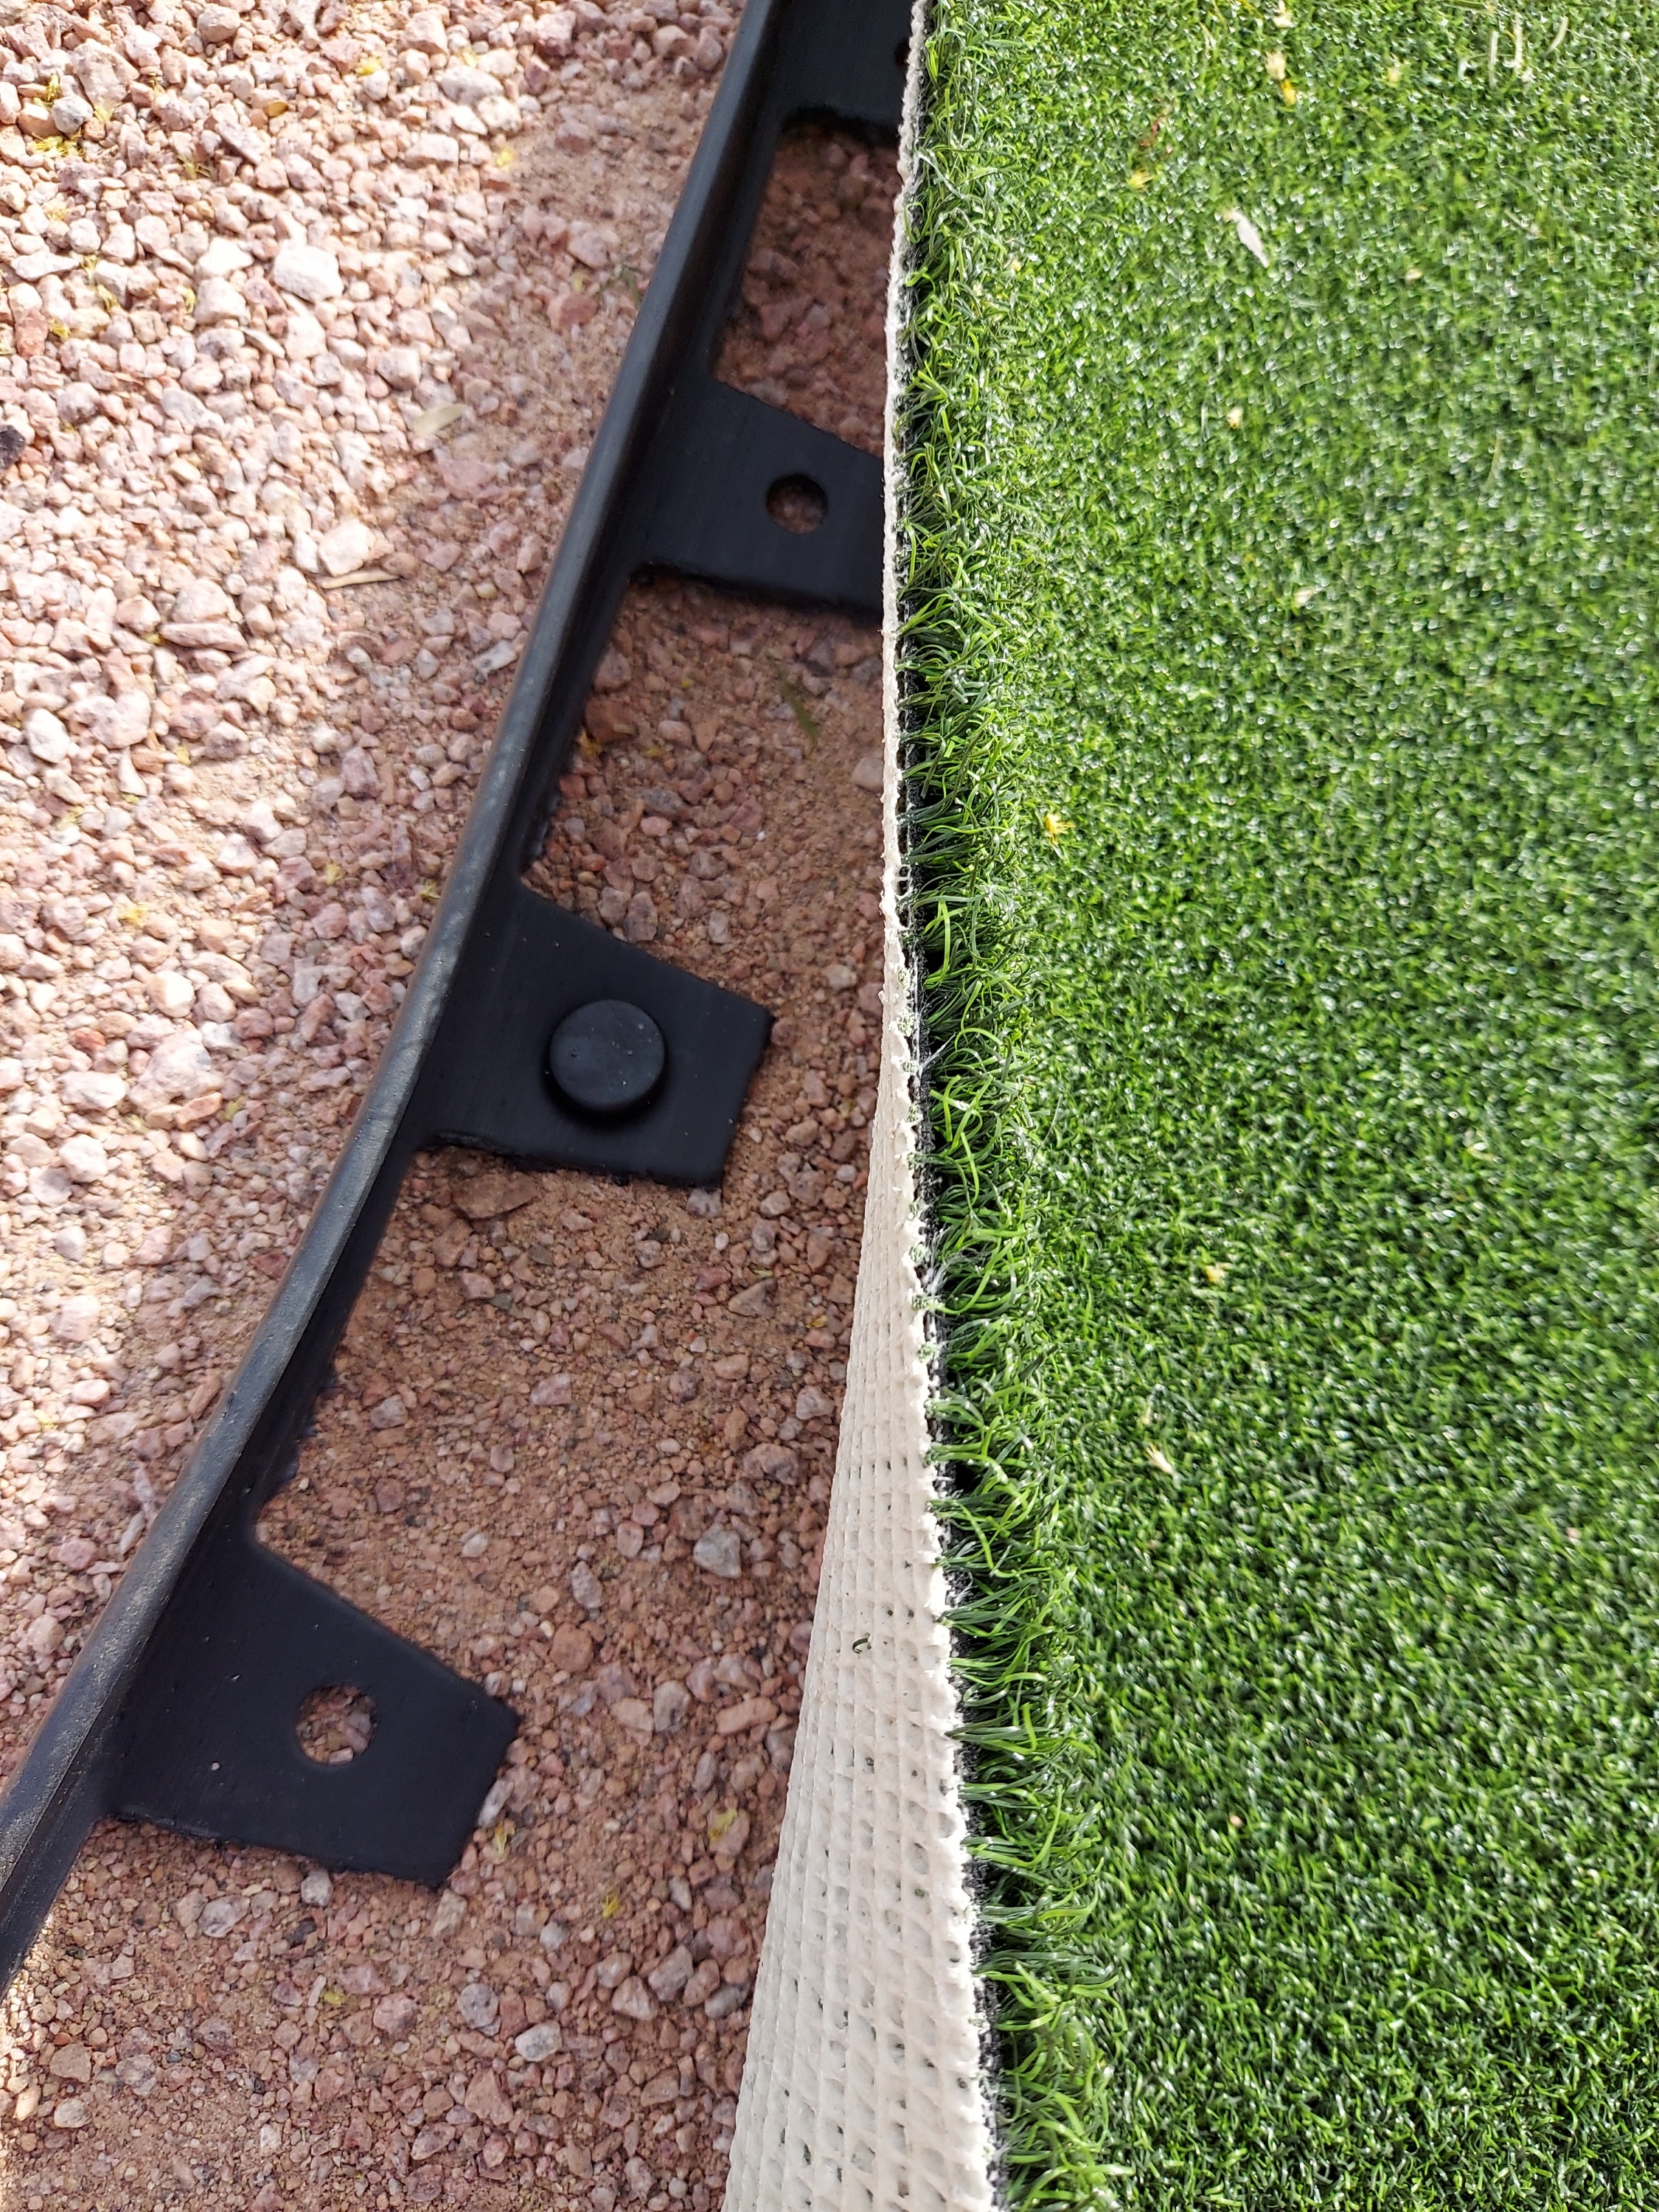
no dig edging and landscape spikes
bedding sand
Misc tools: rake, tamper, hammer, 2x4, level
Optional: fake rock decor, plants, hole flags, nails
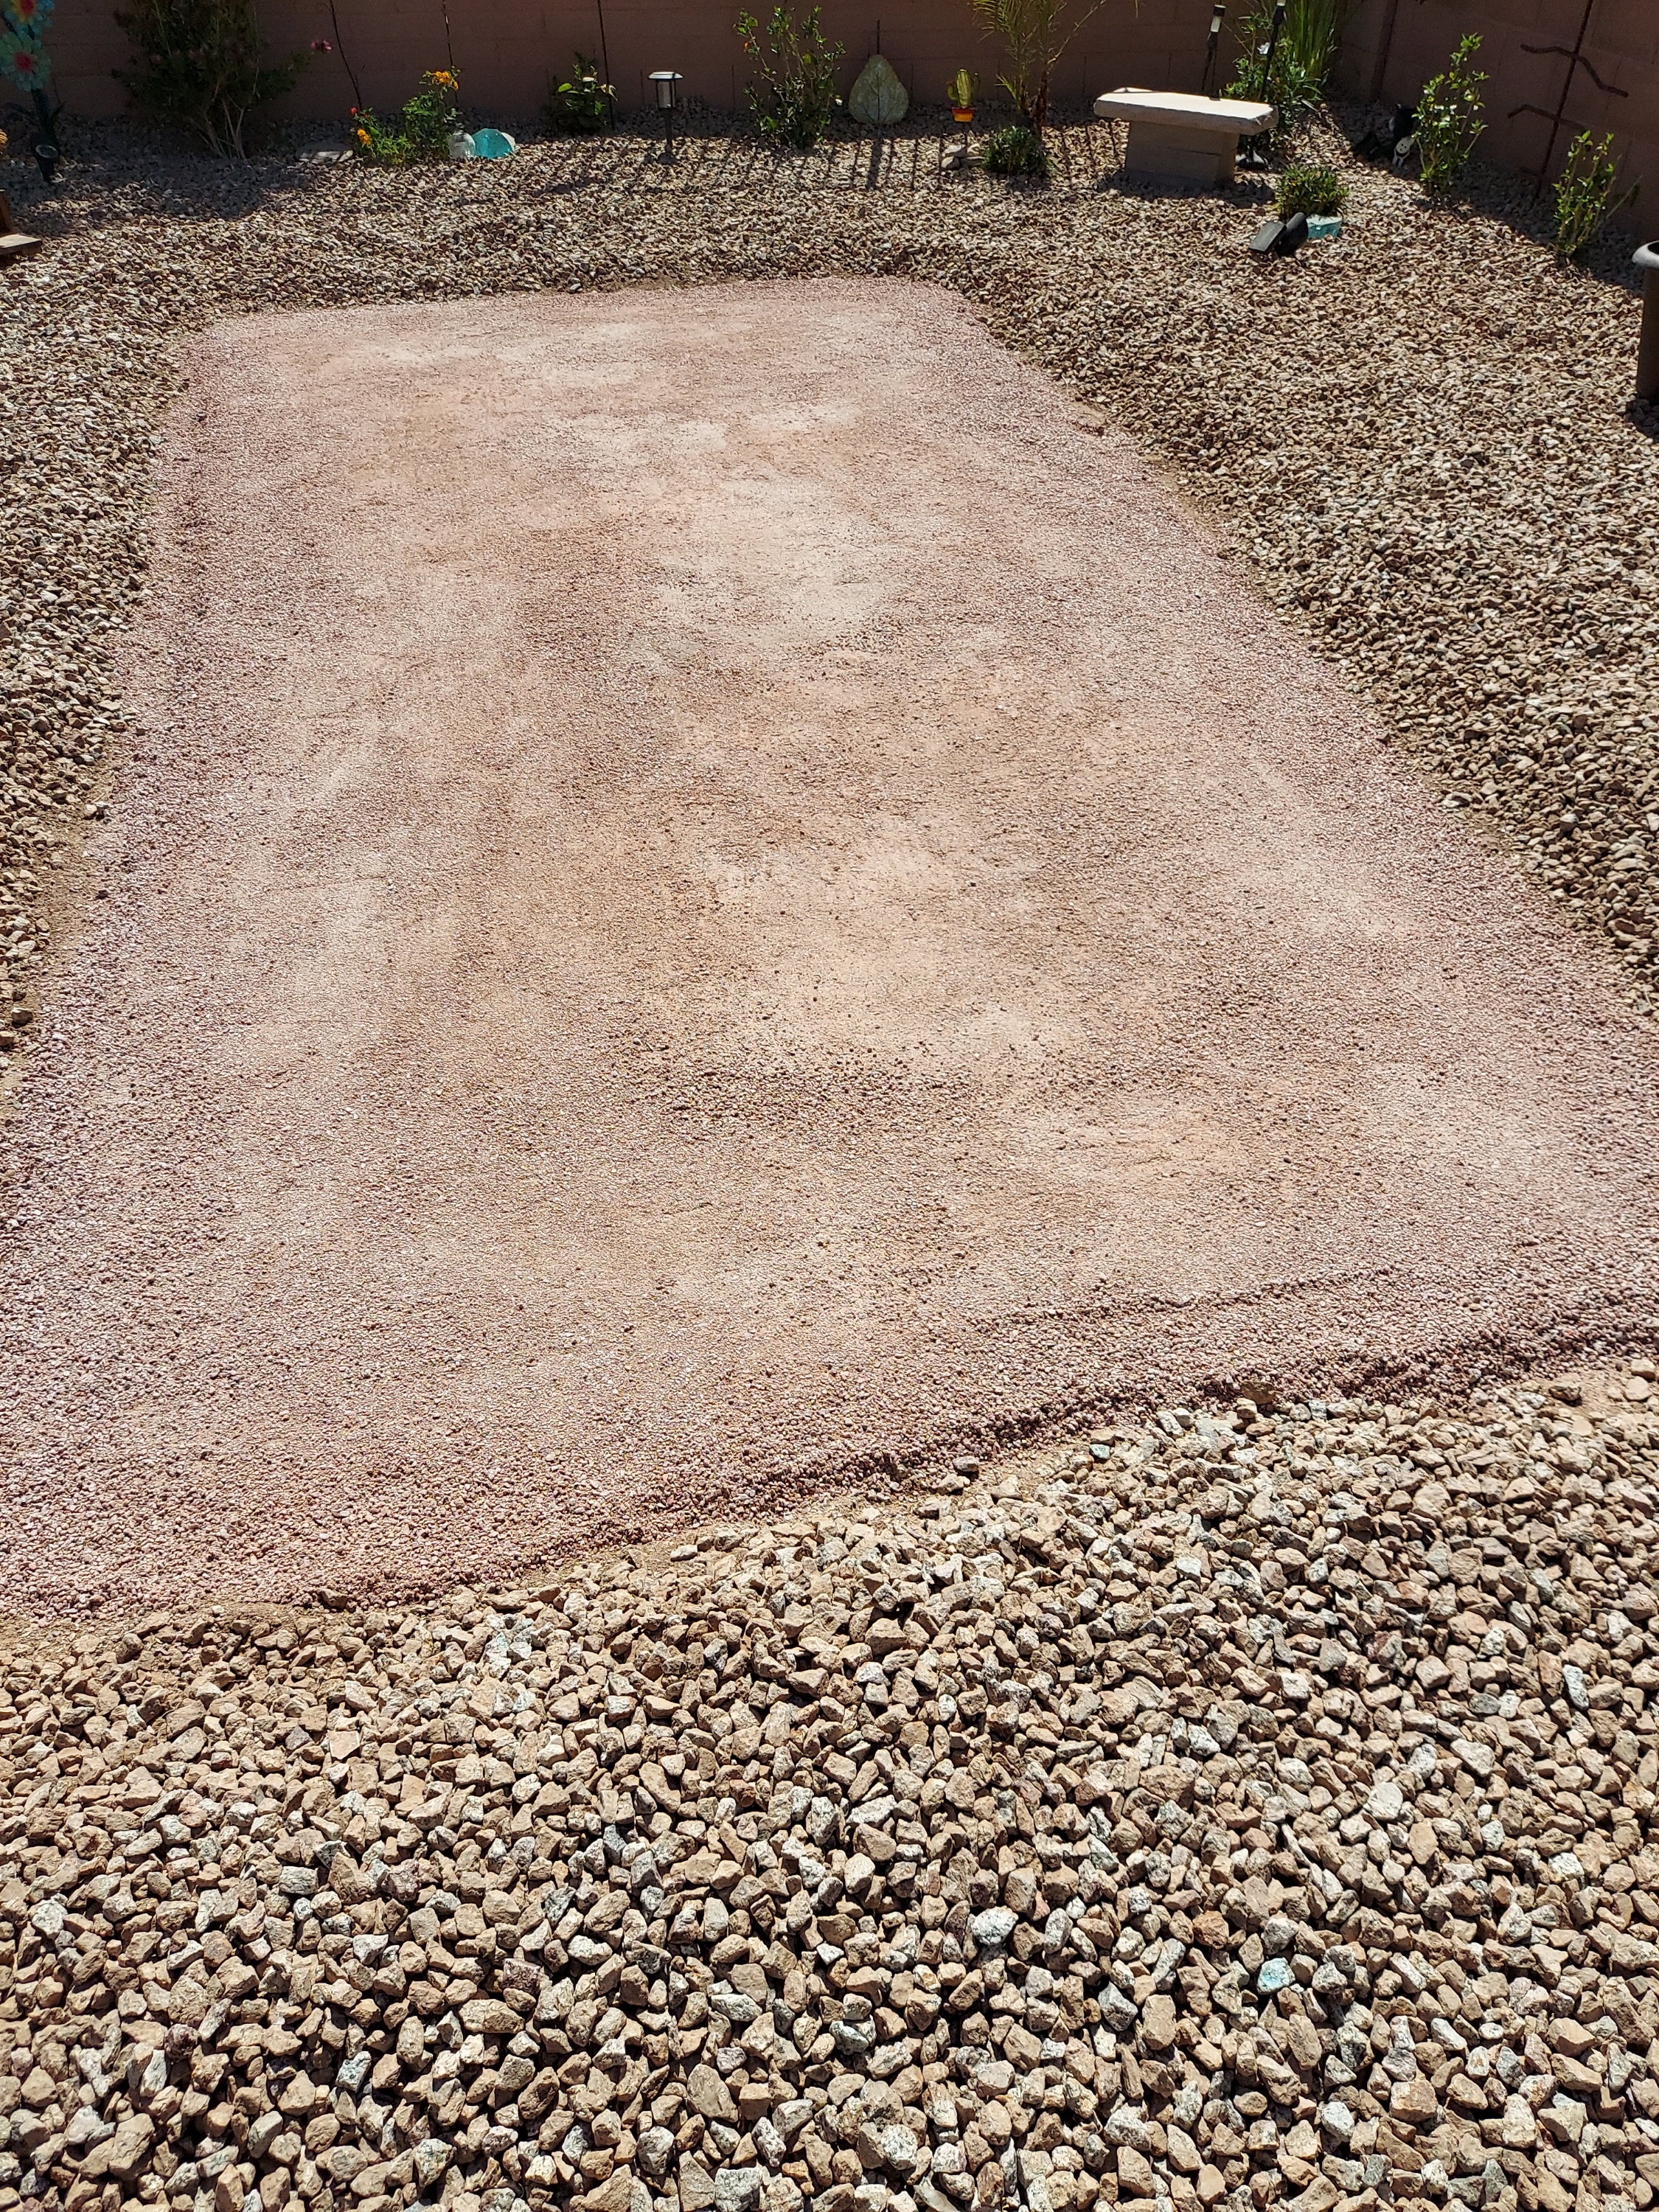
Start by preparing your ground. We live in Phoenix and a good portion of our yard is landscape rock. We started by raking back all of the landscape rock about a foot wider than our putting green would be until we got down to the dirt. Then we loosened up the top of the dirt to get out all of the misc rocks that were embedded in the dirt. Once we had it rather decent on top we added bedding sand. This is to make a nice smooth and firm base and to allow any water to flow through and not get trapped. We dumped the sand on top and started to level it out. I used a 2X4 with a level on top to make sure that it was level in all directions. Work top to bottom and side to side ensuring it is level all the way around the green. Use the tamper and go all around to make sure it was packed down nice and tight. Then again with the 2X4 and level to make sure it was still nice and even. After I was please with it I gave the area a nice shower to make sure it was flat and packed down nicely. When you have it down, double check for any big stones or anything else that got on top and then lay out your putting green in place.
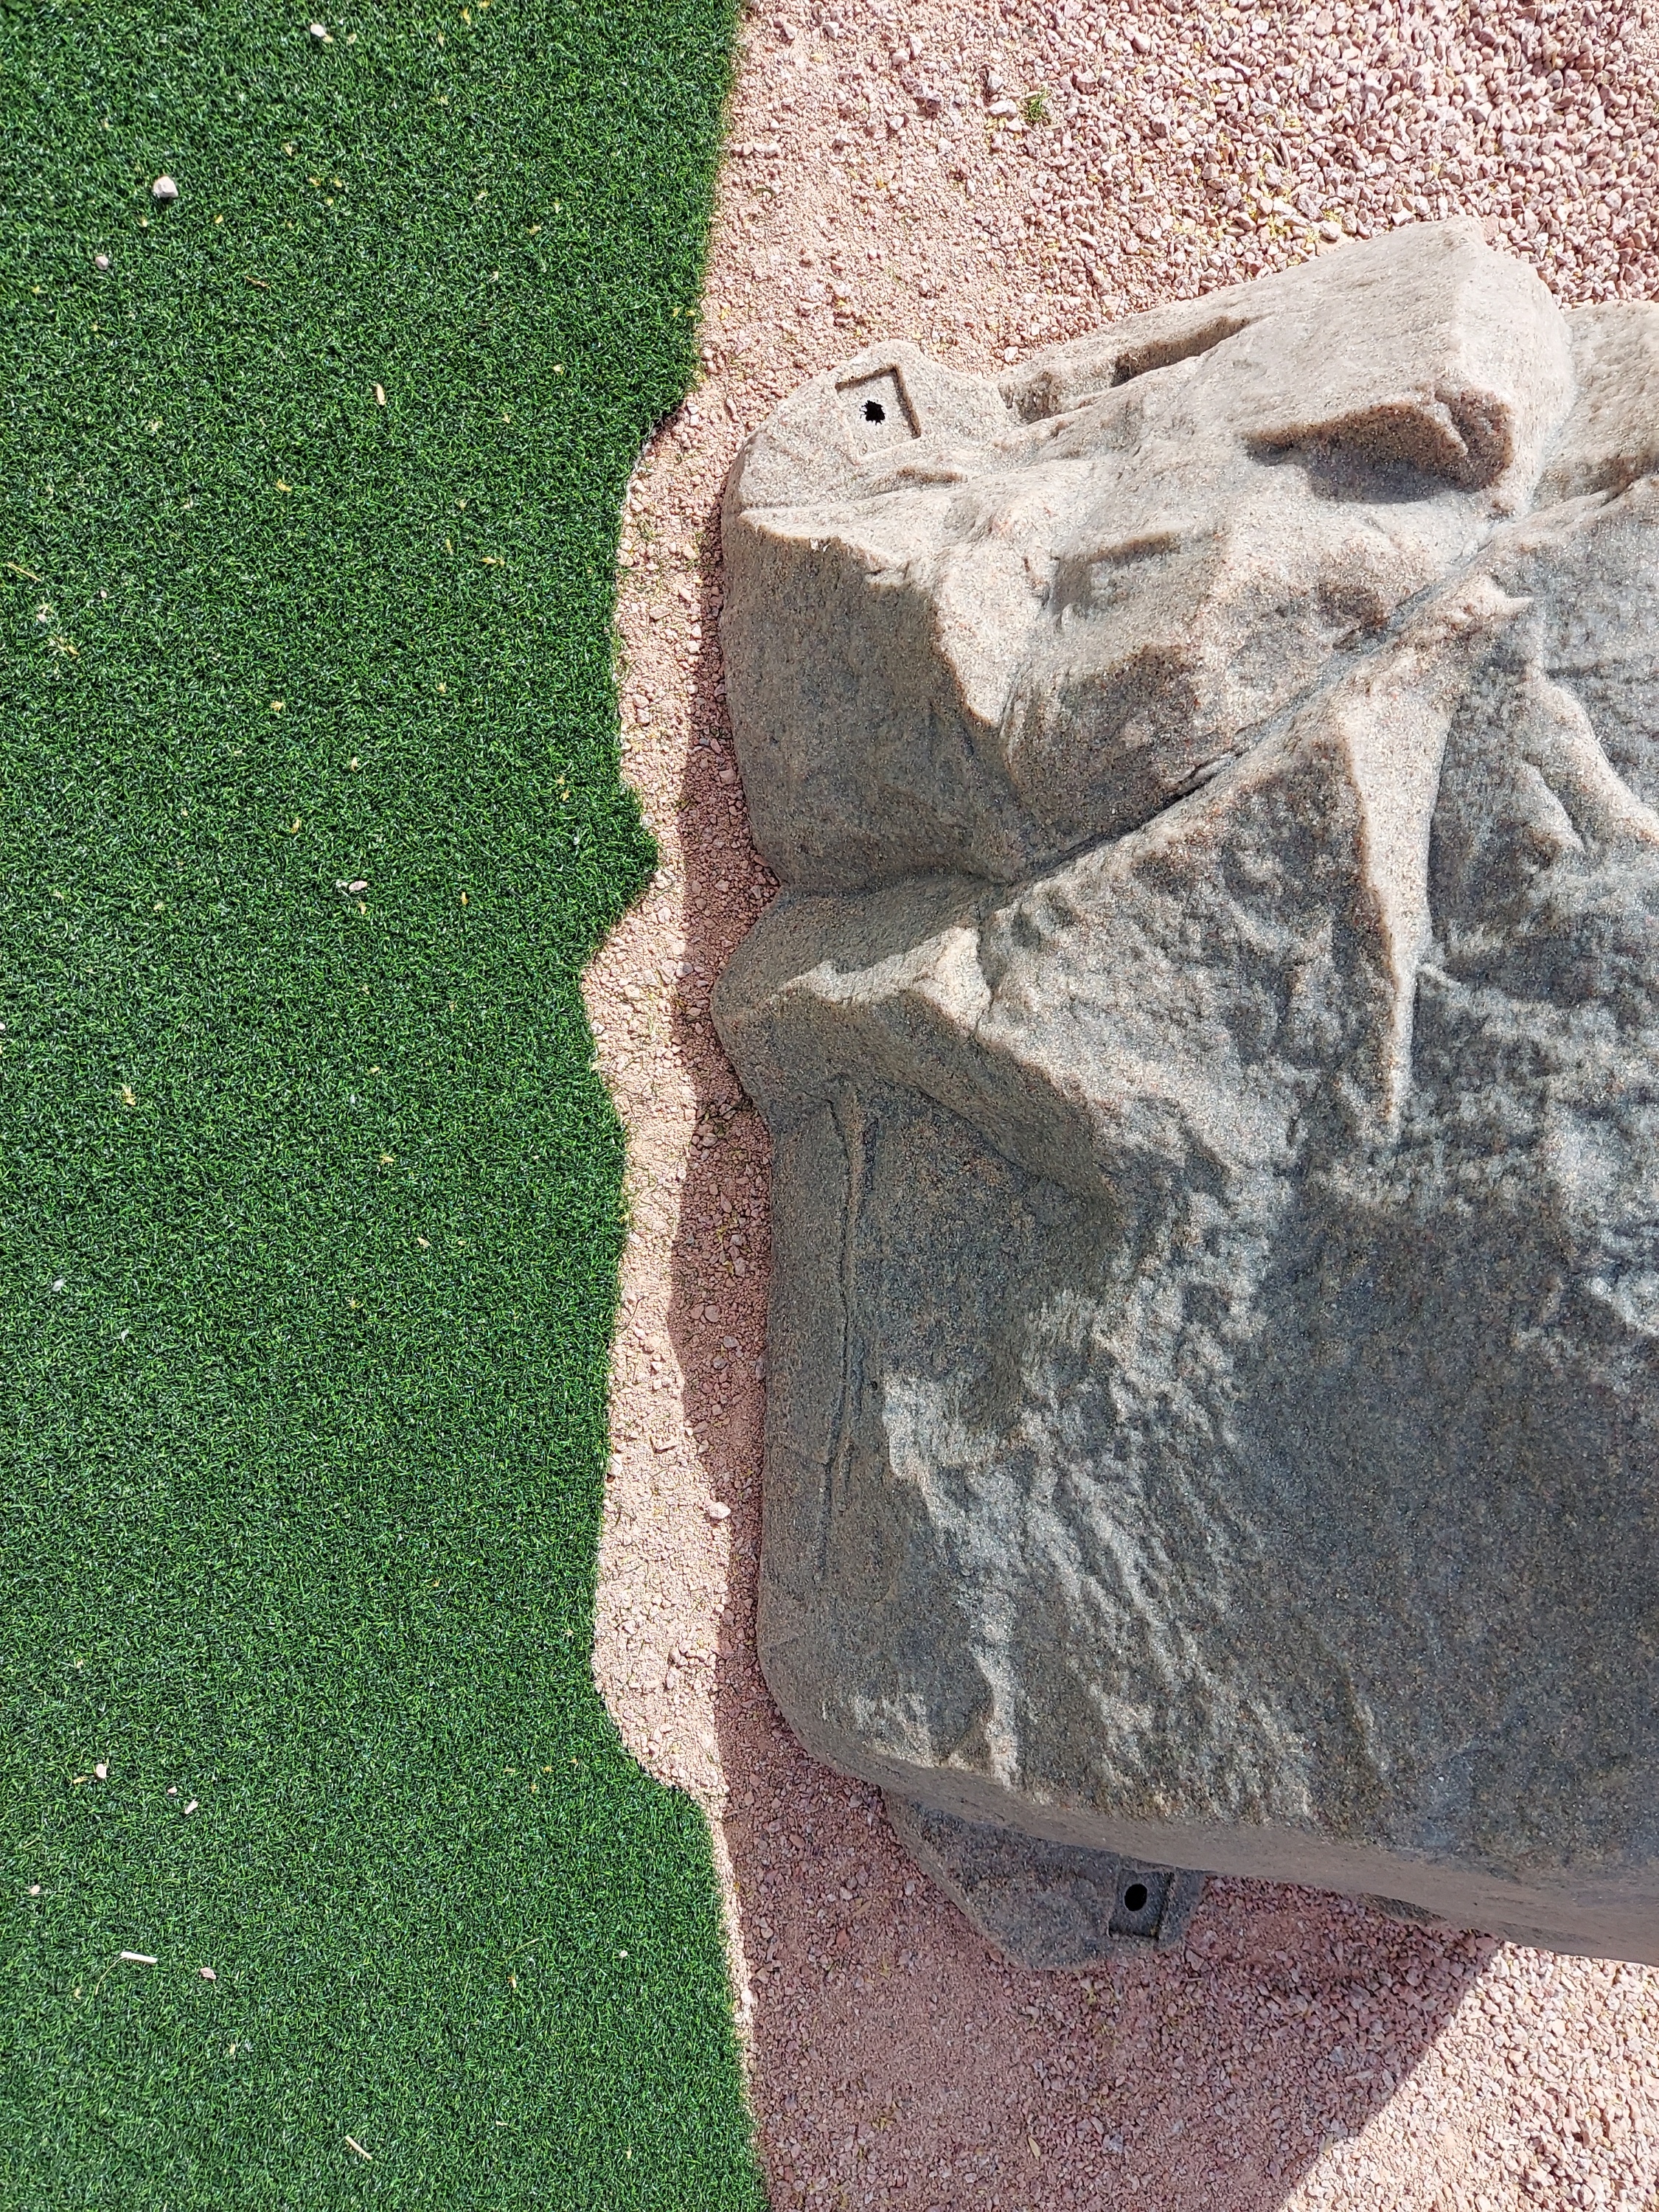
We wanted a fake rock to add some interest to our putting green so we set that in place and then used a utility knife to cut the putting green a bit so it would fit right up against the rock. We set the rock in place and used the spikes to anchor it down so it wouldn't move.
You could use many different types of material to edge your putting green but we decided on using basic black edging. We were sick of seeing all the patio brick and rock in the yard and this no-dig edging would give a nice finished look and still keep the ball inside the green. Plus it's simple to install! We started at one corner of the rock and went all the way around until we hit the other side of the rock and then easily cut it to fit. This was a 2 person job. One person to hold the edging up nice and tight against the green and another to then fold the green back and hammer the spike into place.
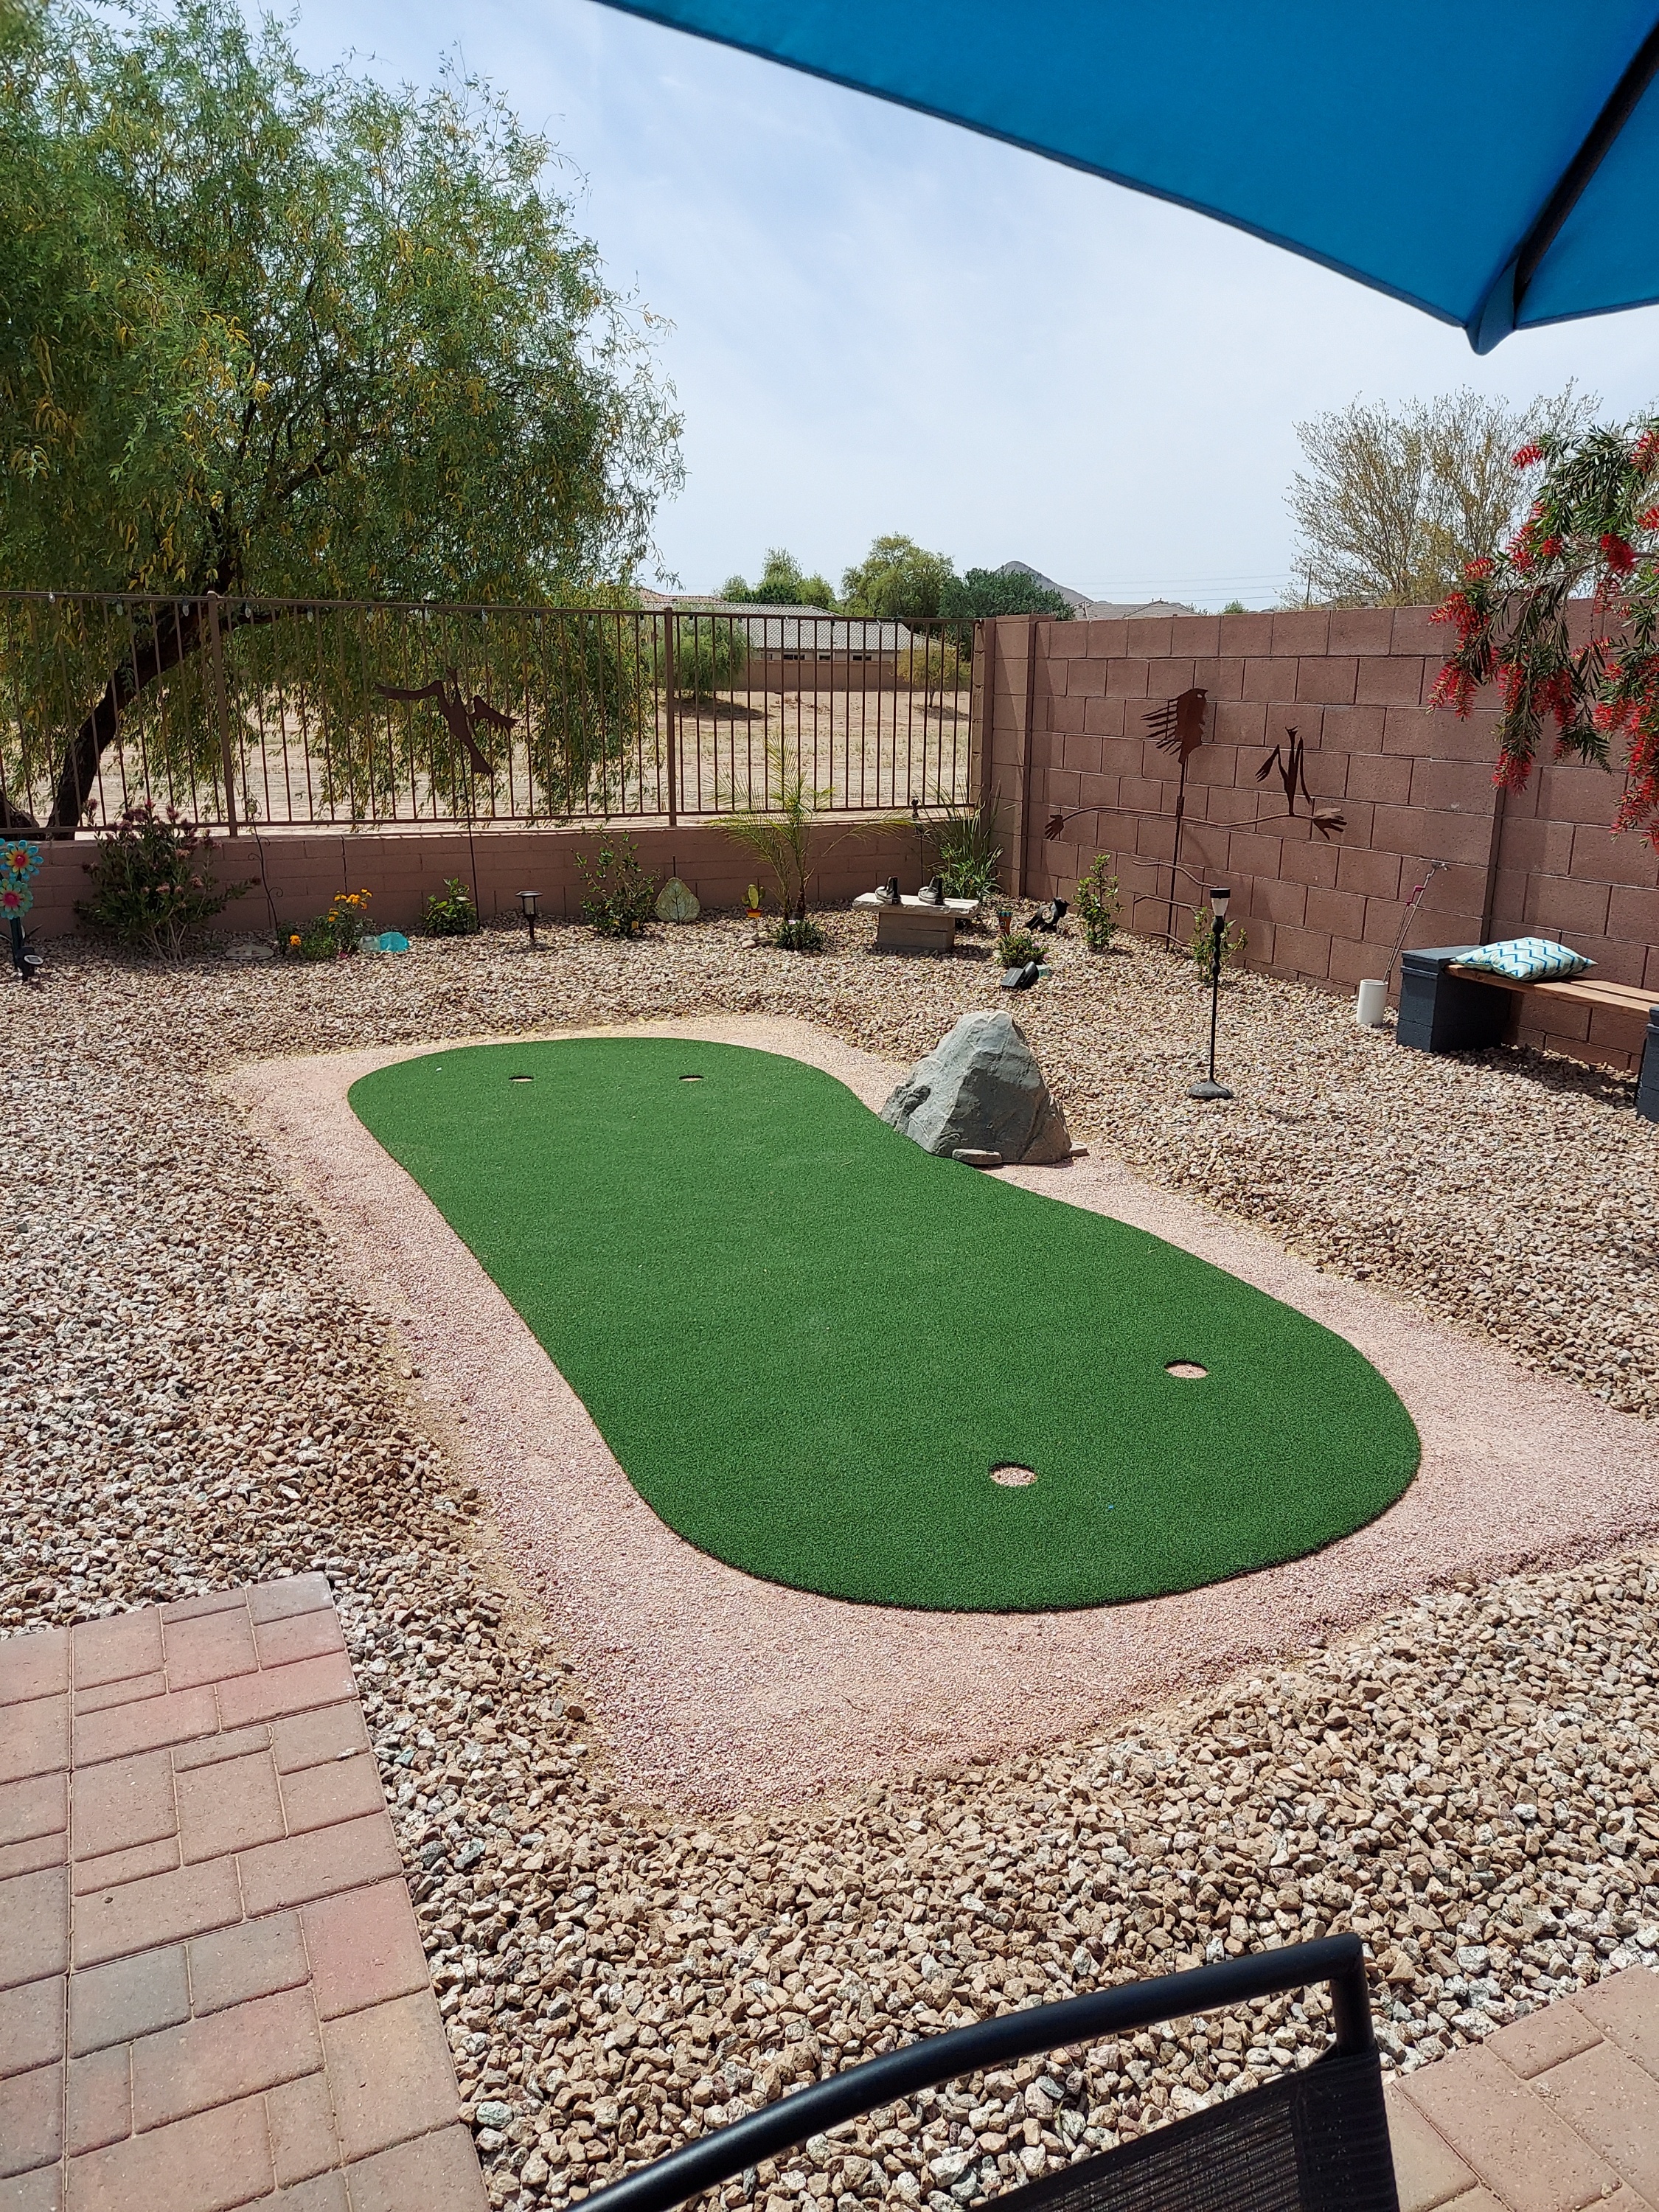
That's it! Then it's just time to finish the details. We raked our landscape rock back up into place and then added a few plants and a solar light for at night. The kids absolutely love having the putting green and I gotta say, so do I. It's a great way to enjoy your yard in a new way and spend time with the family. :)
diy backyard putting green
Want more DIY's?CrazyDIYmom.com Contact Us Privacy Policy Disclaimer About me