
DIY lighted signs
This post may contain affiliate links.
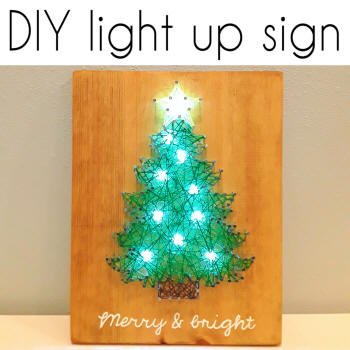
This light up holiday sign was such a fun and pretty easy to make decor piece. Plus they make great gift ideas too!
What you will need:
piece of wood
wood stain of your choice
hammer & small 1" nails
embroidery floss or colored string
set of battery powered led lights (I got mine from a dollar store)
staple gun
hot glue gun and glue
drill and drill bit
acrylic paint or paint pen
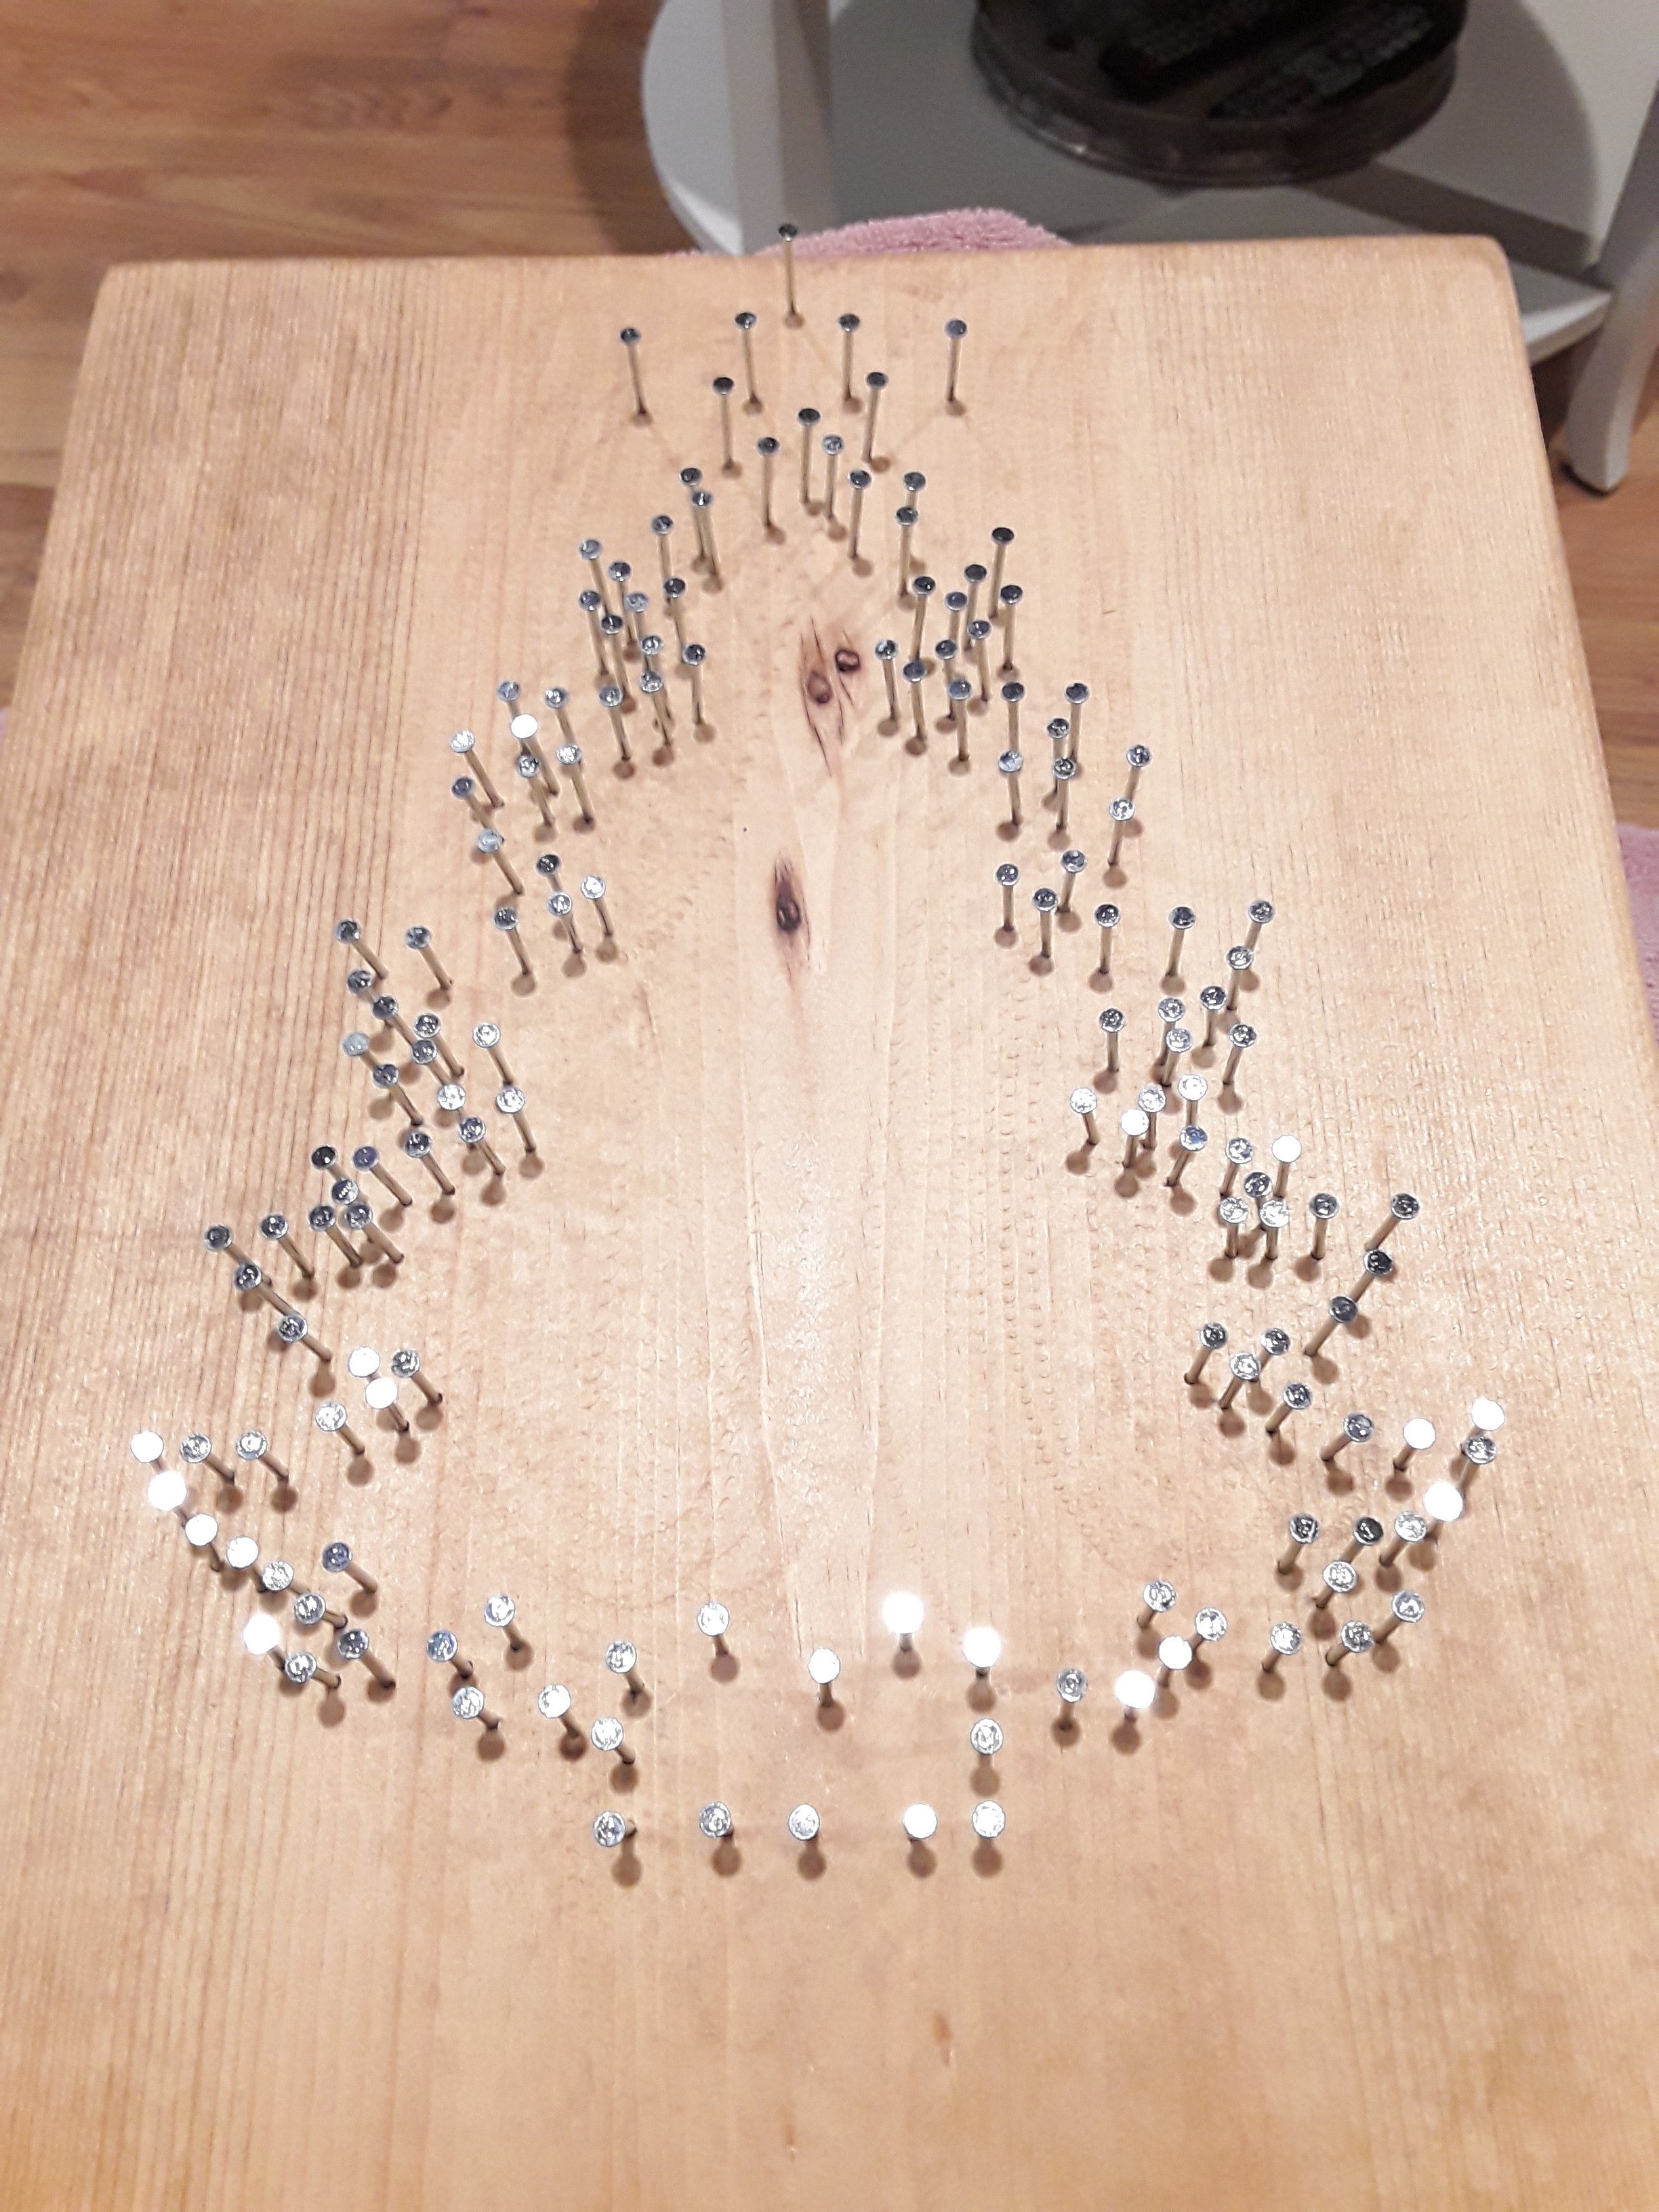
Start by printing out or drawing out an image for your wood. Place your image on your wood and tape it in place. Then using a pencil to make little marks all the way around your image. I made marks about every 1/3 - 1/2". But be sure to make marks at every intersecting lines so you keep the same outline.

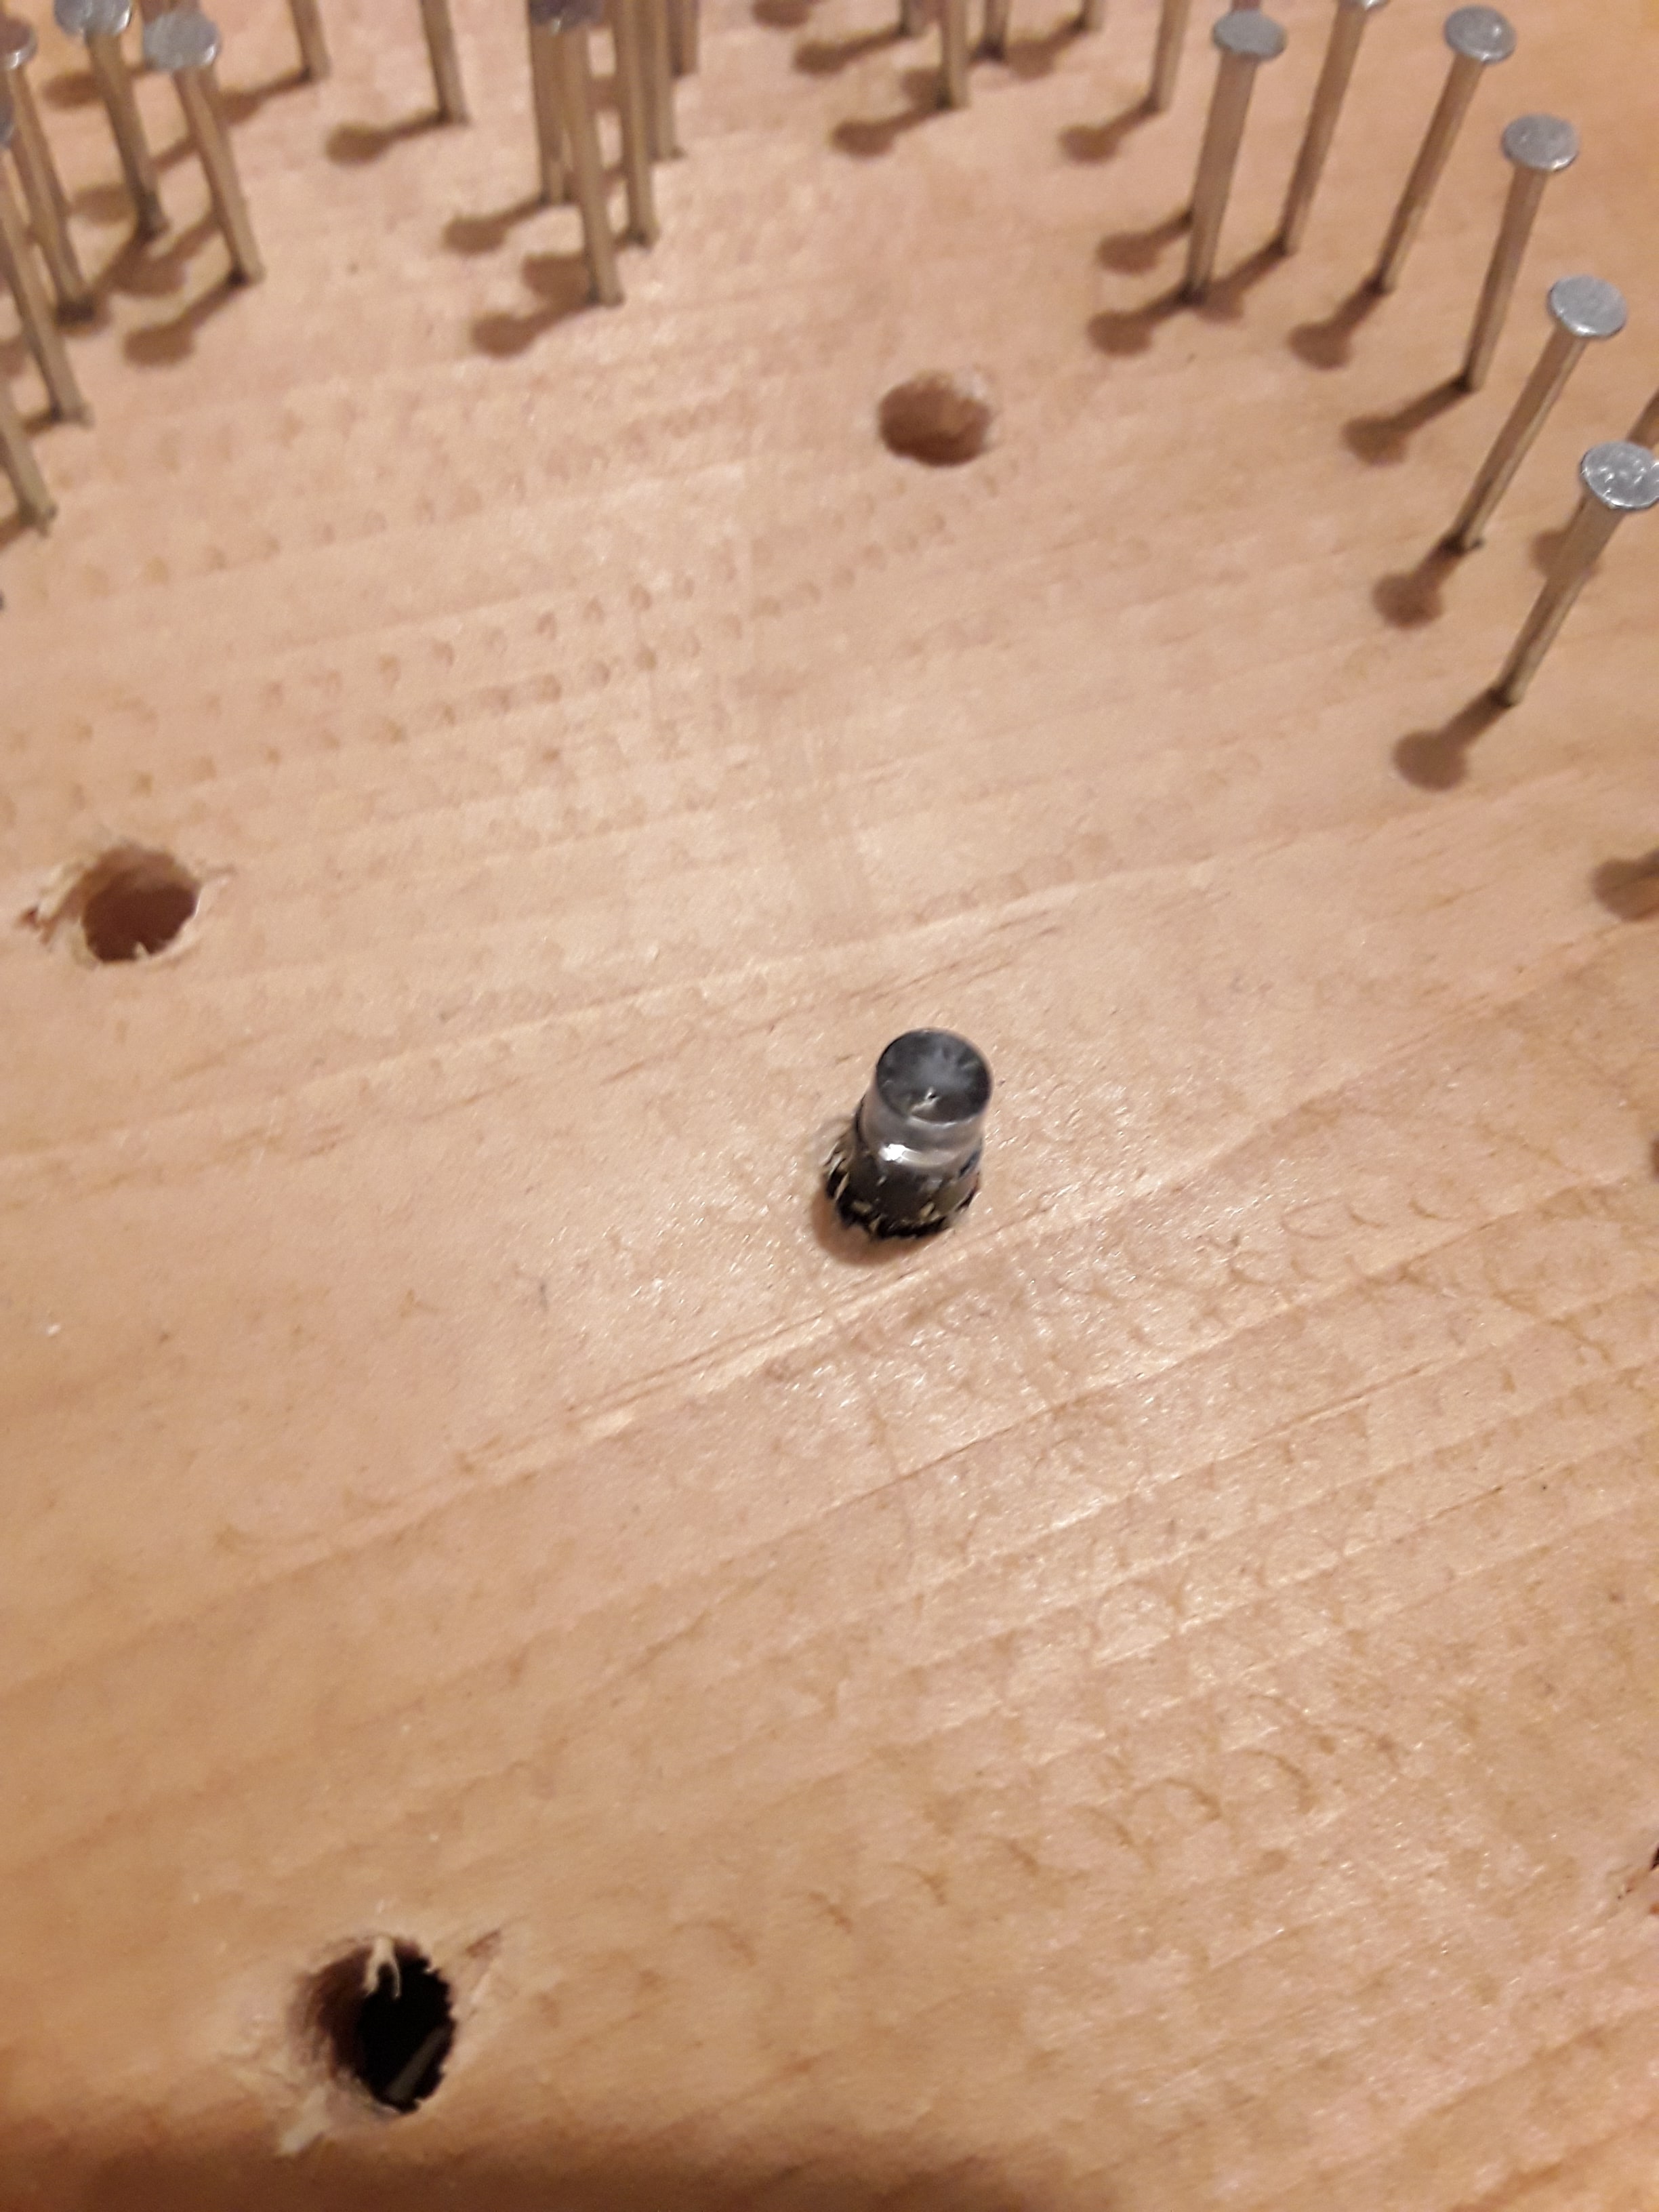
Once you have all of your marks made it's time to start pounding in those nails. You don't want your nails to go all the way down, just far enough so that they are nice and sturdy in the wood. Then take out your set of lights and count how many bulbs your string has. Then mark that many spots on your wood for where you want those bulbs to be. Take your drill and drill bit similiar in size to your light bulb and drill a hole for each bulb. You will want your drill bit to be as close to your bulb size as you can.
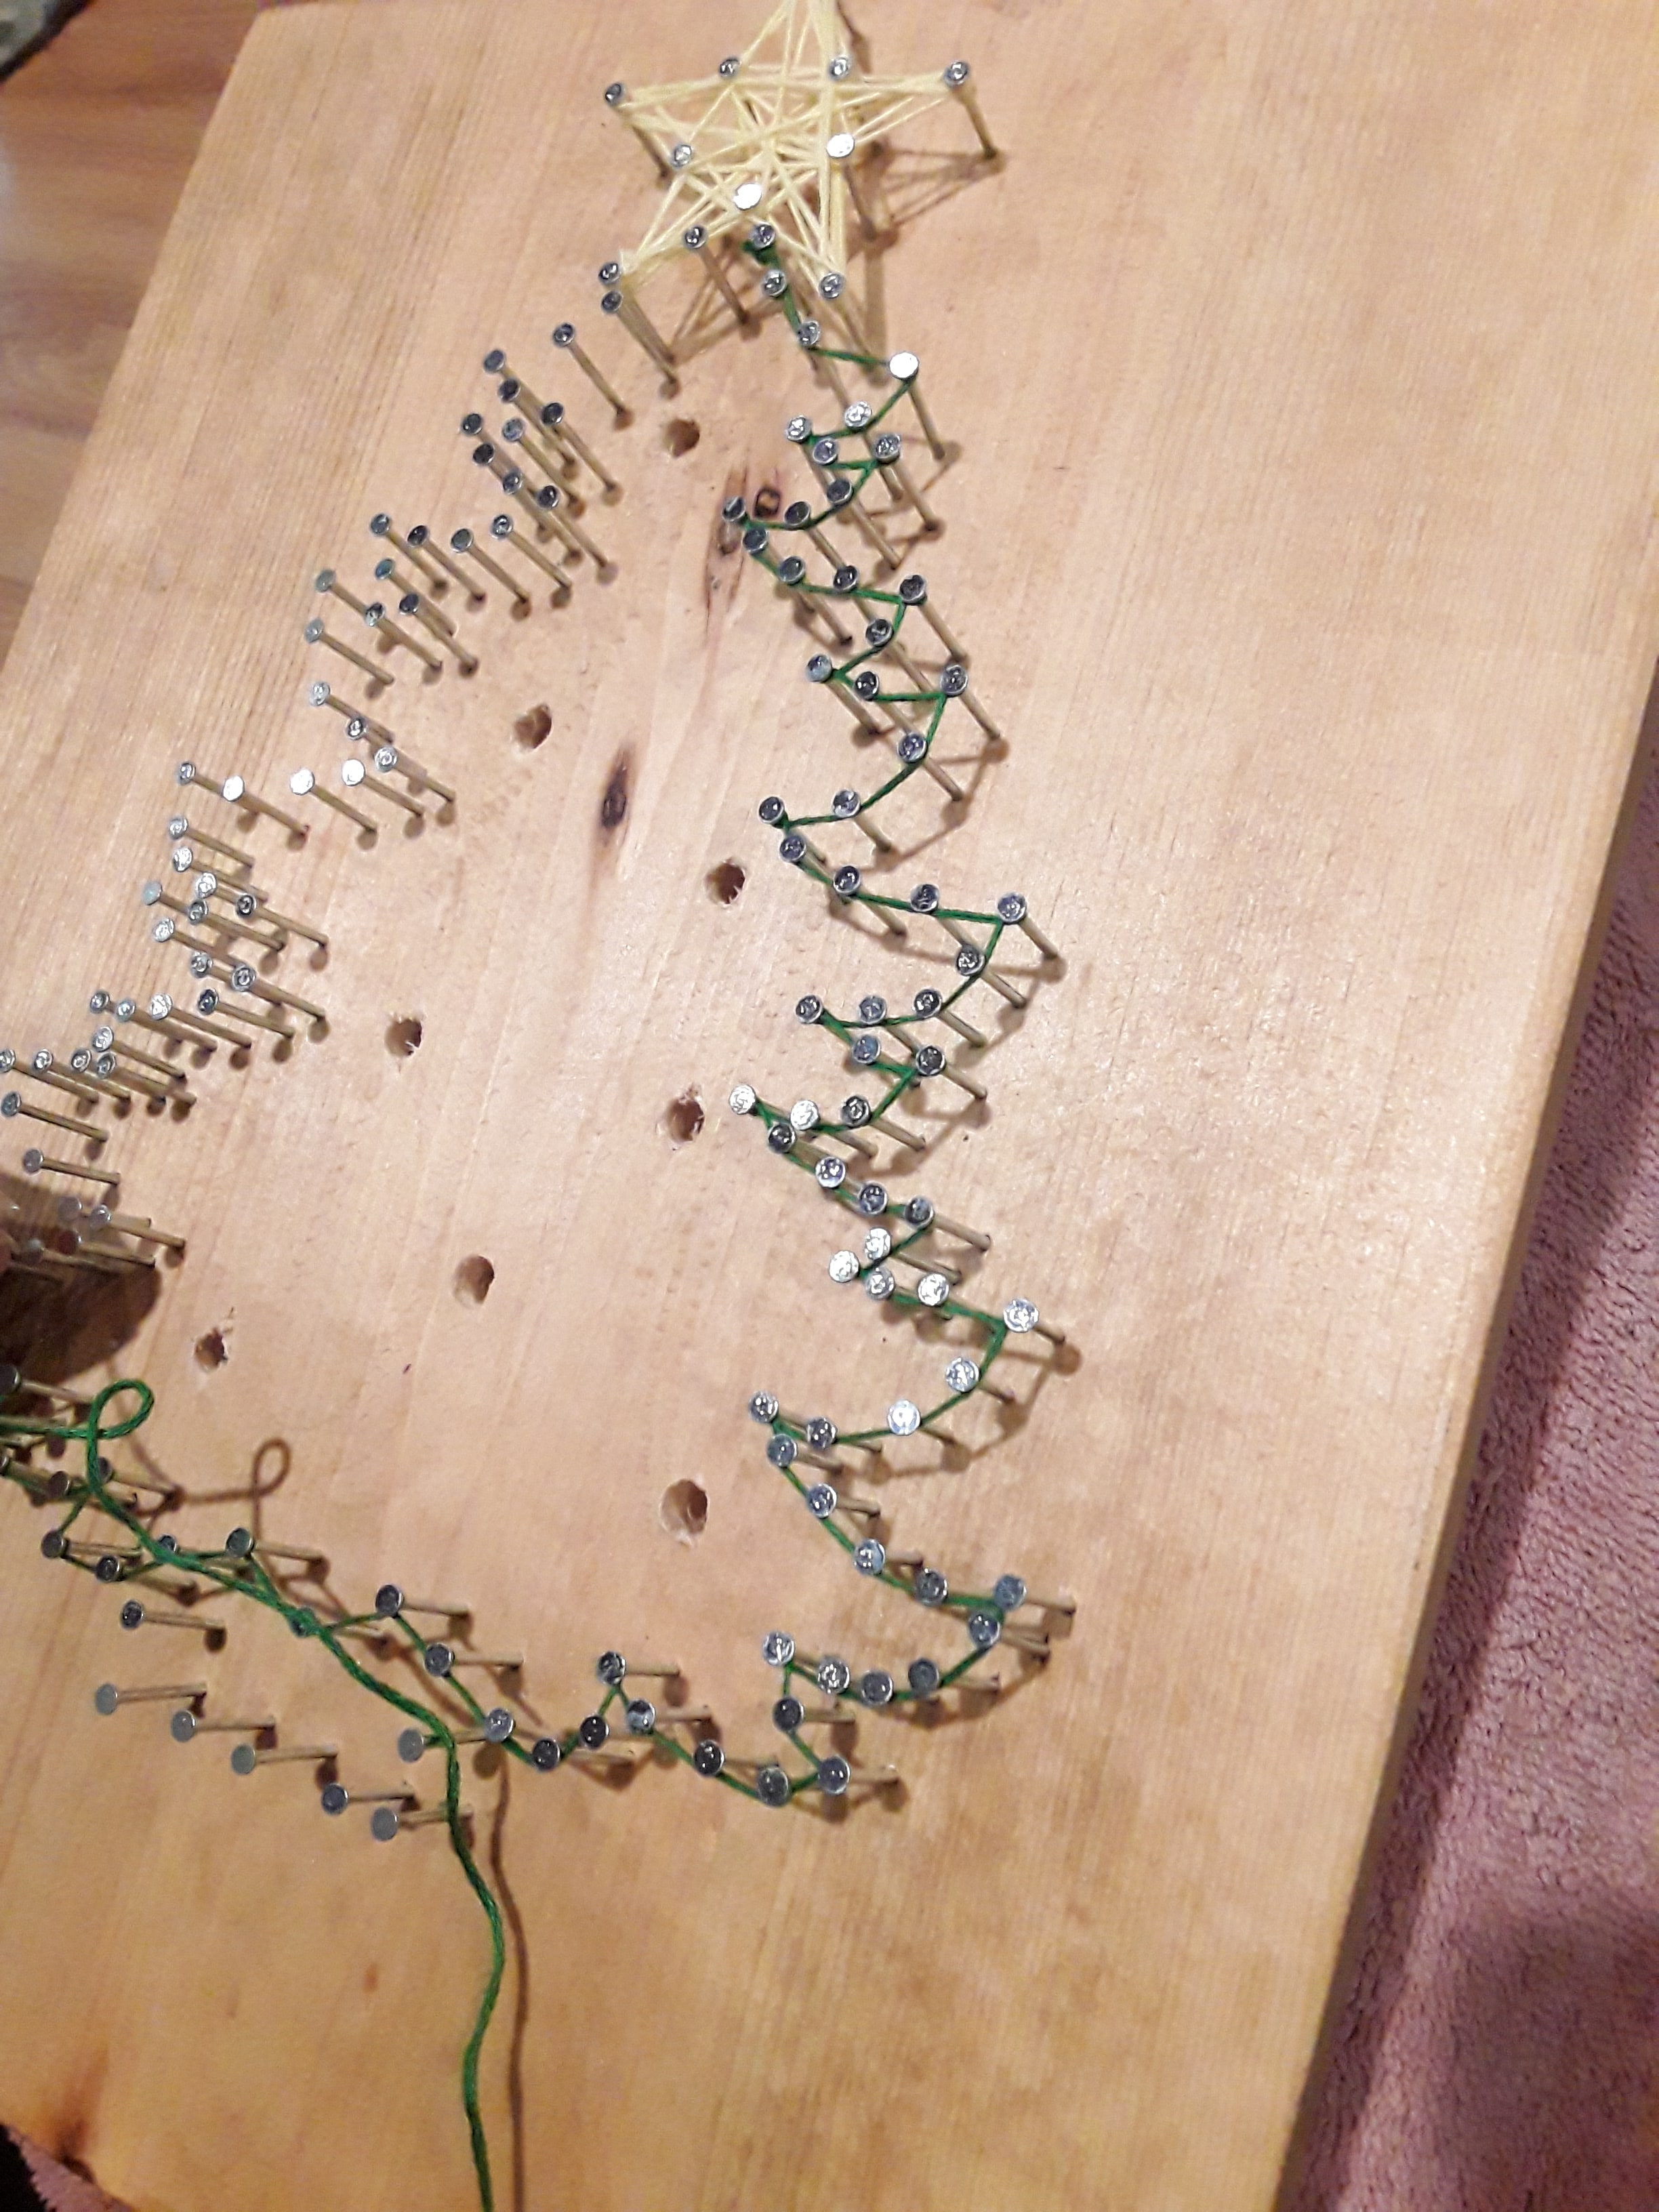
Then it's time to start adding your string. I started with the yellow star and finished with the brown tree trunk. Tie a knot onto one of your nails and then start wrapping your string from nail to nail until you have it how you like it. Once you are finished stringing, tie another knot and use a dab of glue to hold down the ends and keep it in place.
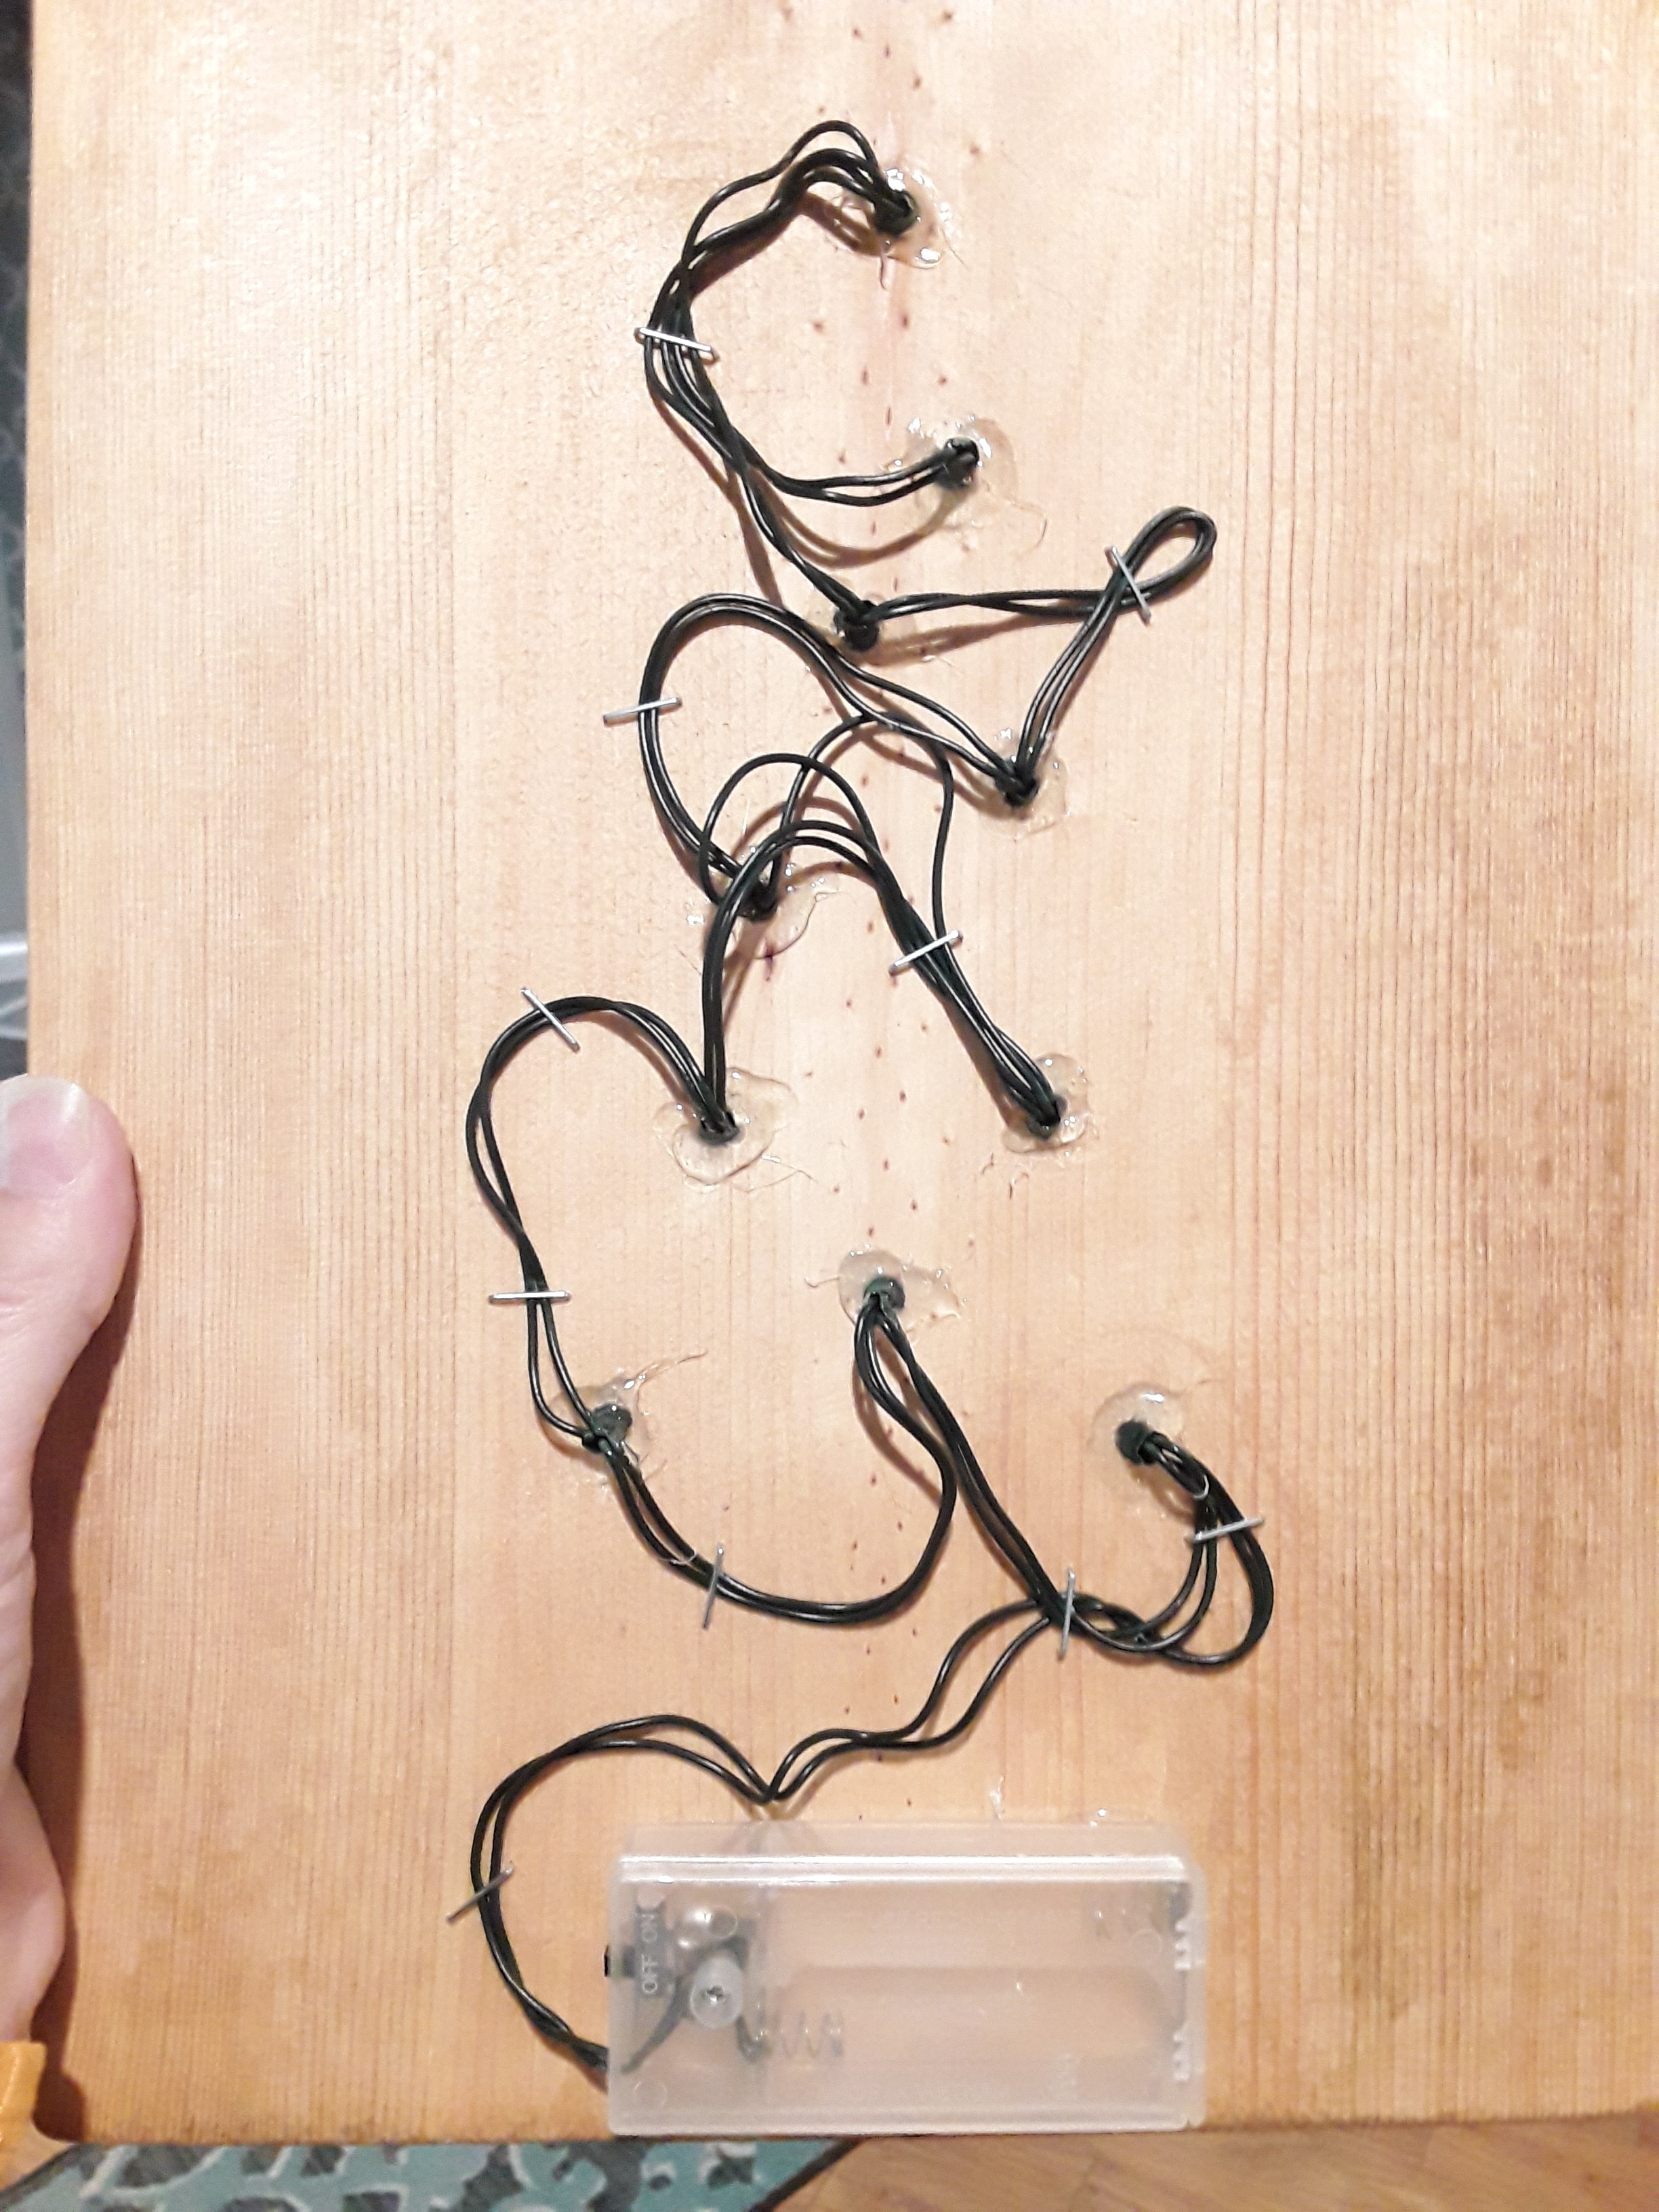
After you have it all strung you can flip your board over and start hot gluing your lights in place. I set a bulb into the hole, then added a good glob of hot glue to hold it in place. Make sure your bulb is through the wood far enough so that you can see it from the other side. Once you have all the lights glued in place you can also glue the battery pack in place. Make sure to glue down the side that doesn't need to be taken off to replace the batteries! Then use your staple gun to carefully hold down the wires against the wood. After that you can add a little saying to the bottom of your sign with some acrylic paint or an acrylic paint pen. Alternatively you can leave it just the way it is.
What a great way to add a little holiday decor and lights to your home. You could do them for any holiday: hearts for Valentine's day, a shamrock, snowflake - anything! Plus, these make a fantastic gift idea as well.
do it yourself
Want more DIY's?CrazyDIYmom.com Contact Us Privacy Policy Disclaimer About me