
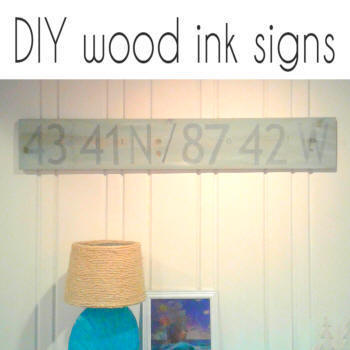
DIY wood ink signs
Wood ink signs
* This post may contain affiliate links.
I LOVE doing these signs. They are so easy and if you already have wood, your saying designed and a printer they can be done pretty quick. I love a craft I can enjoy right away!
These types of signs are so flexible. You can use any size wood and you create your words/images according to the size of the wood you have on hand. I like to create my designs with websites like Ipiccy, Canva and PicMonkey, but you can use any program or software you have to make your signs.
If making those signs is frustrating or just way too time consuming, you can use the images I have already created. I have 24 images ready to download, but if you plan to use this printer ink method to make your signs, you will need to print each of the images as the mirrored version. So you'll need to mirror the image and then print it.
You can find all 24 of my sayings and designs here.
Let's get started!
You will need:
wood
paint if you want to paint your wood first
contact paper
ink jet printer (do not use a laser printer)
a smooth hard object like a spoon (this is for transferring ink to wood)
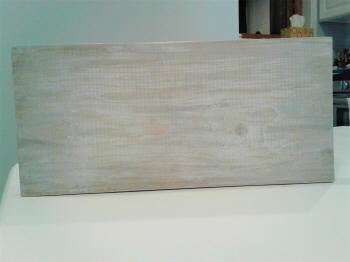
Paint your wood whatever color you would like.
While it's drying, design your sign. I like to use iPiccy for my designs. They have great fonts and it is so easy to navigate. When you are all done designing your image and before you hit "save", flip your image horizontally so that it's showing a mirror version. (pic below)
Now take a piece of printer paper and cover it with contact paper. Then trim the edges of the paper so that one side is contact paper and the other side is printer paper. Now put this paper into your ink jet printer so that your printer prints on top of the contact paper.
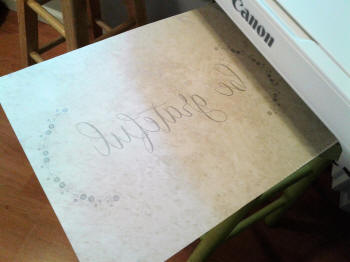
Print your image (make sure it prints the mirror version). Be careful with the paper. The ink will smudge if it's bumped because it does not dry on the contact paper.
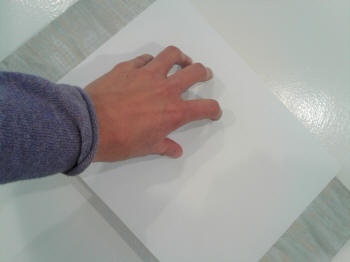
Carefully place the image ink side down on to your wood where you would like it. Make sure it does not move. Take the back of your spoon and rub over the back side of your entire image so that you are helping to press the ink into the wood. You can peek under the edges and make sure it is transferring good. If it didn't transfer good, just press a little harder in that area. Once the image has transfered life the paper and admire your work. You are going to want to seal the wood so that the ink is protected. Wait 60 minutes or so and then spray it with a laquer or you can paint it on, but be sure it's dry so the ink doesn't smear.
Once it is completely dry you can add picture hanging hardware to the back if you plan to hang it up.
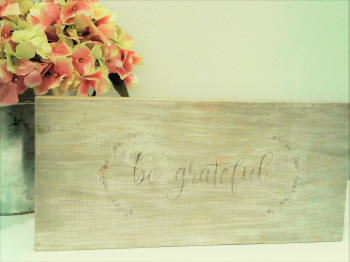
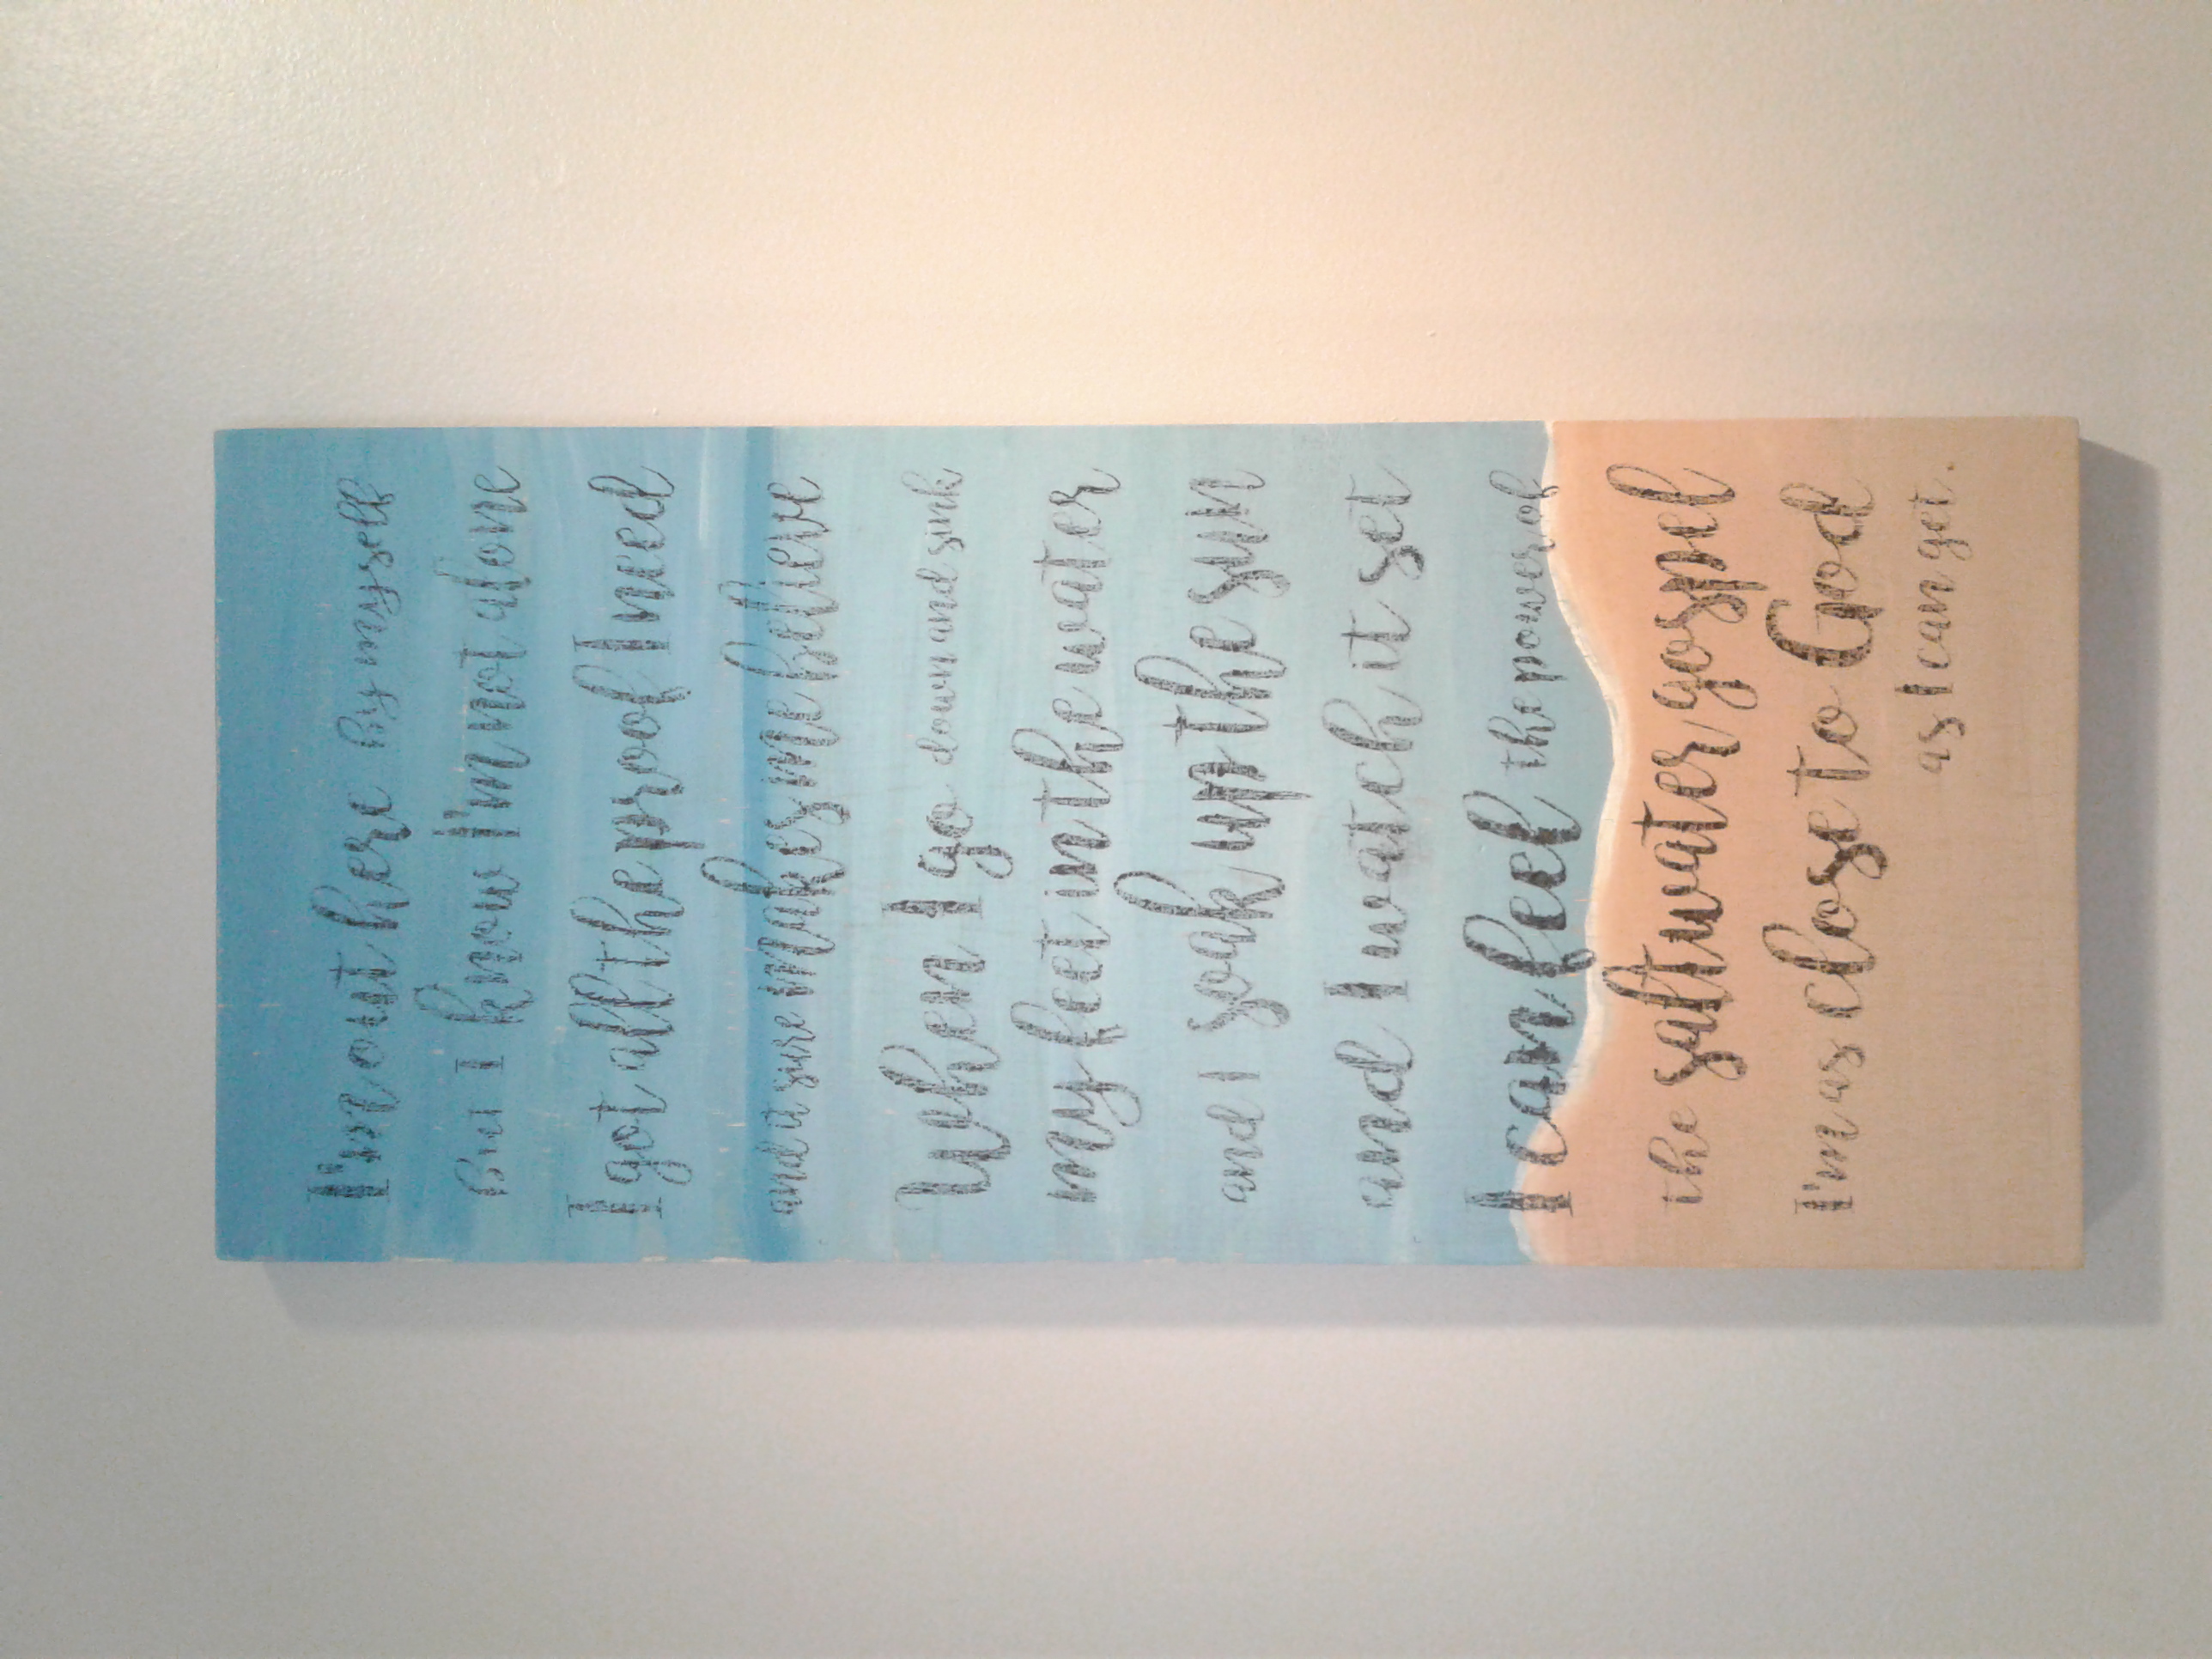
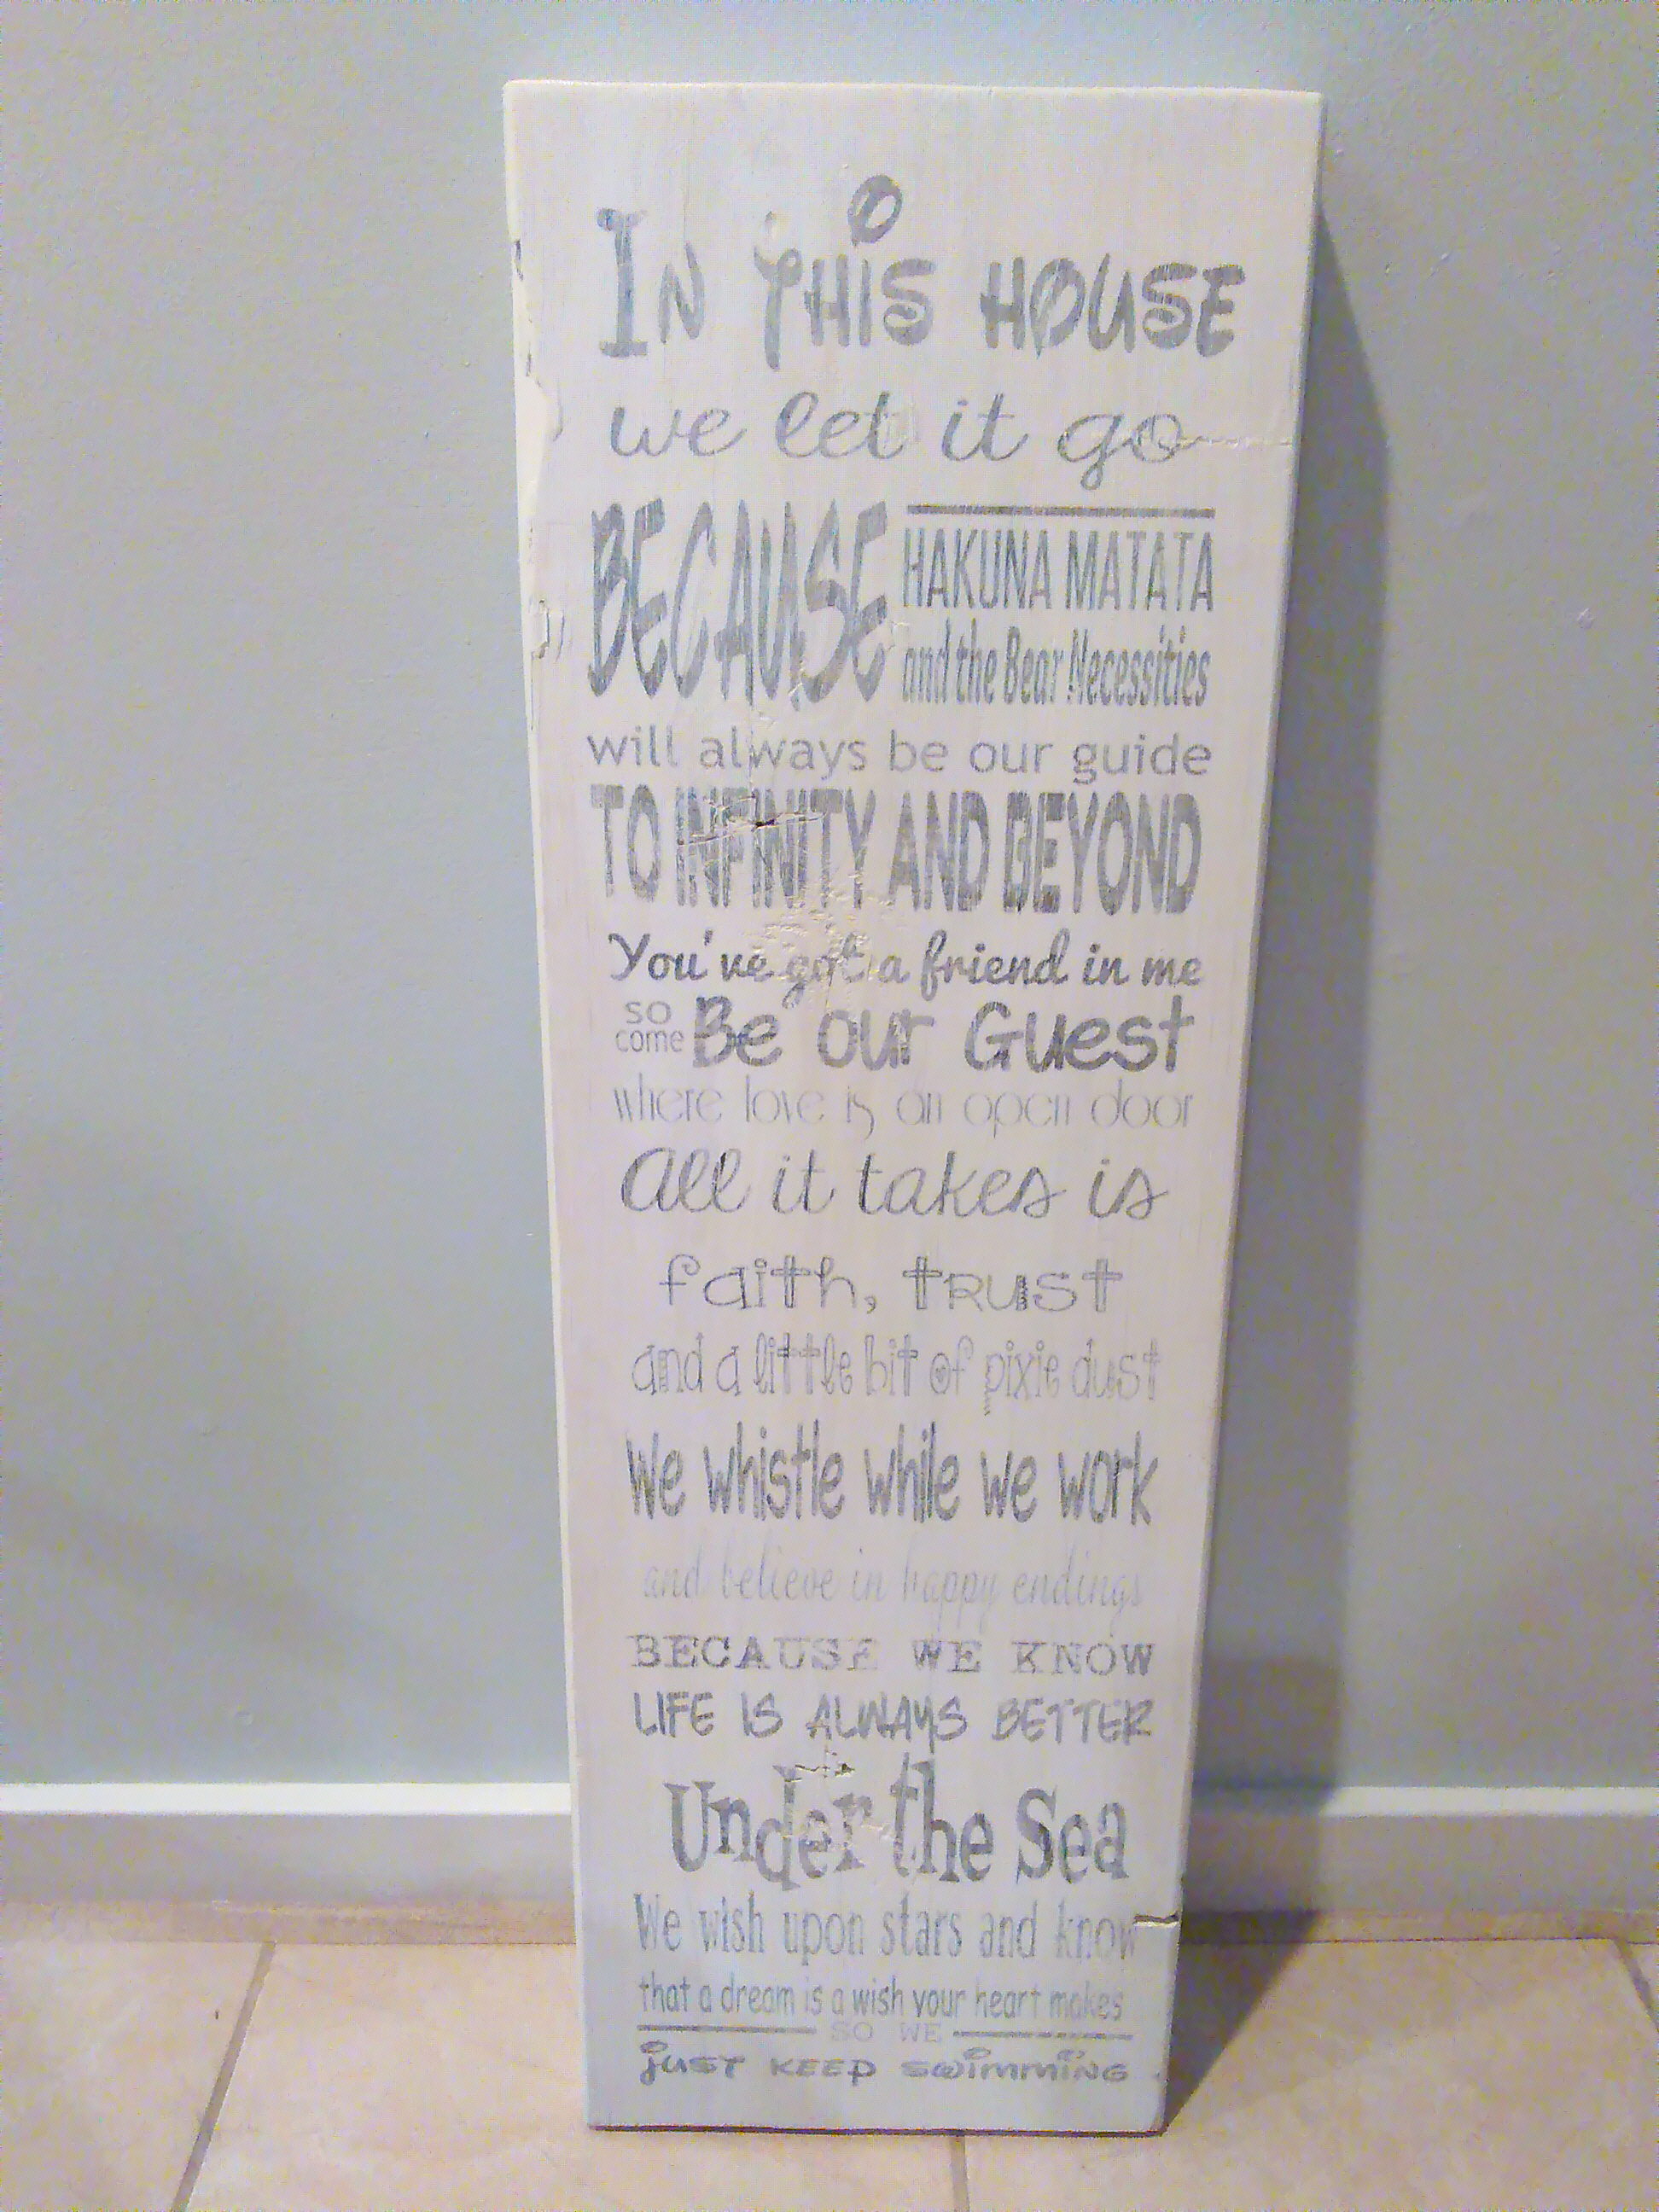
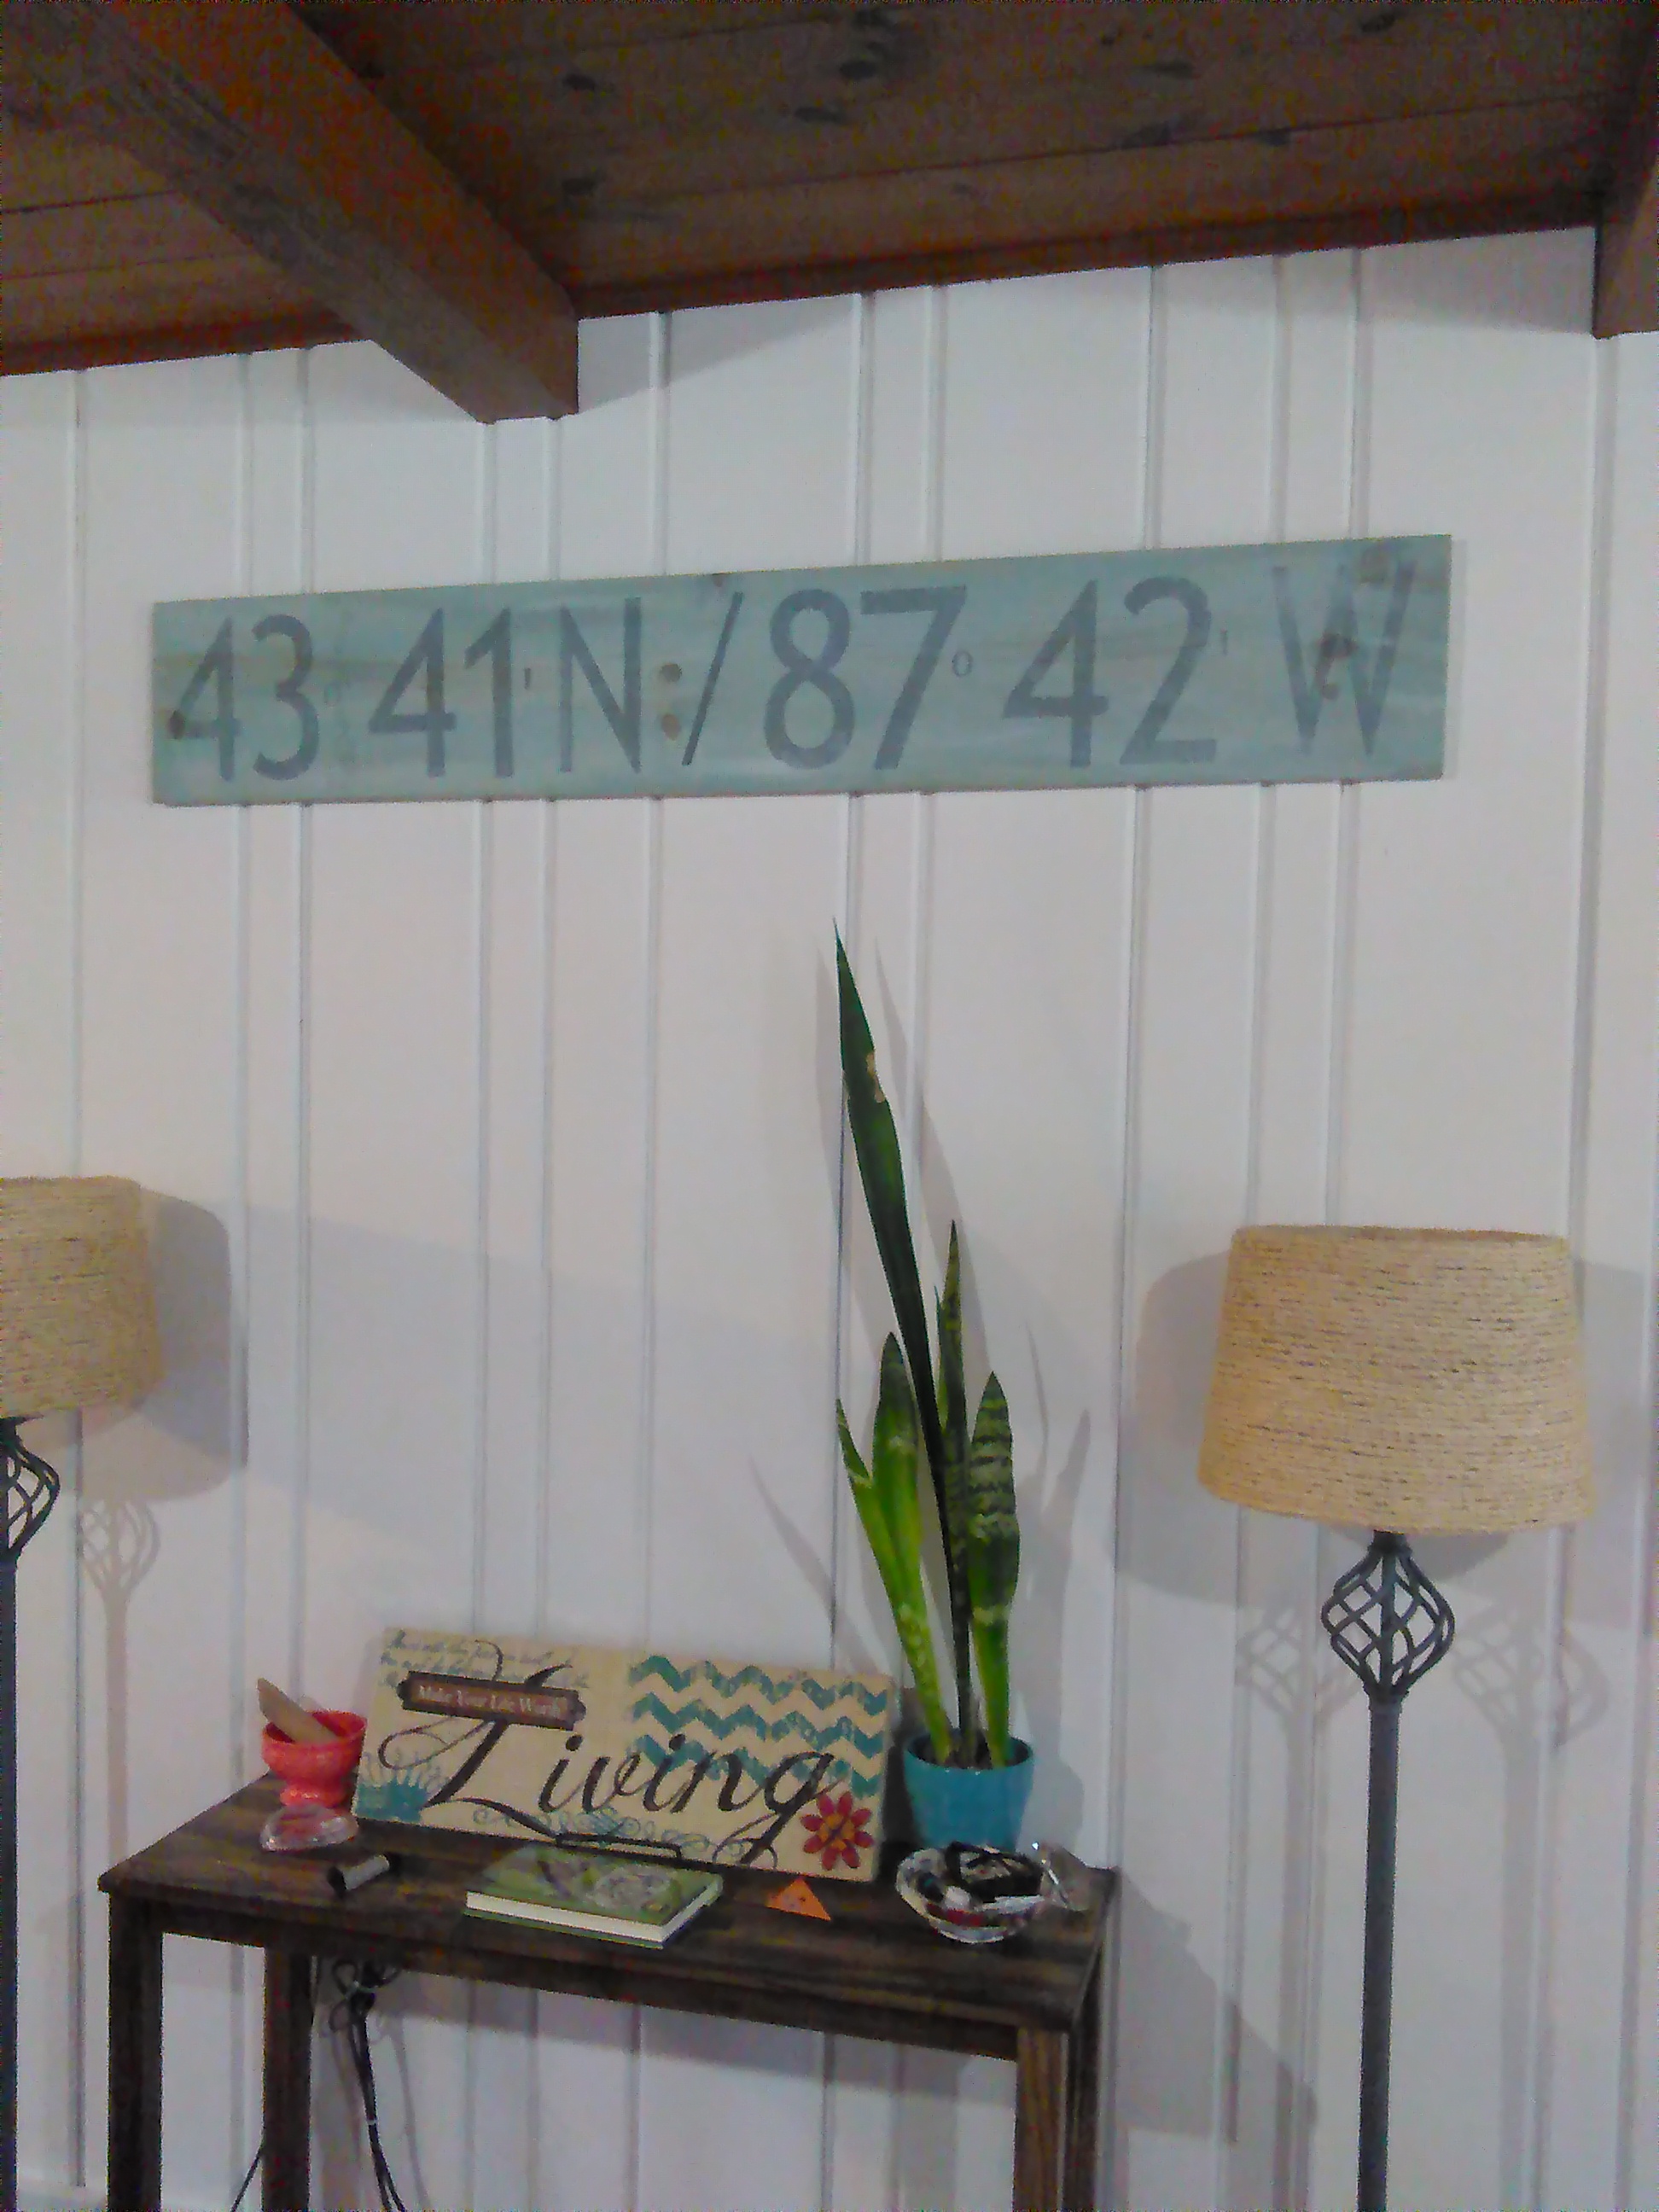
These are a few others I have done to help give you some inspiration :)
Ready to make your own signs? Check out all 24 or our printable designs!
do it yo
CrazyDIYmom.com Contact Us Privacy Policy Disclaimer About me