
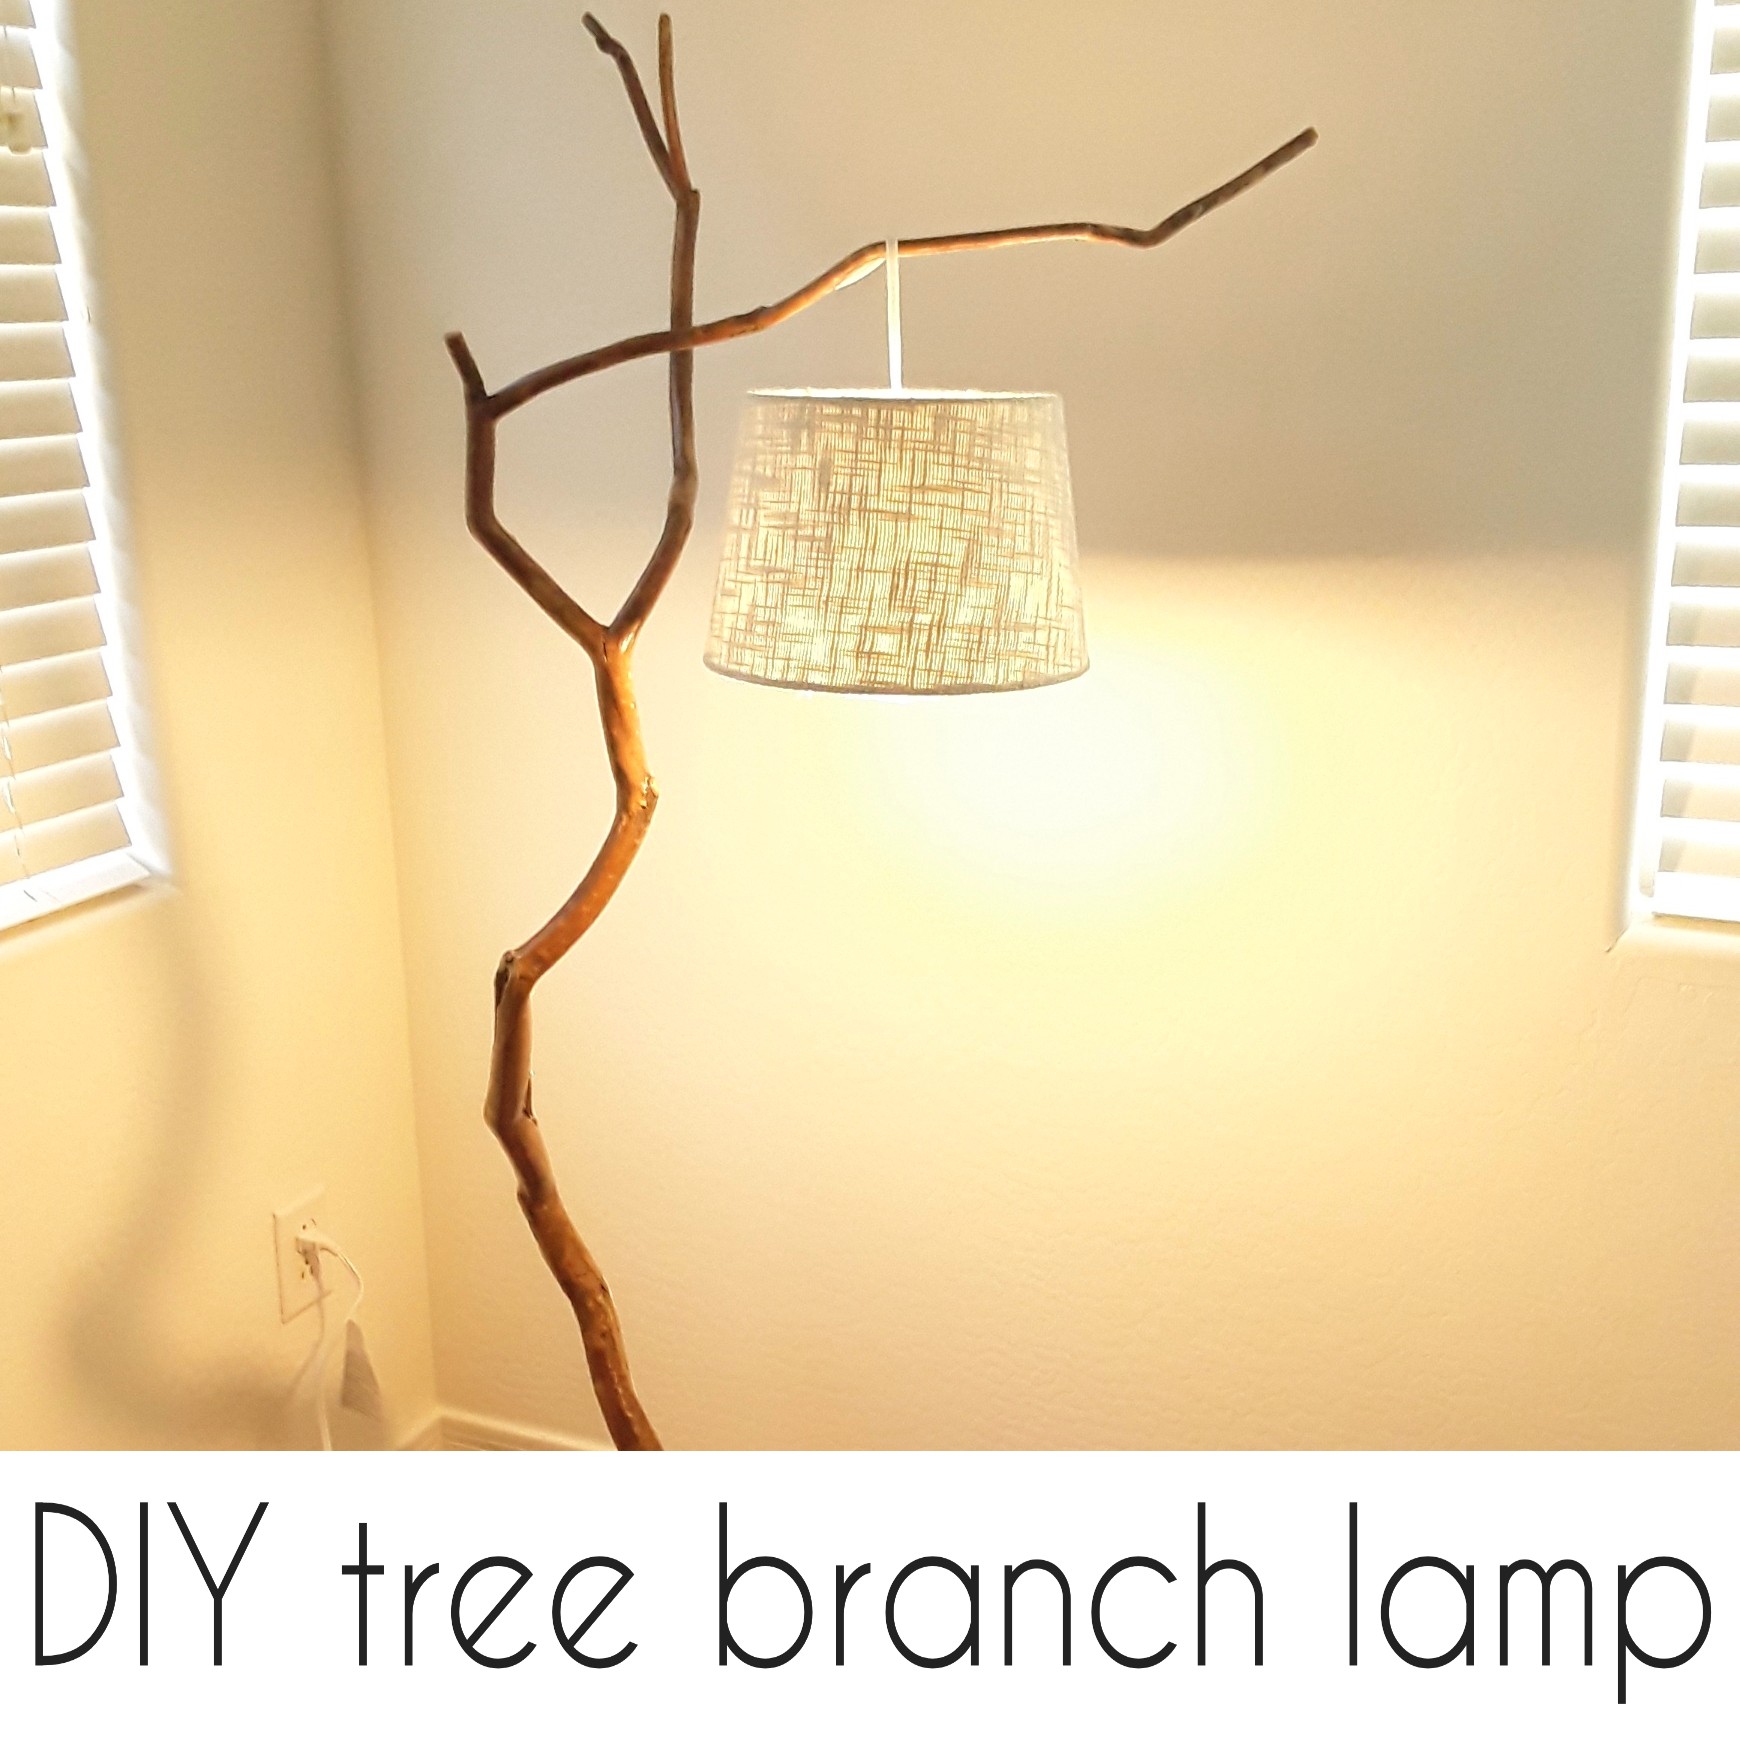
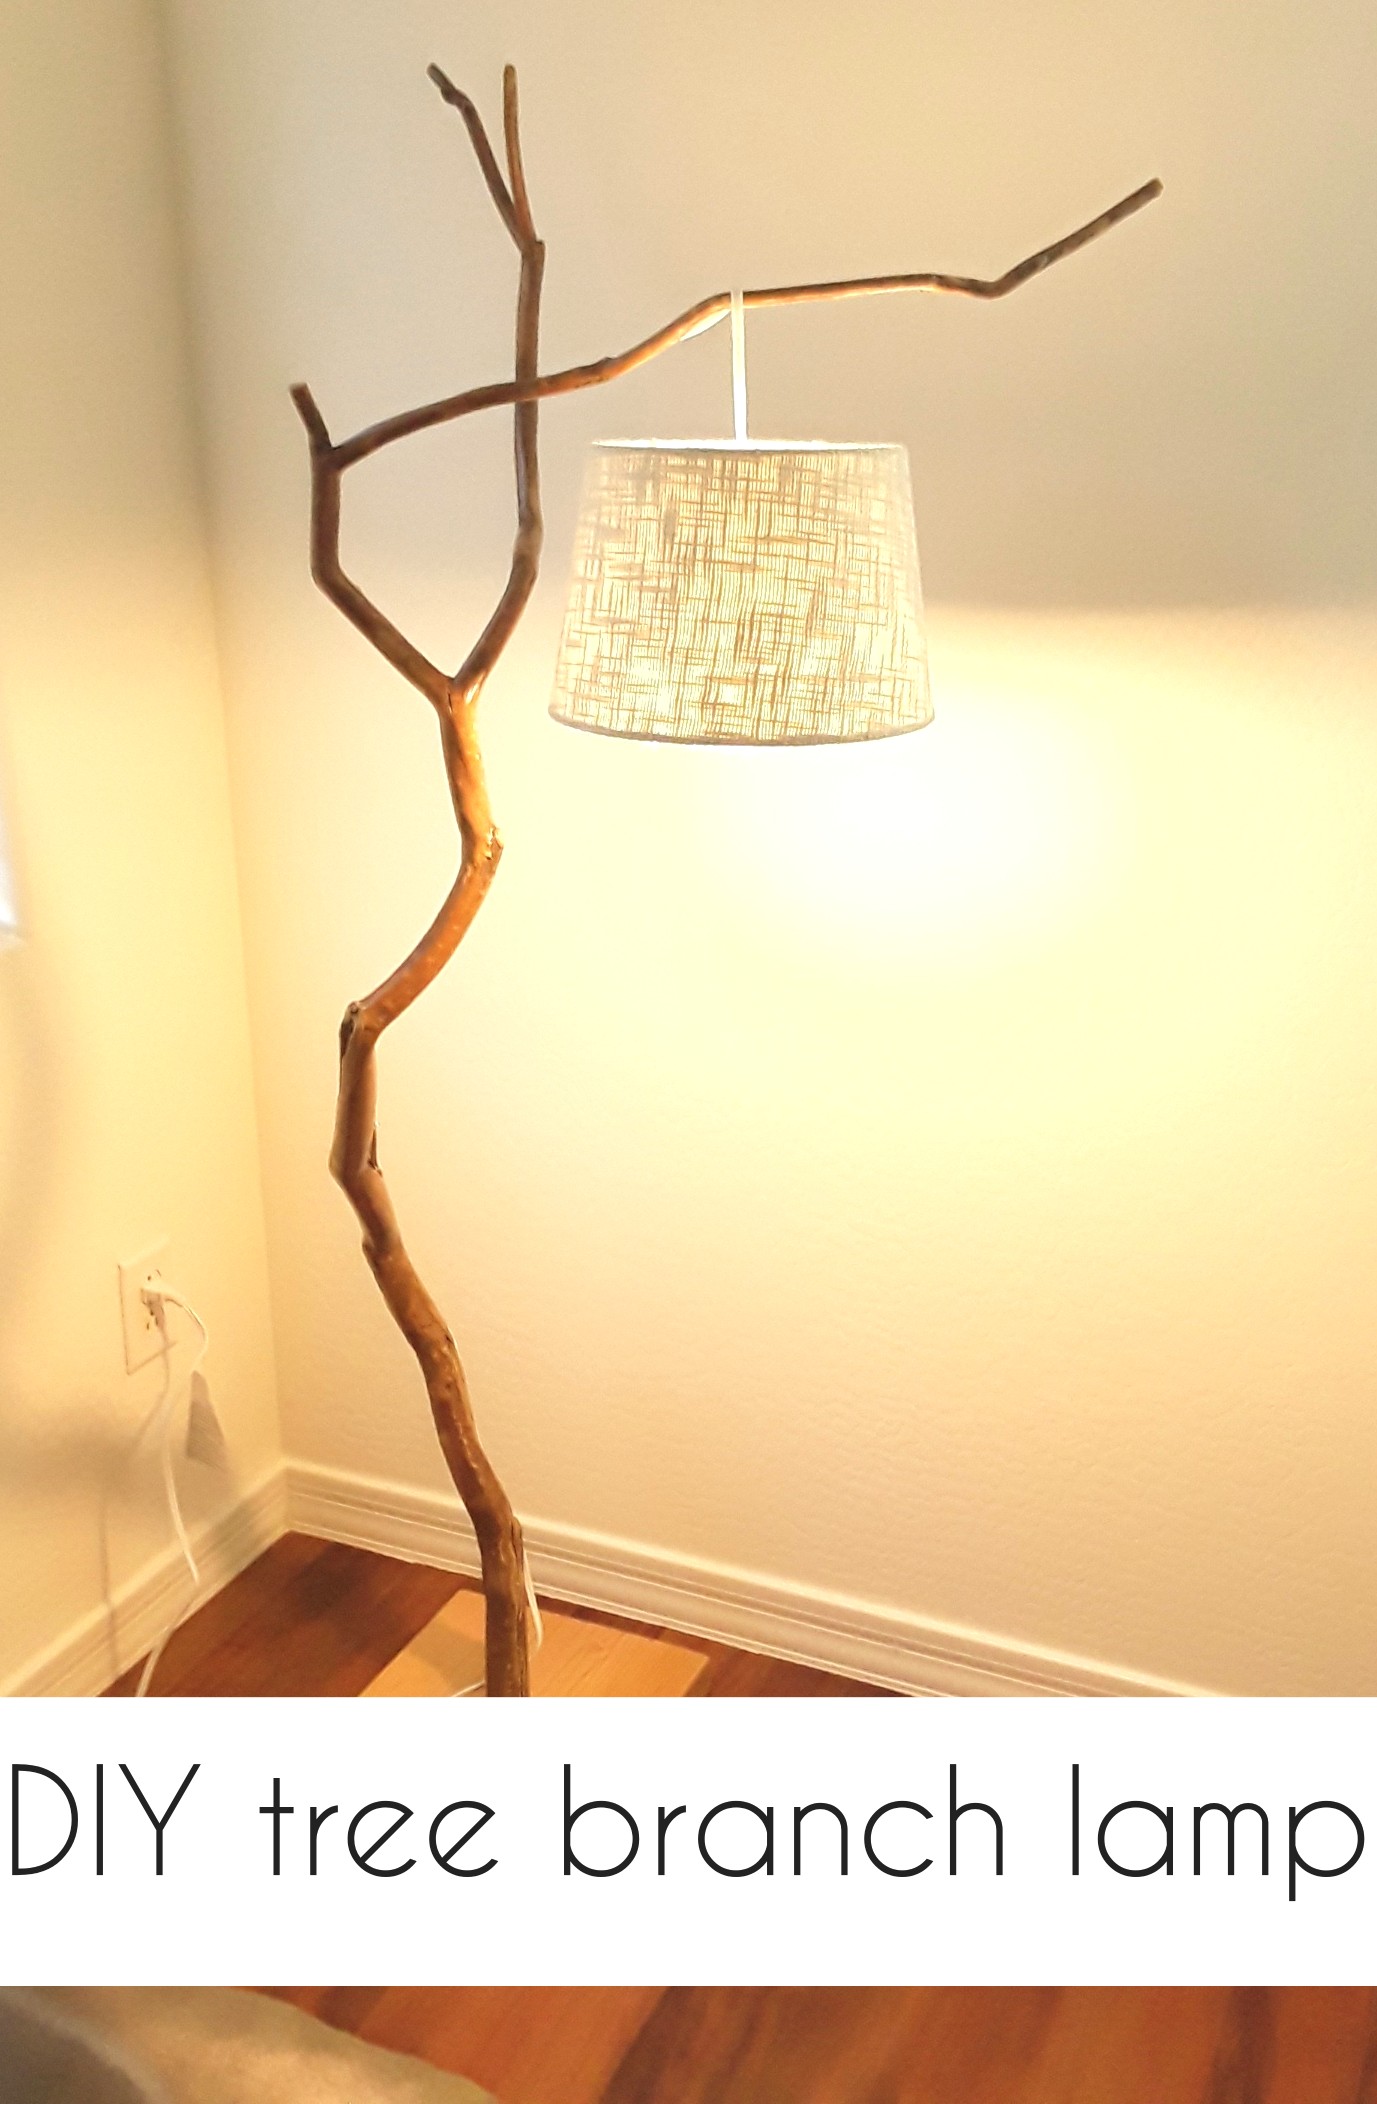
DIY tree branch lamp
This post may contain affiliate links.
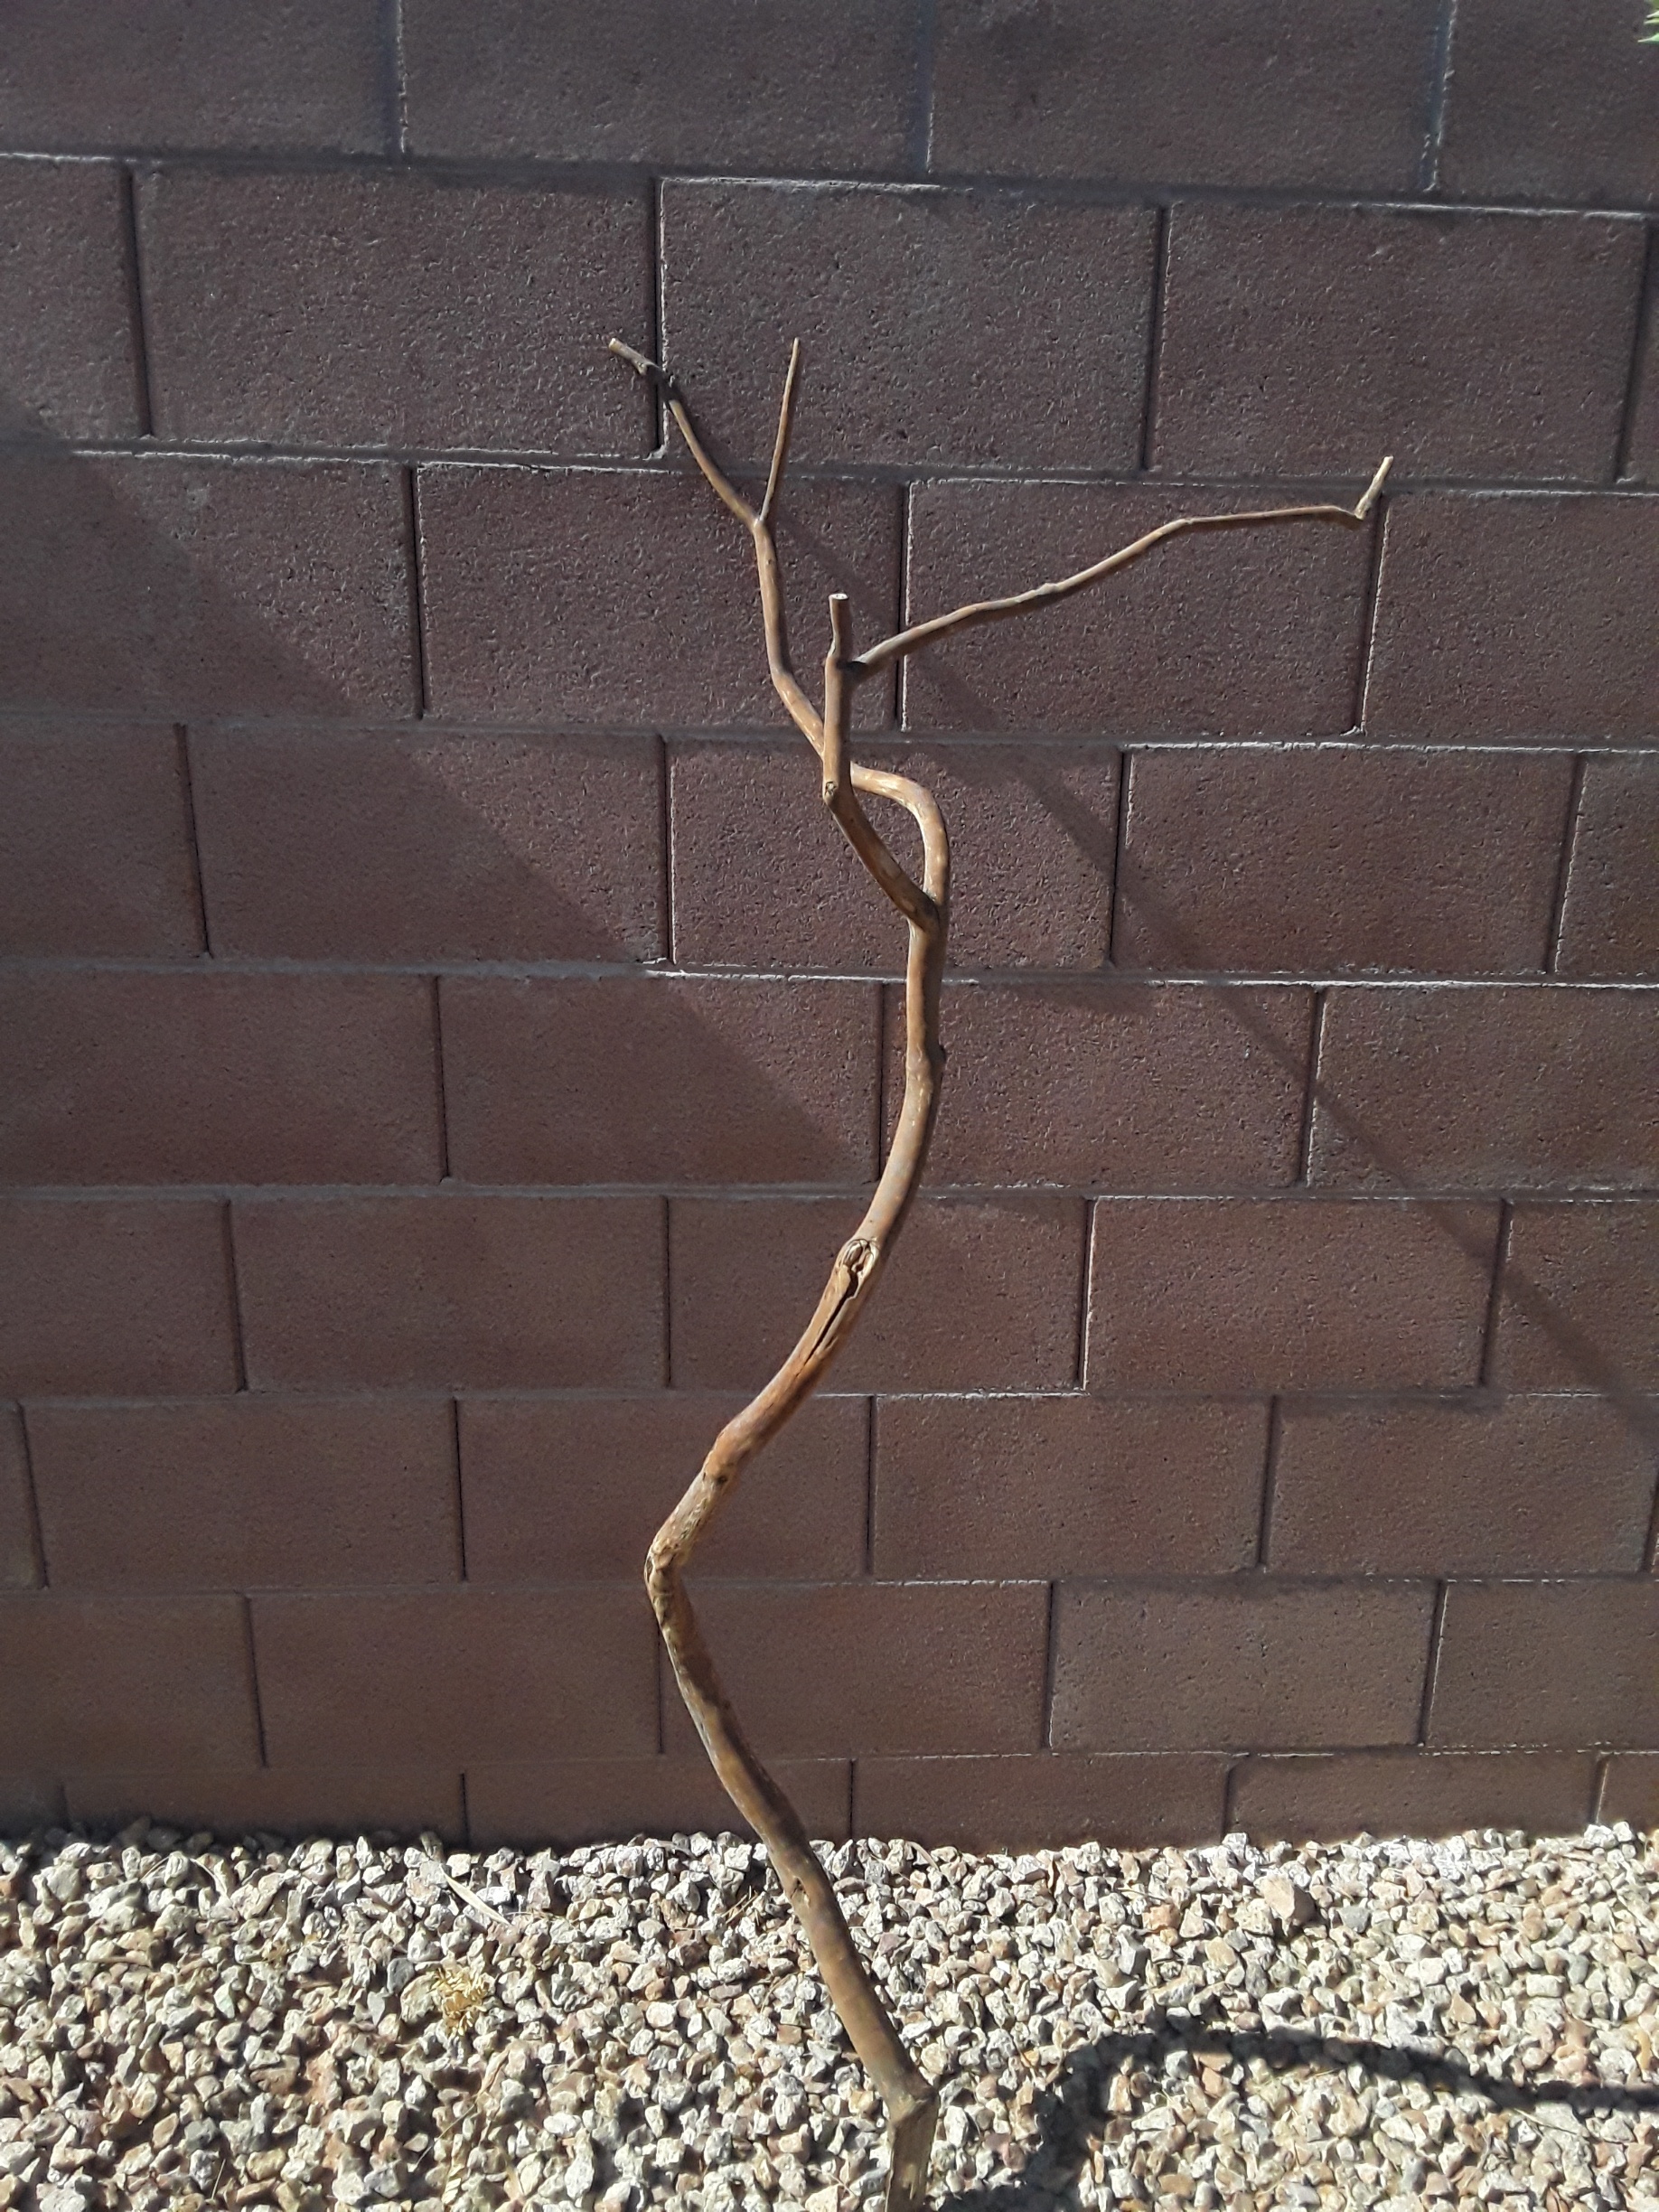
When we bought our new house in AZ I knew what type of decorating I wanted to do. I wanted it simple and clean looking with plants. I LOVE plants. I want ALL the plants! So the way our living room was set up and where the TV needed to go, we had an odd little corner and I knew it needed a tall standing lamp. We looked everywhere, but weren't able to find one that seemed to "match". Then I was browsing lamps online and saw a driftwood table lamp that was so cool. Except I wanted a floor lamp and I also lived no where near the beach. But, it got the wheels turning and we went out a hike to try and find something we could use instead. And I found the perfect branch off a mesquite tree. When you're searching for the perfect branch, keep in mind how you want it to look and where you want the bulb/shade to hang. I knew I wanted my branch to stand up tall, but I wanted a branch to come out at about 90* so that I could hang the light out from it.
What you'll need:
a branch
light bulb lamp kit
putty knife (or something to remove the bark)
Polyurethane or some type of sealer
staple gun and staples
a piece of wood as a base (mine was a 10x10x2)
I started by removing all of the bark off the branch. Fortunately this branch had been down awhile and was very dried out and dead so most of the bark was easy to remove. I used a putty knife to remove my bark pretty easily. What you use will depend on your branch and what you have on hand. I did have a few spots where I struggled to get it off and then I used a utility knife and occassionally a sander to grind it down a bit.
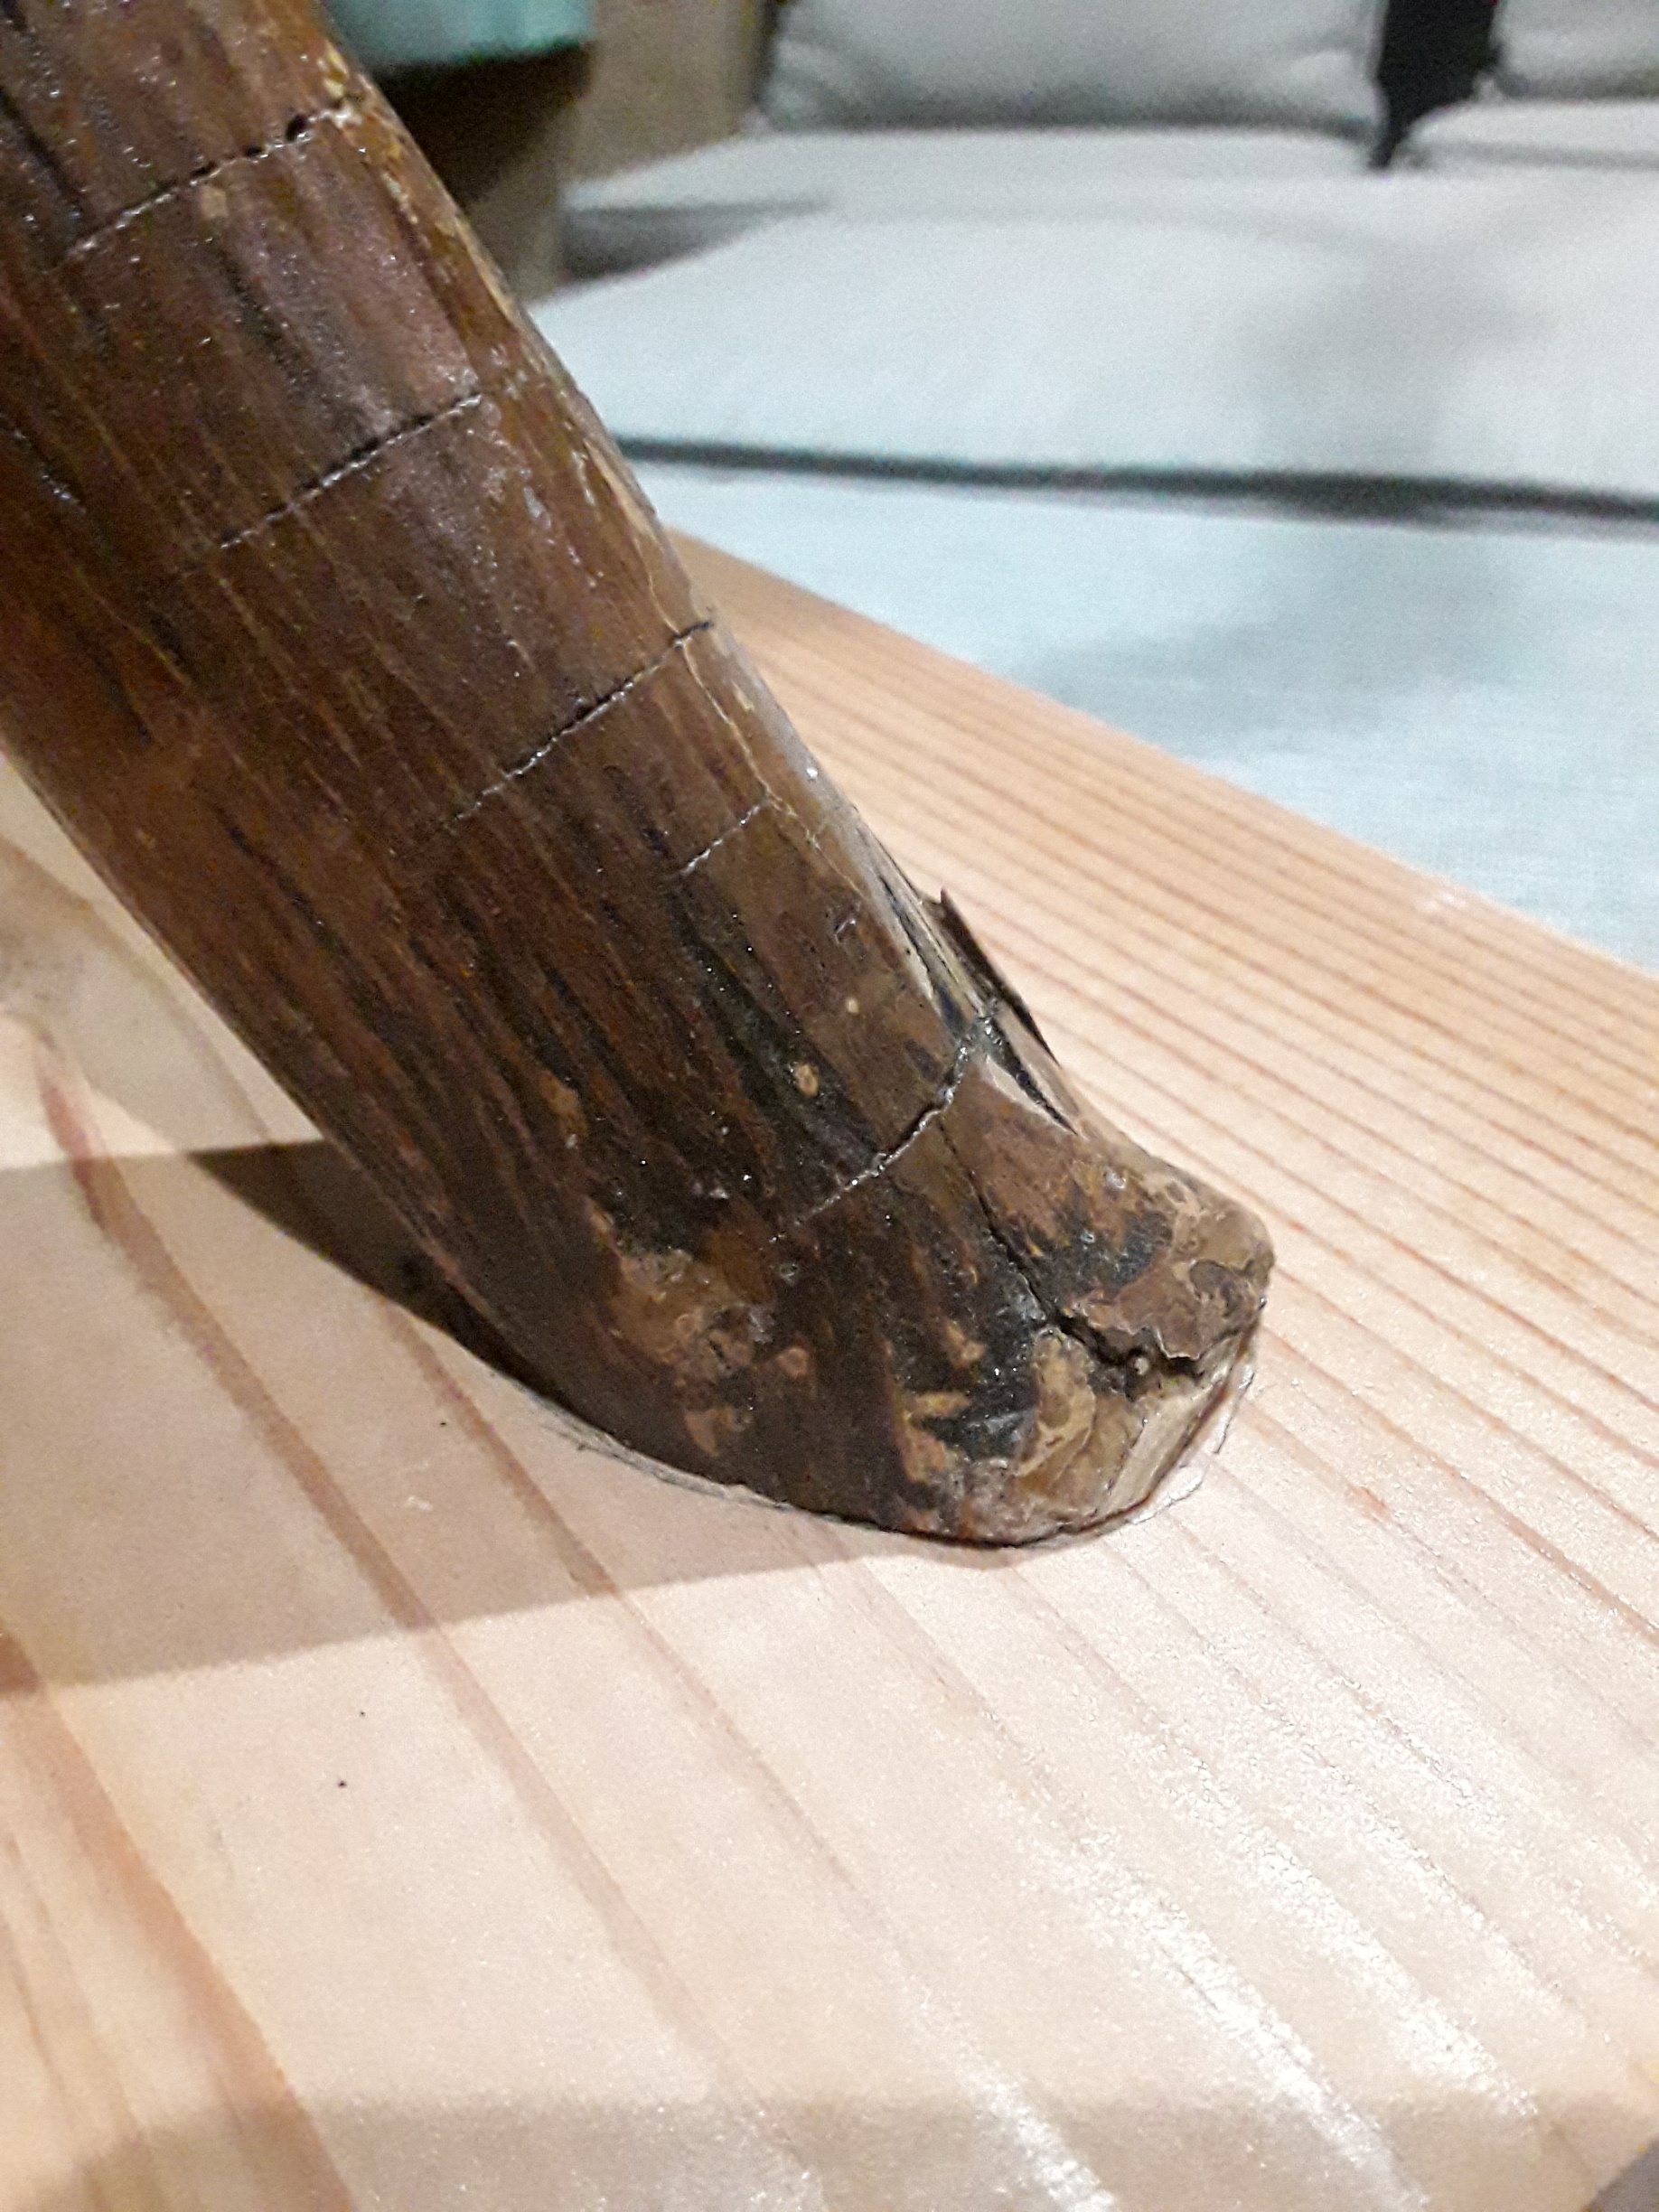
Once I had all the bark removed, I gave it a coat of sealer. I used a polyurethane that I had on hand, but I'm sure you could use a few times of sealers just to give it a nice protecting coat and make it shine! Now is also the time to stain your wood base if you need to.
Then the trickiest part. Trying to figure out how to make it balance while still standing up straight. I held my branch in the position I wanted it to be standing and then, looking at the very bottom of the branch, decided what needed to get cut off to make it stand in that position. I basically had to cut the end of my branch at an angle so that it stood up perfectly. This meant I took little slices off with my chop saw until I got it so that when the bottom of the branch was flat, the rest of the branch was up exactly how I wanted it to when it was finished.
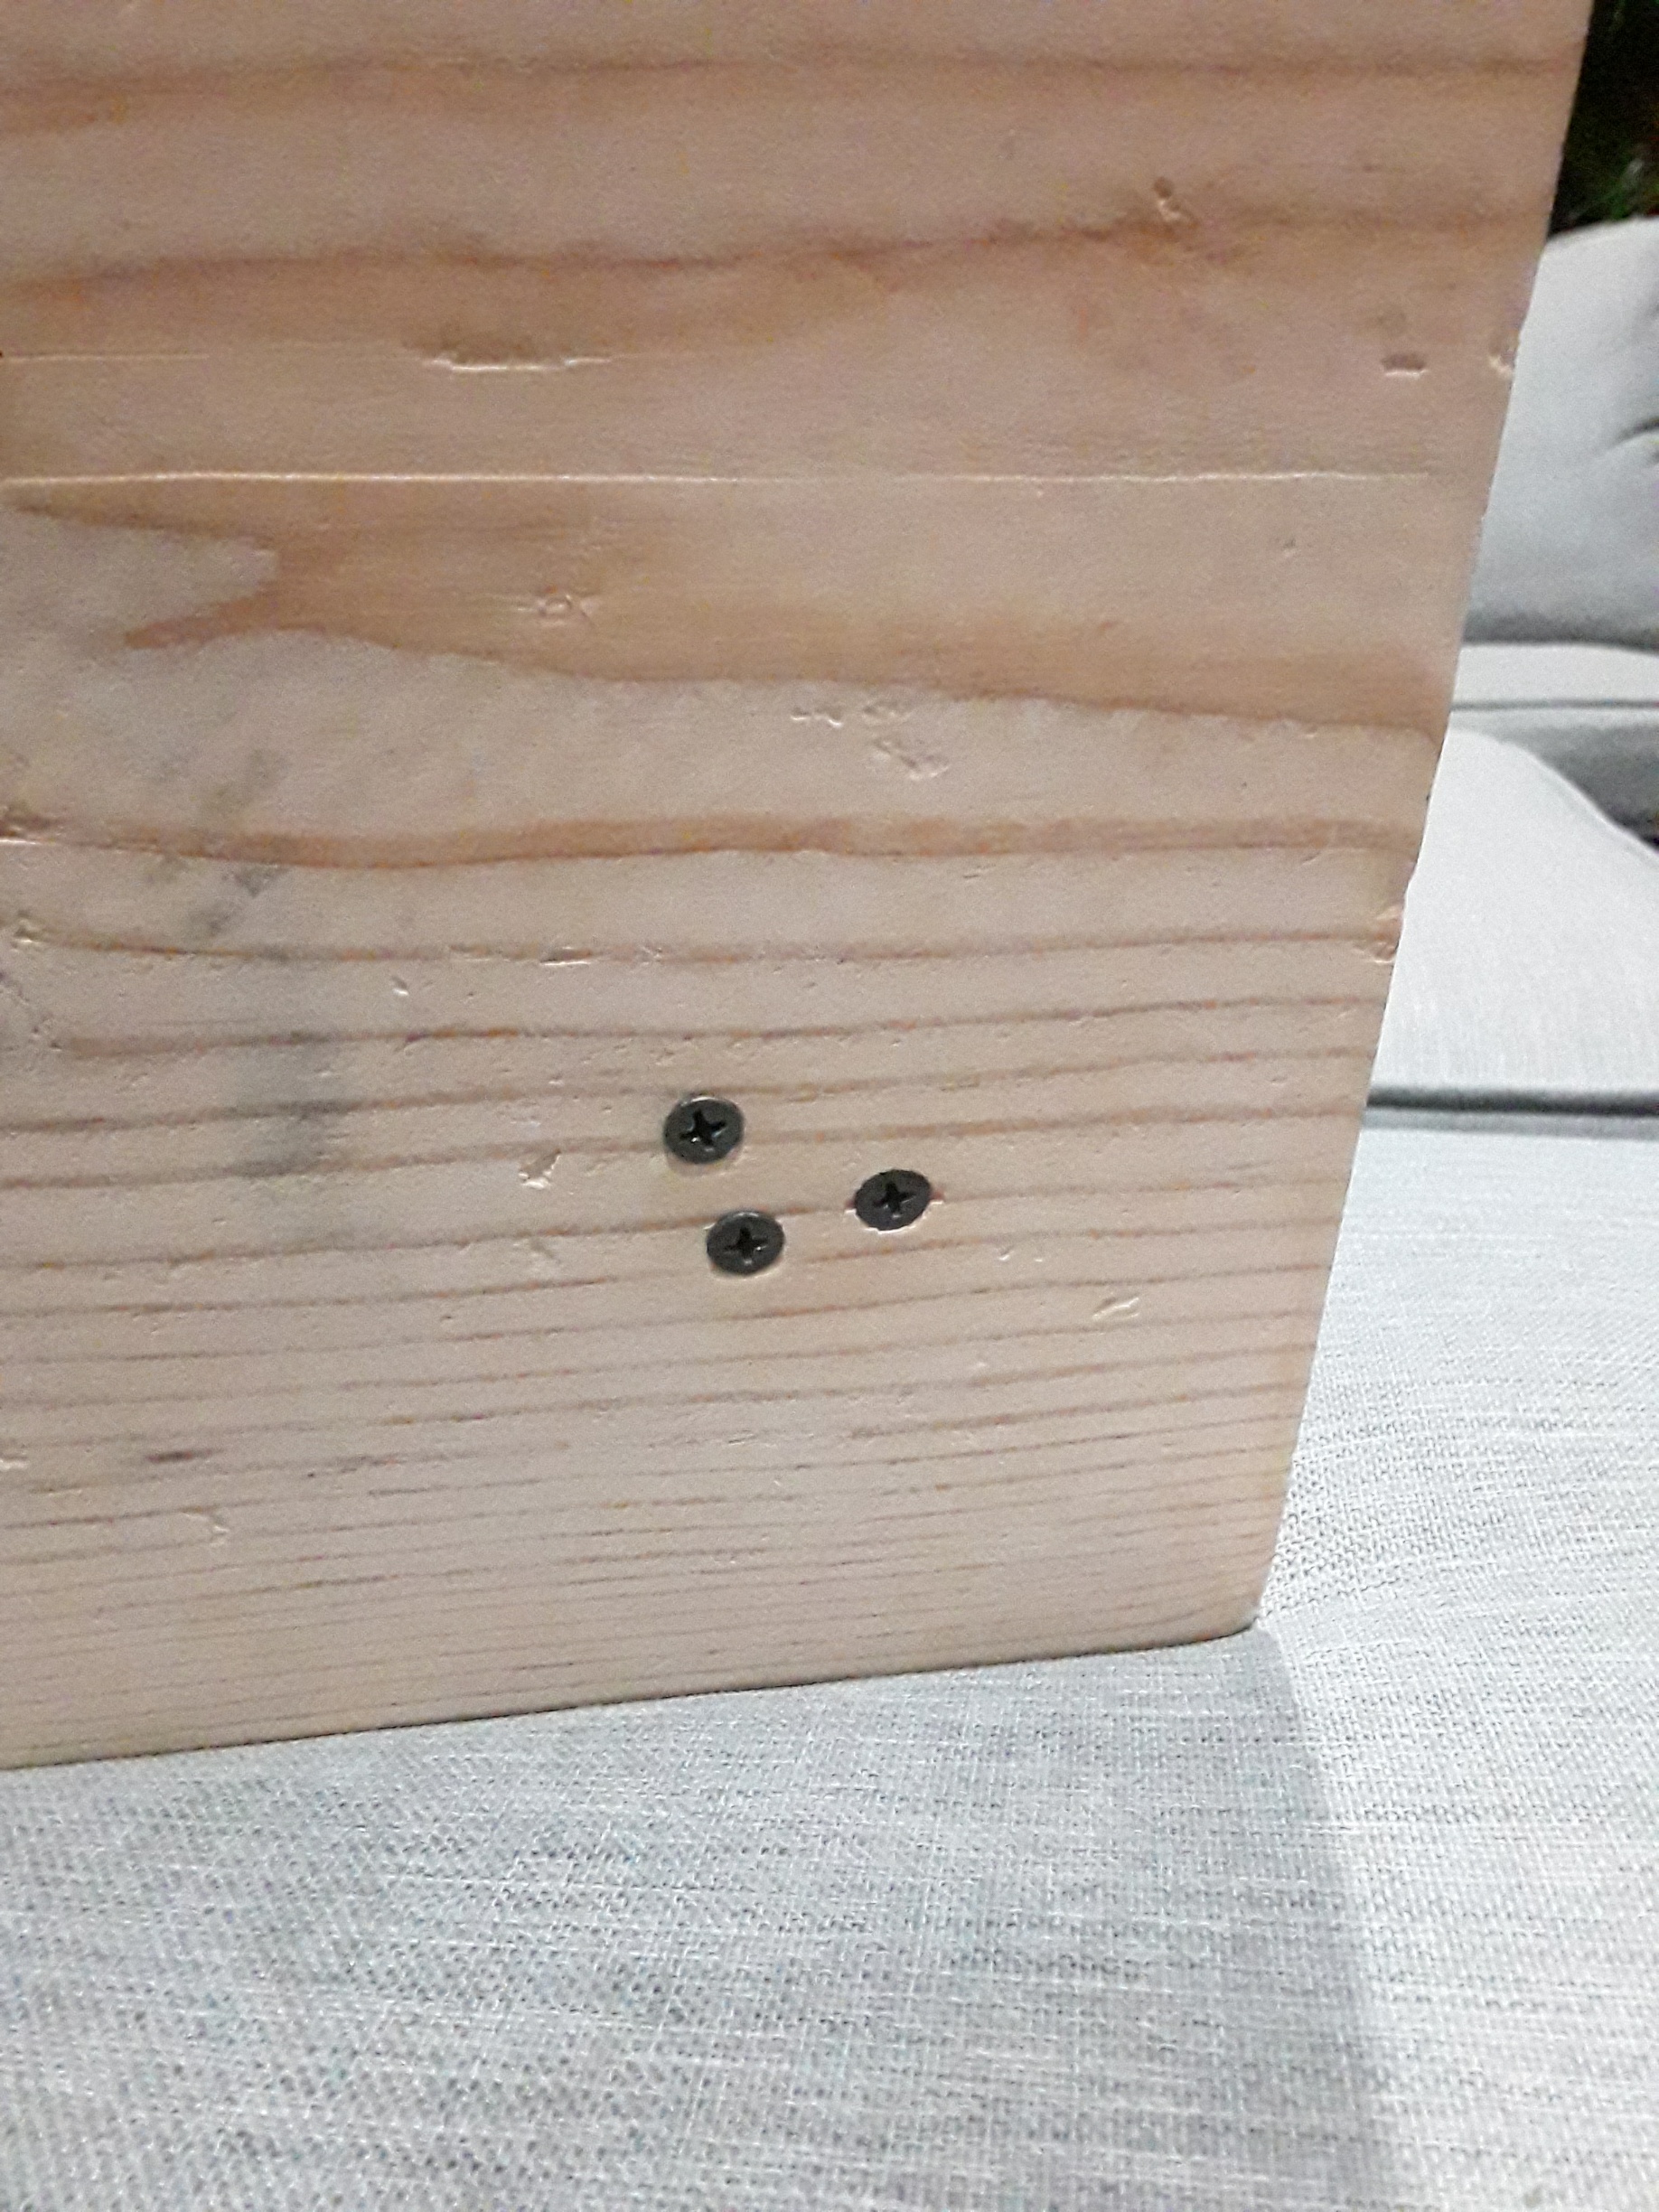
I placed the tree branch onto the board I was gonna use and tried to find the best place to attach it so that the weight was evenly distributed. Fortunately this mesquite tree branch is very light so it wasn't hard to balance it out. I placed it more towards the corner of the wood and had my hubby help to hold it up while I traced around the branch right where I wanted. Then I took the wood and predrilled 3 holes through that spot so I knew right where it would go into the branch. Then we put the tree branch back in place and predrilled those same holes into the branch. I used just 3 screws to hold the branch to the wood and it worked perfectly. I was able to offset my screws into the wood so they weren't going to be touching my floors. If you are not able to you can add some felt to the bottom of your wood or even those little rubber floor protector pads. Just make sure the screws don't touch your floors and scratch them.
Then it's time to add your light kit. Before purchasing a light kit, decide what you need it to do. Will you want a shade? Or just the bulb? Will the shade be able to attach to the bulb or will you need extra pieces?
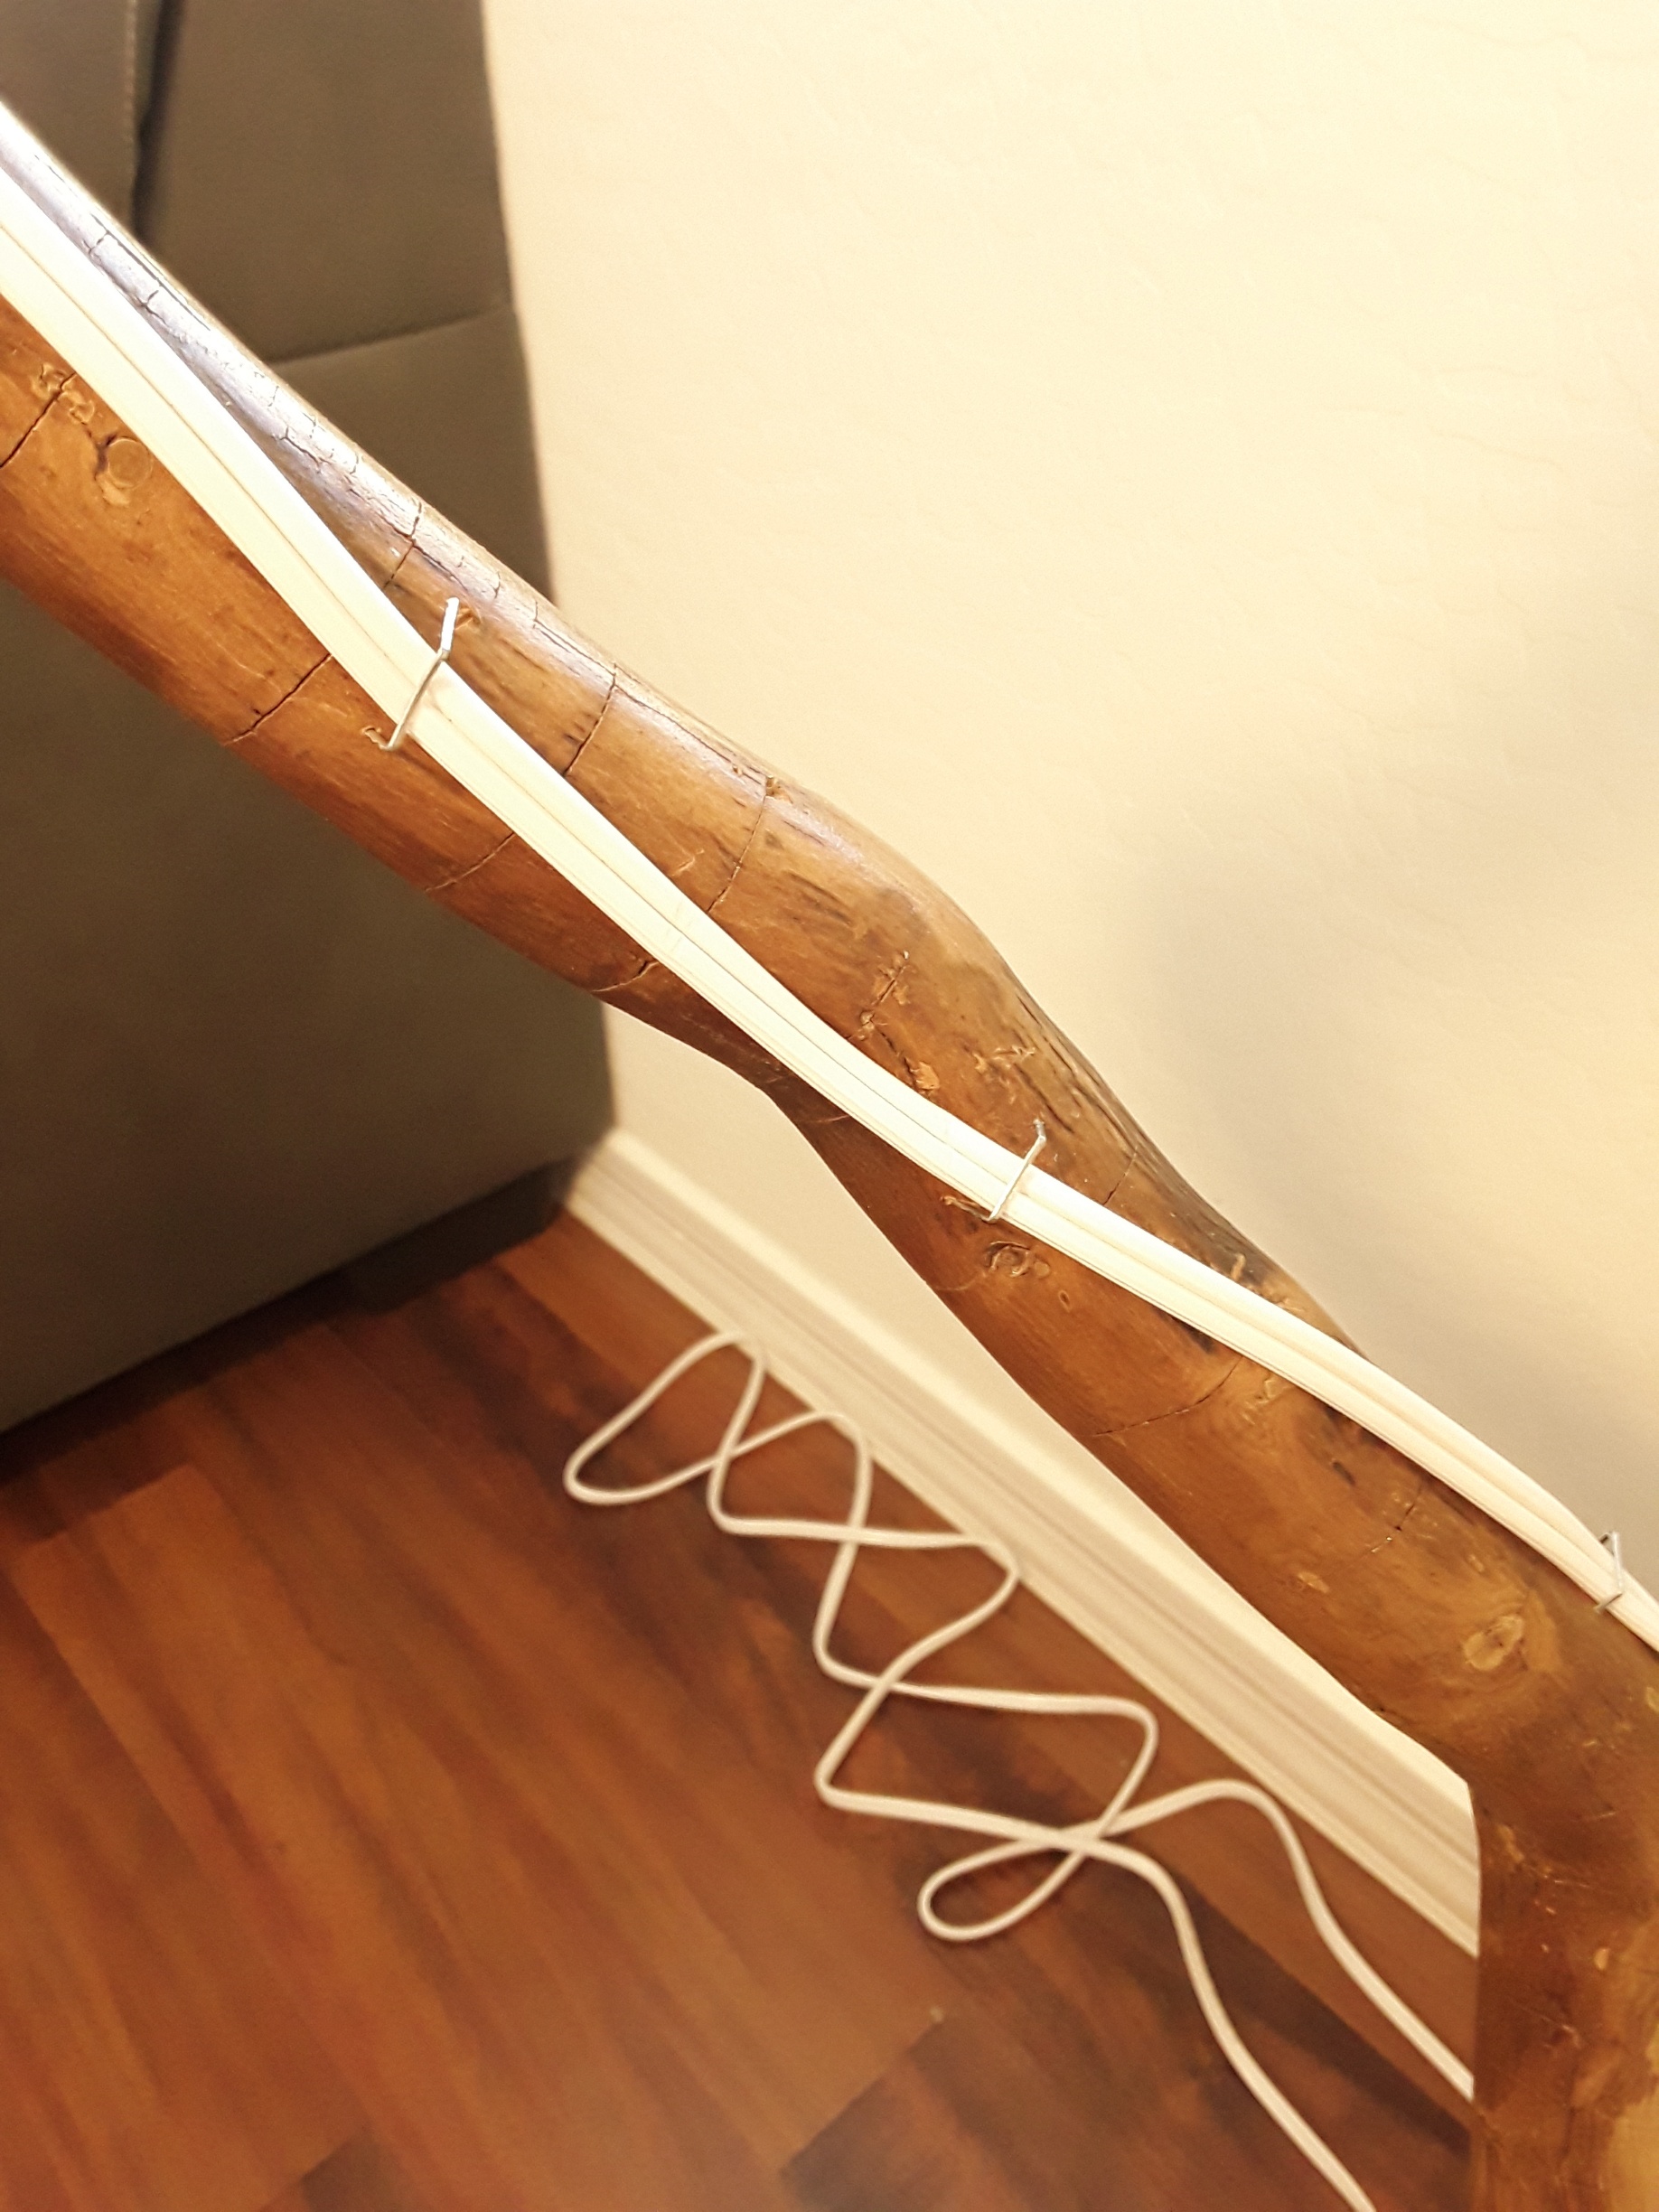
Next, decide on the front and back of your tree branch lamp as you'll want the cord to be on the backside of the lamp. Start at the bulb and decide where and how you want it to hang. If you're adding a lamp shade, take into account the shape and size of it. Then use your staple gun to staple AROUND the cord. Make sure you do not hit the cord. If you need help, have someone help you hold the cord while the other person staples. Take your time and work your way down the back side of the branch stapling your cord into place. Once you have it all in place you can add your bulb, your lamp shade and then plug it in!
Make sure to share pictures of your DIY tree branch lamps with us back on pinterest!
diy projects
CrazyDIYmom.com Contact Us Privacy Policy Disclaimer About me