
DIY home projects
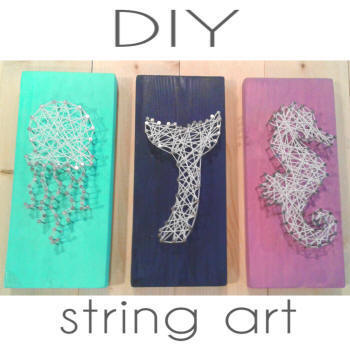
DIY string art
* This post may contain affiliate links.
I love making string art. They make great home decor and they are so easy and cheap to make. They also make fantastic gifts! I have made them for baby showers, anniversaries, sports fans, etc. They are so versatile and look like you bought them at a boutique.
Here's what you need:
piece of wood (cut and sanded)
small nails - I use these nails
hammer
paint or stain
string
computer and printer
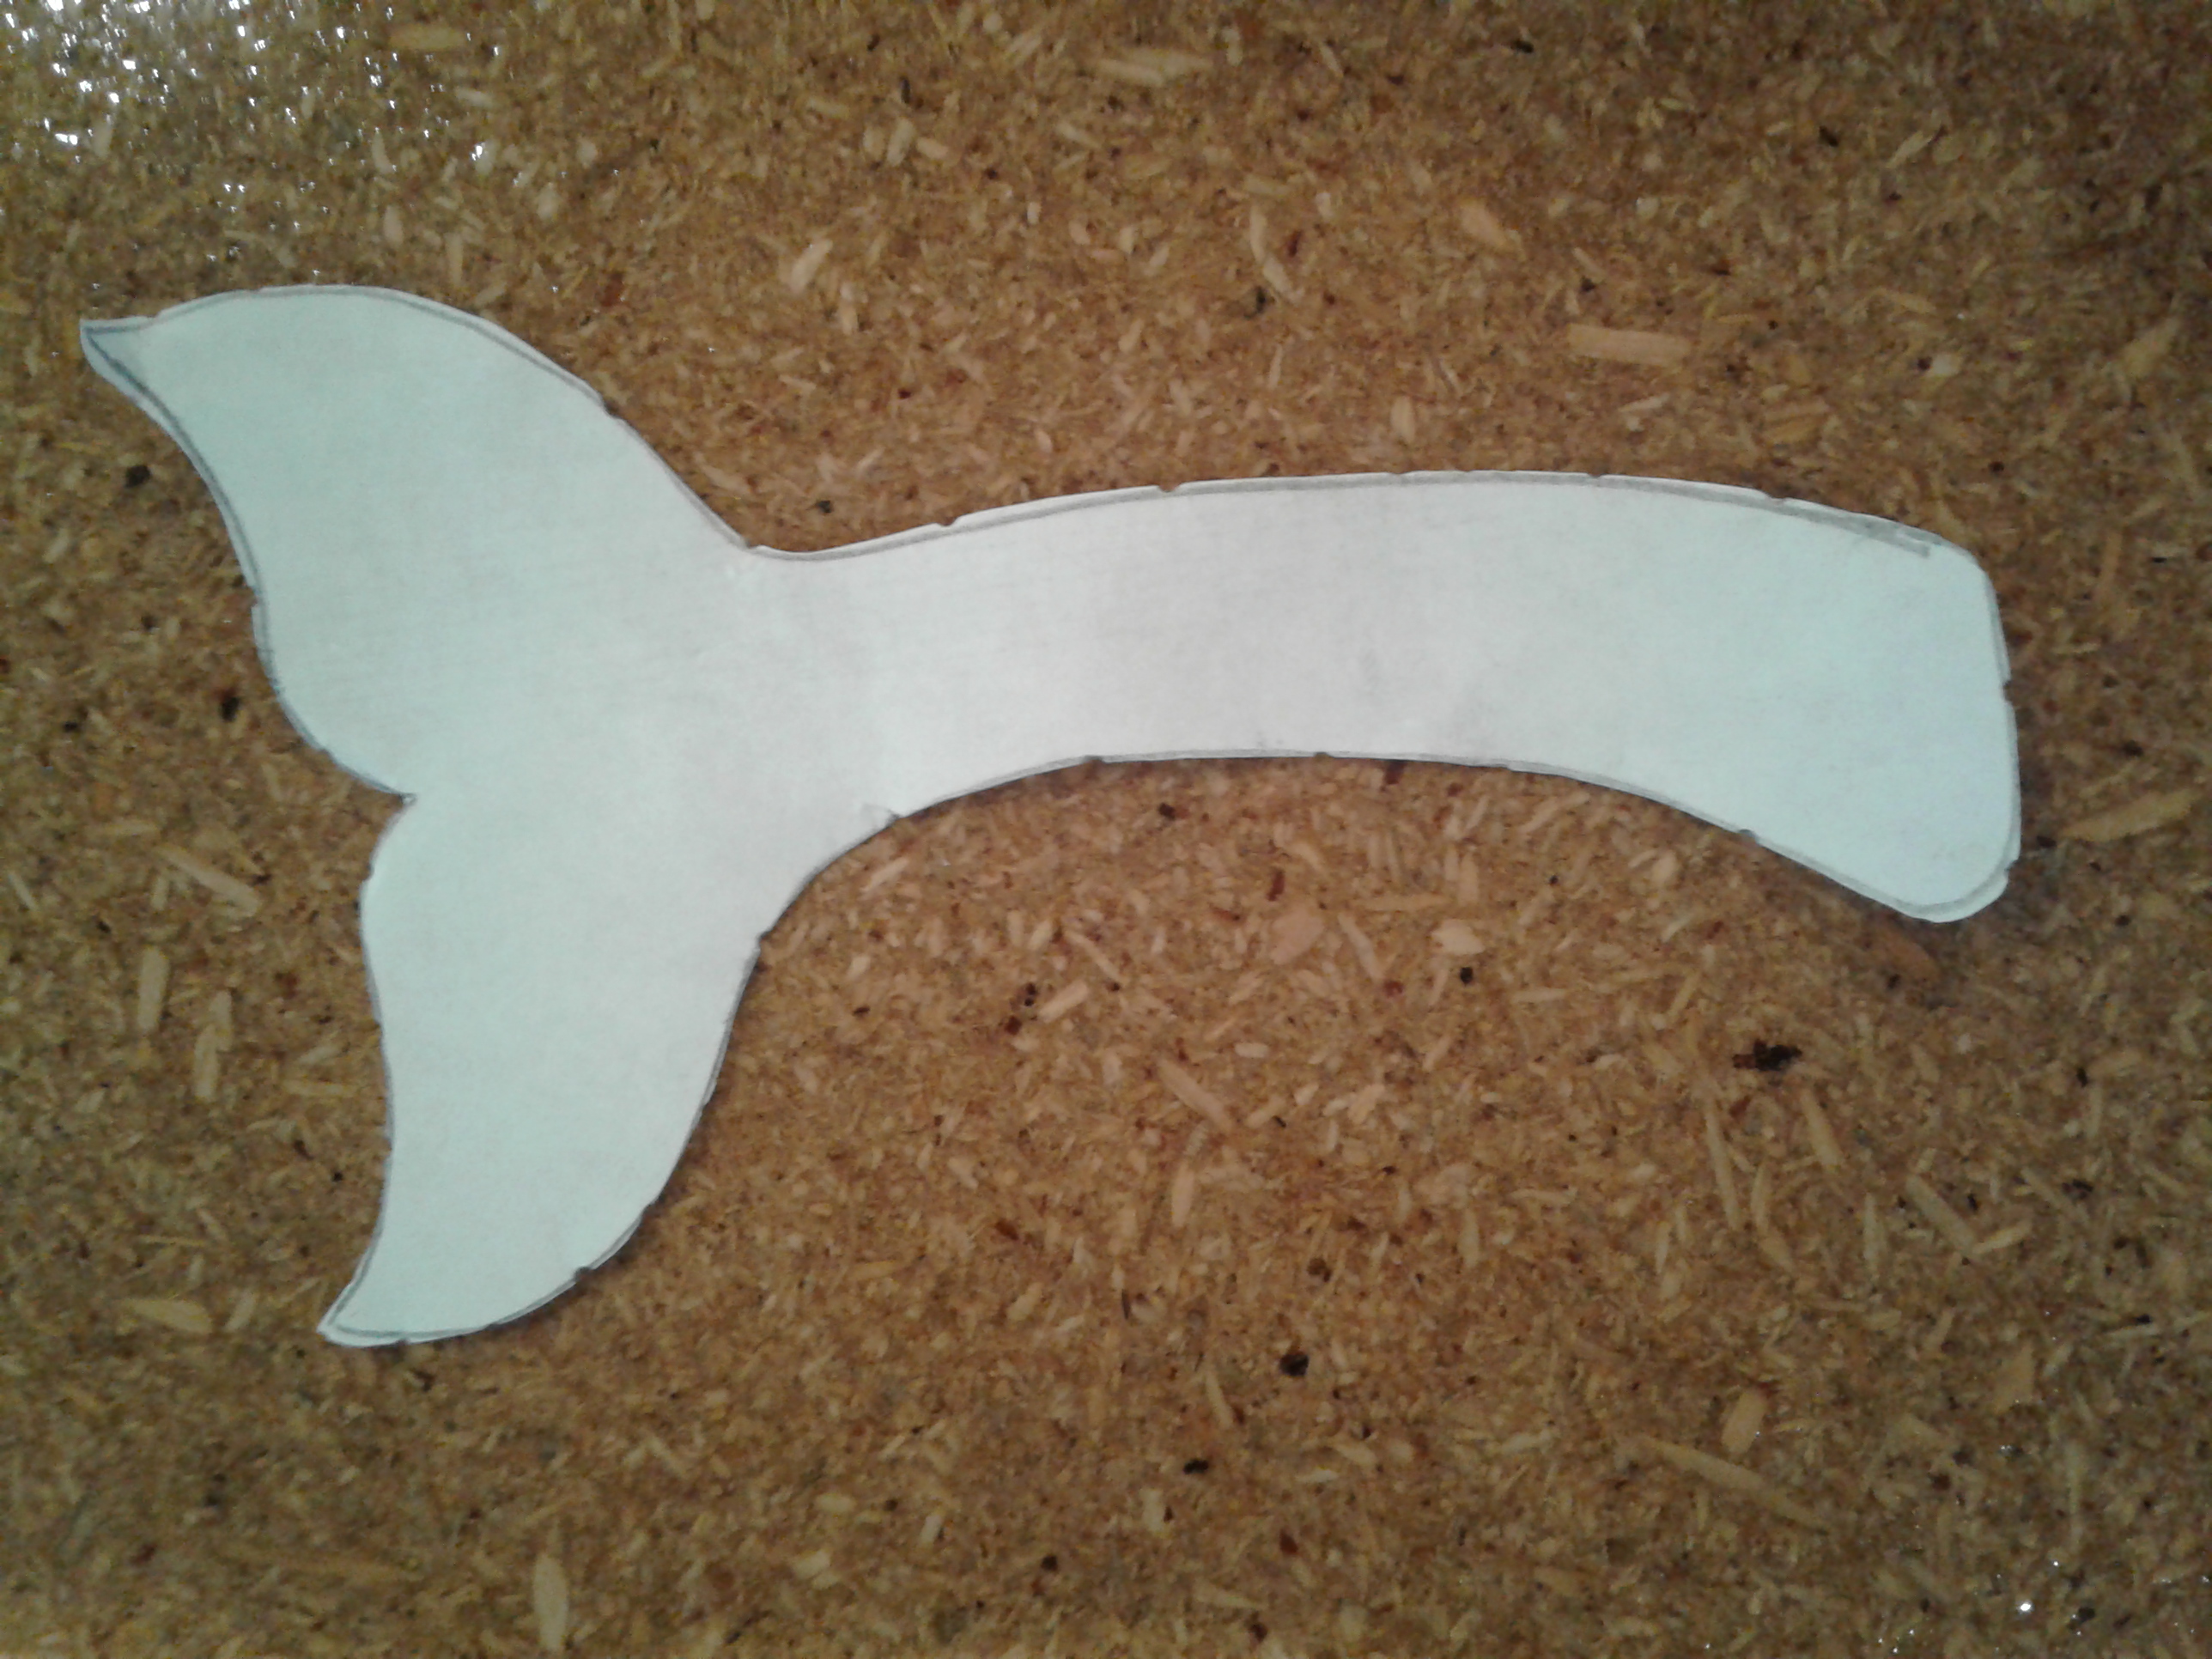
Decide on your design and print it out to fit on the size of wood you chose. If you chose a bigger design or long word you may need to figure out your dimensions and print on 2 sheets of paper. You could also draw out your design in place of using a printer.
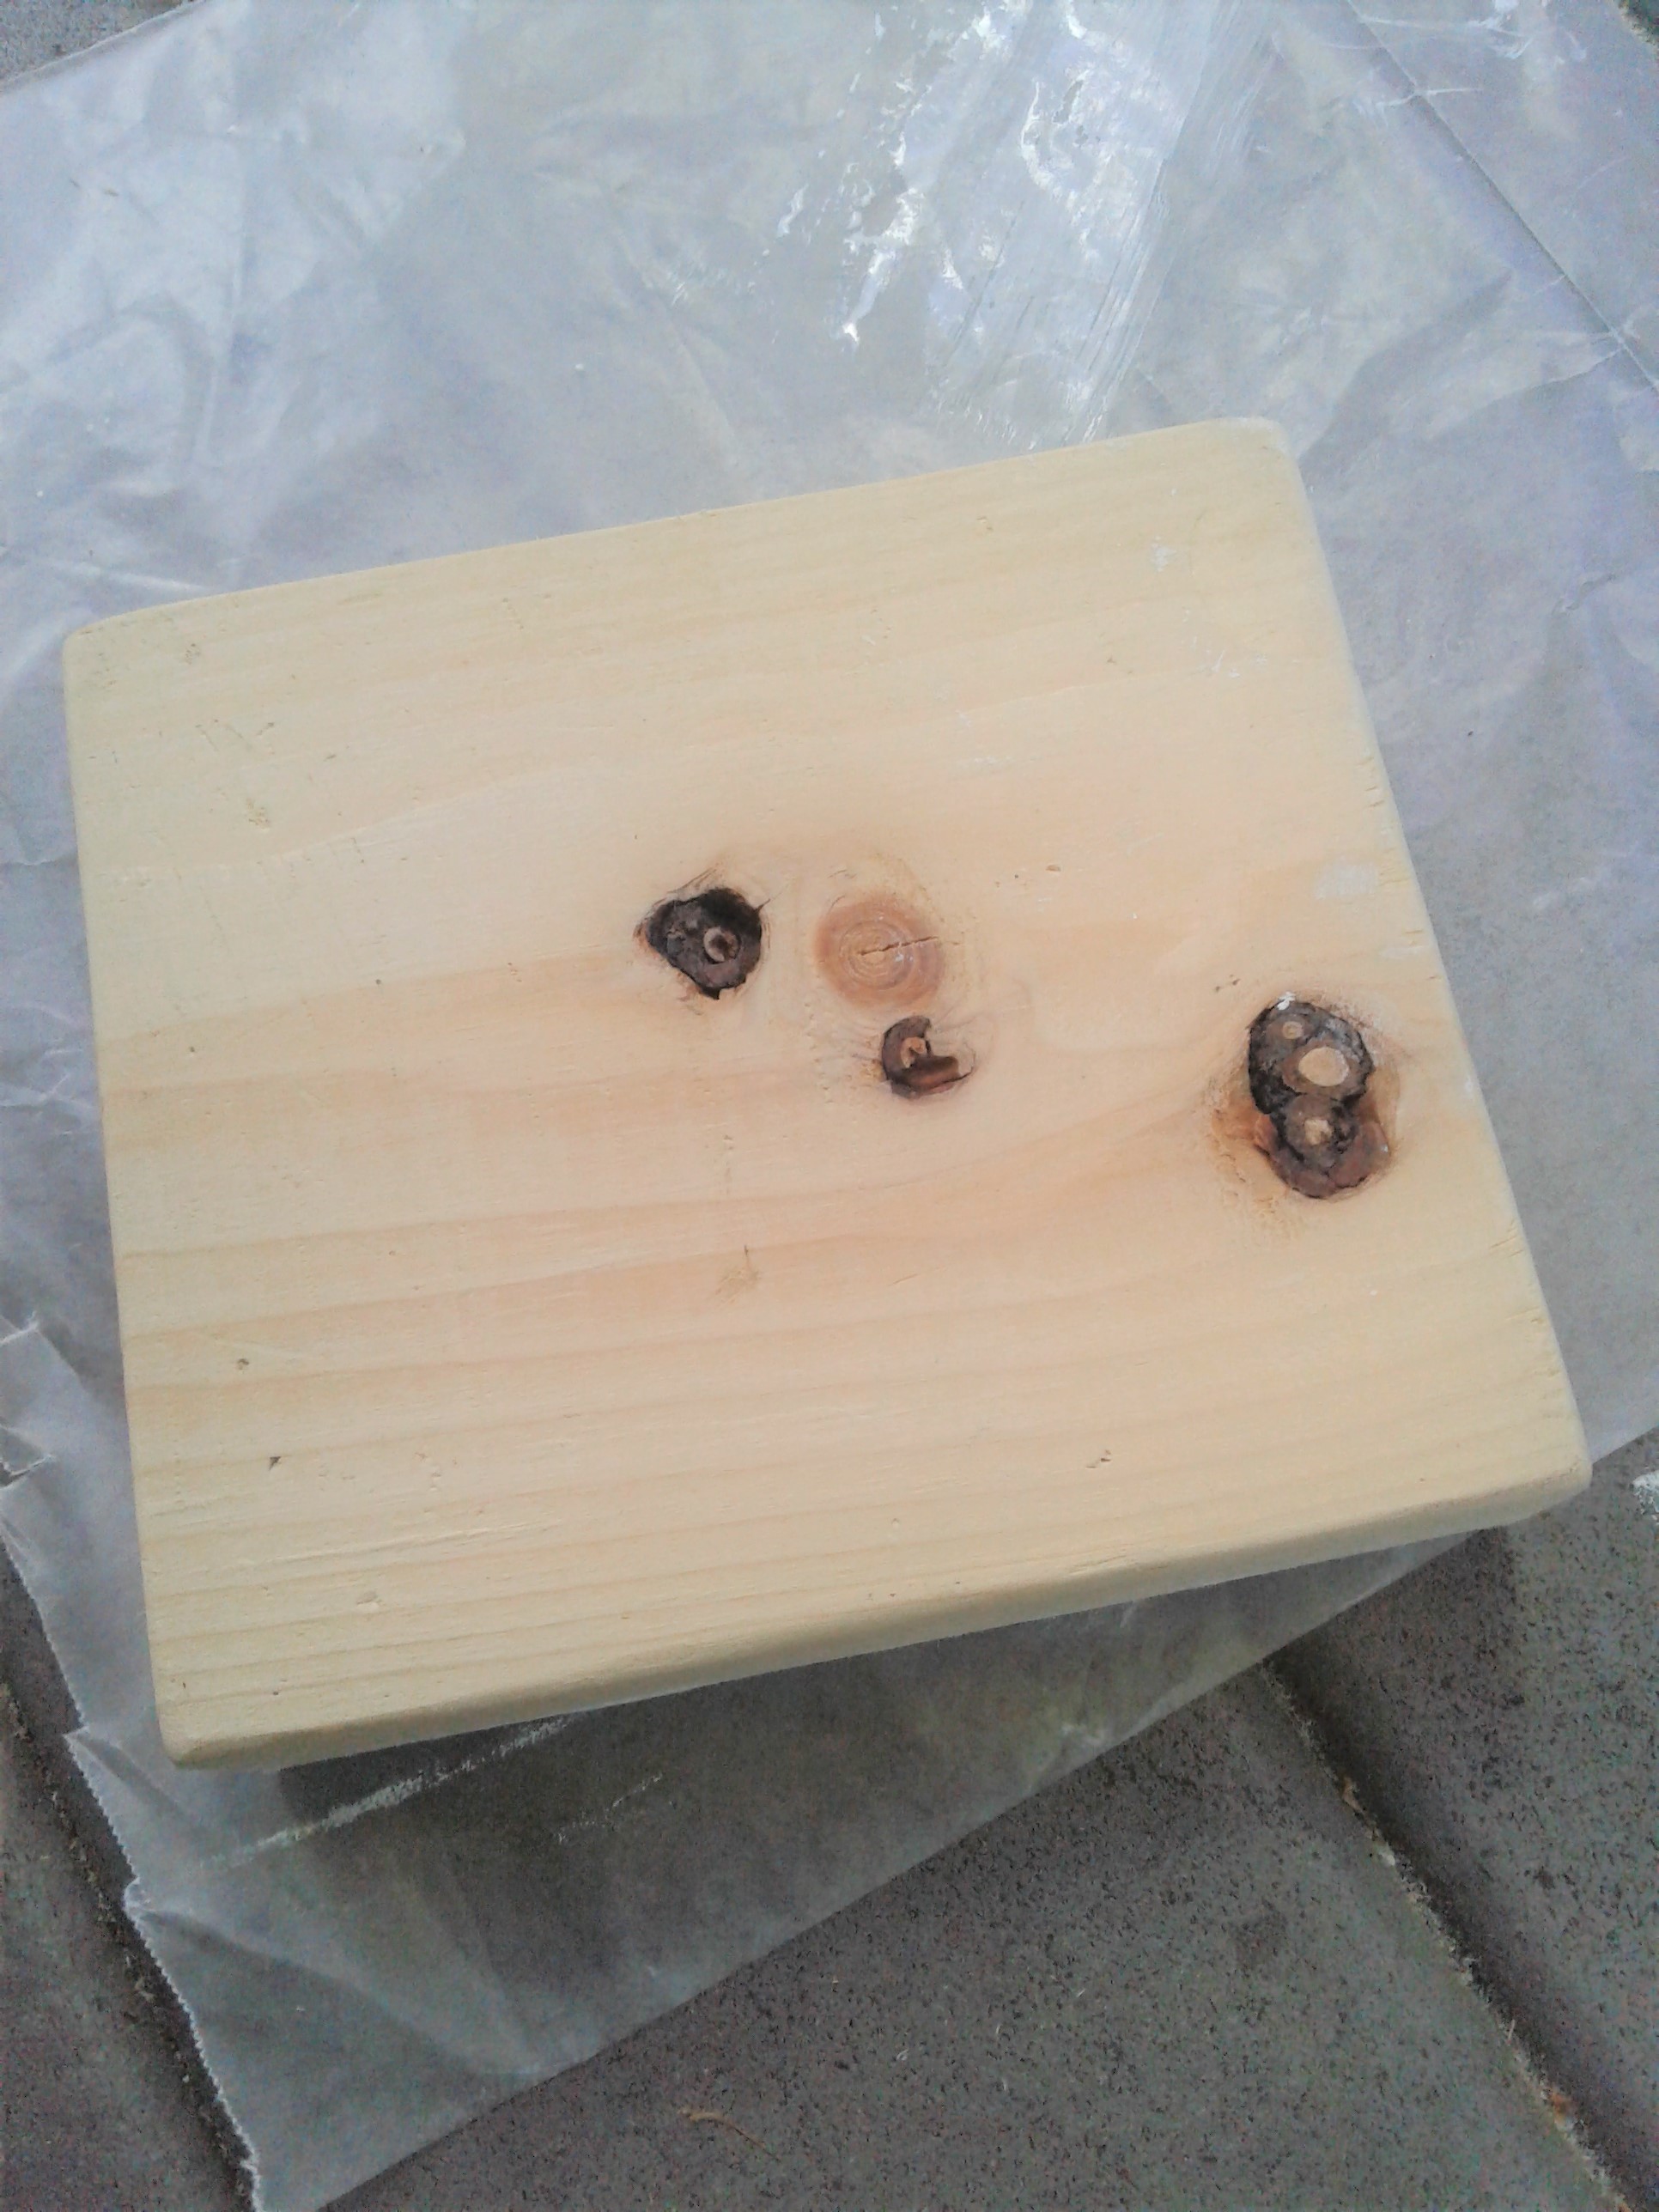
Once you have decided on your design, paint your wood. Instead of painting you could also stain your wood or just leave it alone. I would suggest giving it a stain or at least a clear coat of polyuerthene to make the wood look finished.
Place your design on top of the wood and tape it onto the wood so that it stays in place.
Following your design lines, start pounding in your nails. They do not get pounded in all the way, just in far enough so that they are sturdy. Work your way around your entire design or through your entire word.
Once you have all your nails pounded in (and double check that you didn't miss any spots) remove your piece of paper.
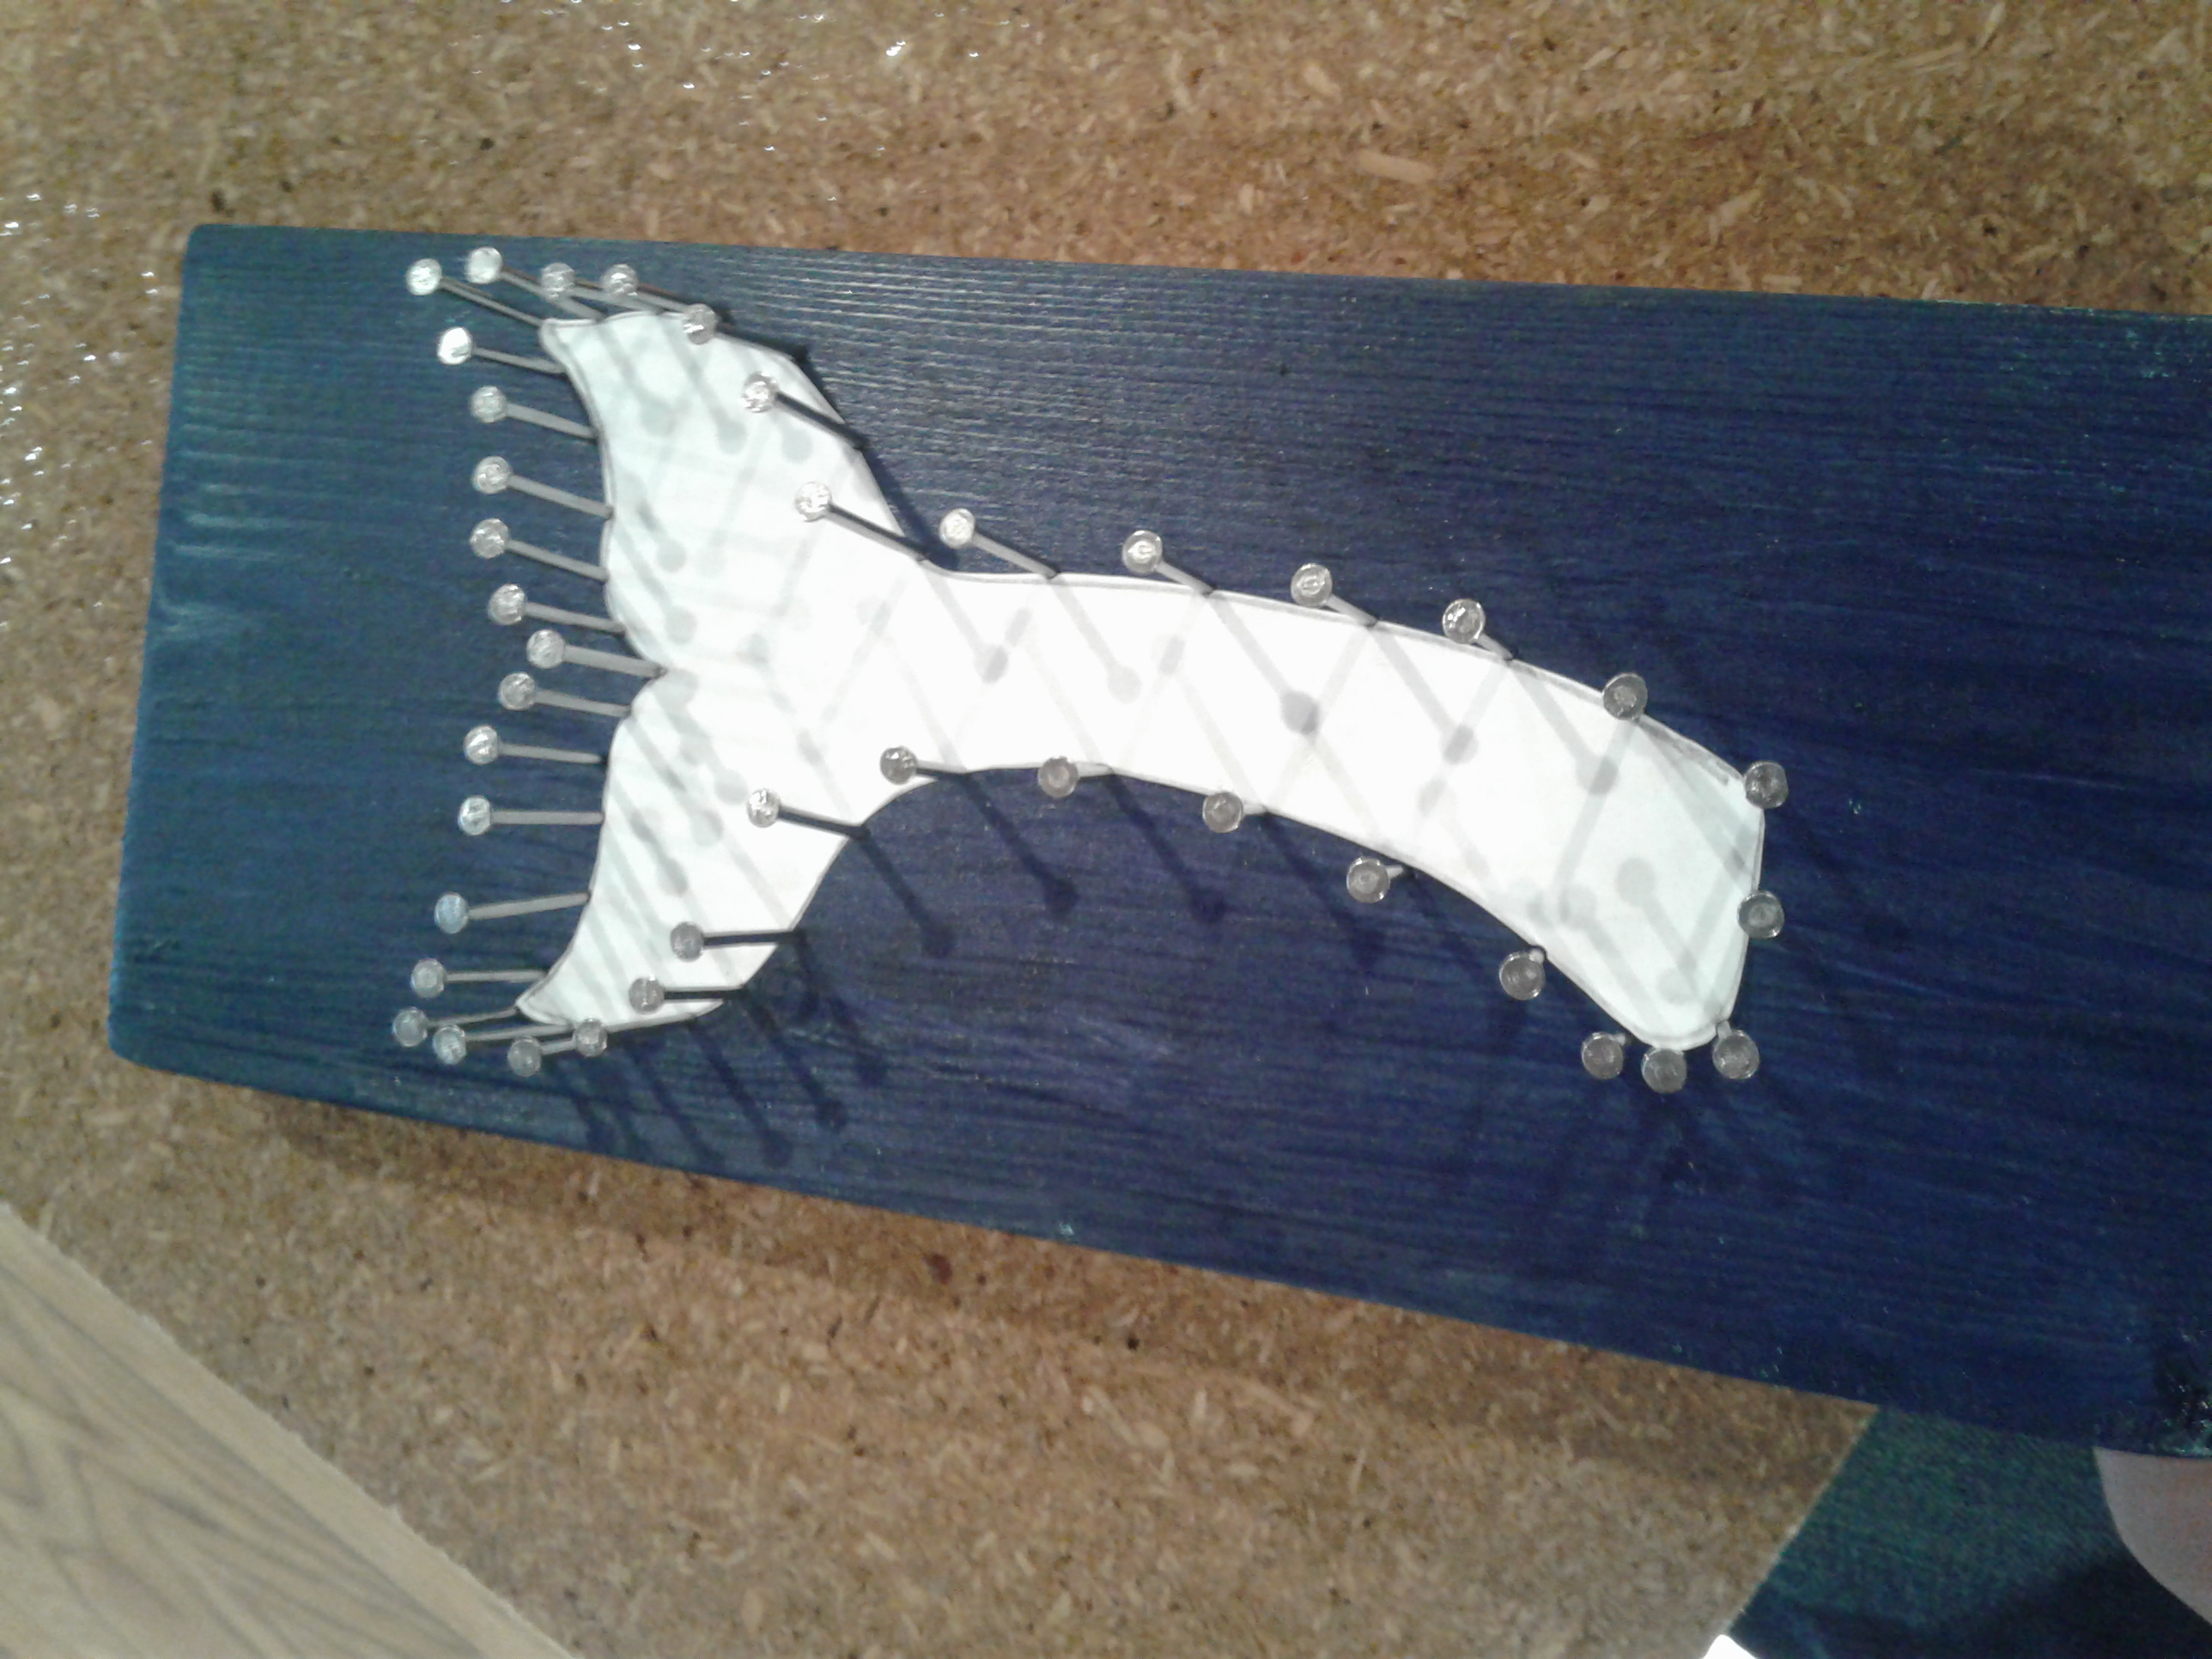
Now starting at one end, tie your string in a knot onto one of your nails. Then just start looping your string around your nails zig zagging back and forth while keeping the string nice and taute. Work your way from one end to the other going across your design on an angle so that your string lines go in different directions instead of just up and down. Once you have your string looking how you'd like it, tie your string in a knot around a nail and cut off the excess.
Once you have it all tied off I like to take a dab of glue and put some around each knot just to secure the knot and to keep those ends from fraying.
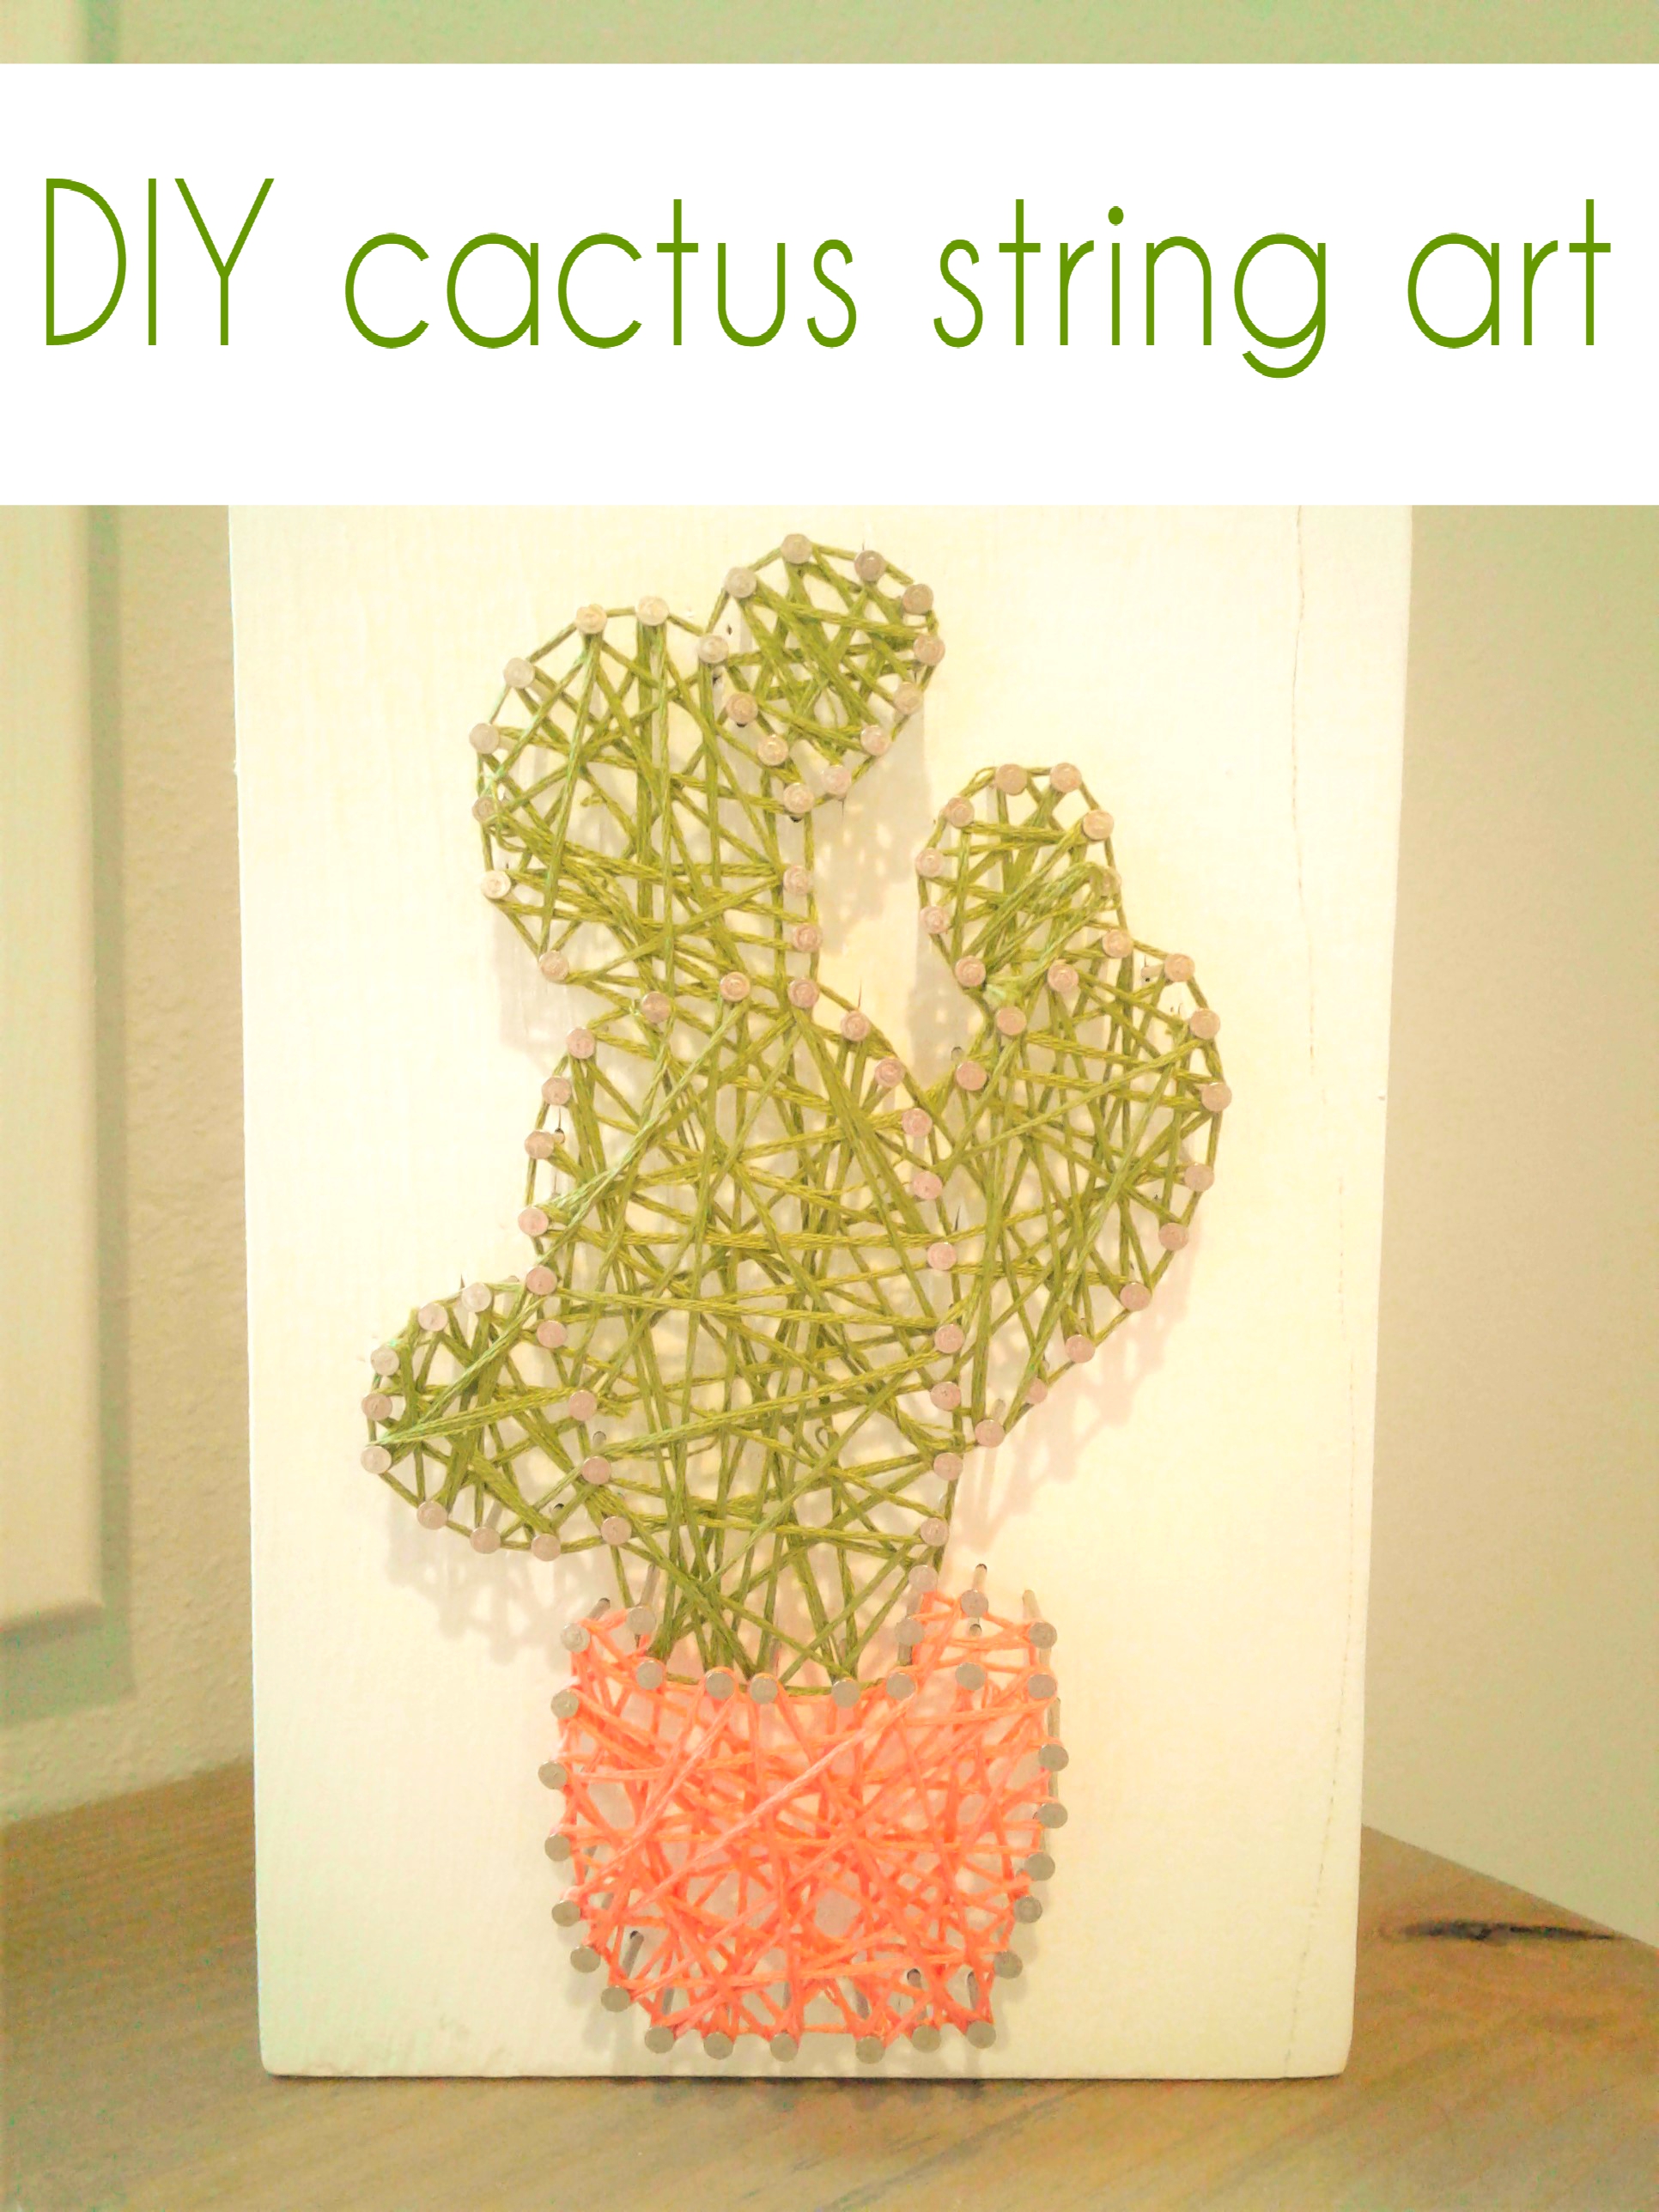
Now think of all the pictures you could string up! Here's another DIY string art piece we made - a prickly pear cactus!
do it yourself
CrazyDIYmom.com Contact Us Privacy Policy Disclaimer About me