
DIY home projects
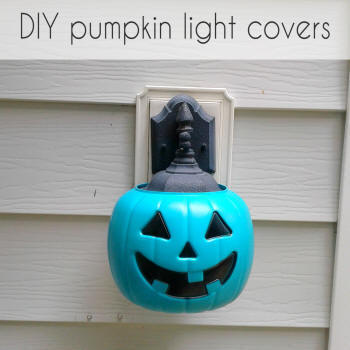
DIY pumpkin light covers
* This post may contain affiliate links
These are so easy and so adorable! Let me tell you a funny story about how I came up with this.
The first year we moved from WI to AZ we were so excited for fall. The 100+ temps were falling, we could enjoy the days outside again and this would be the first year we could trick or treat with the kids without winter jackets, hats and gloves!
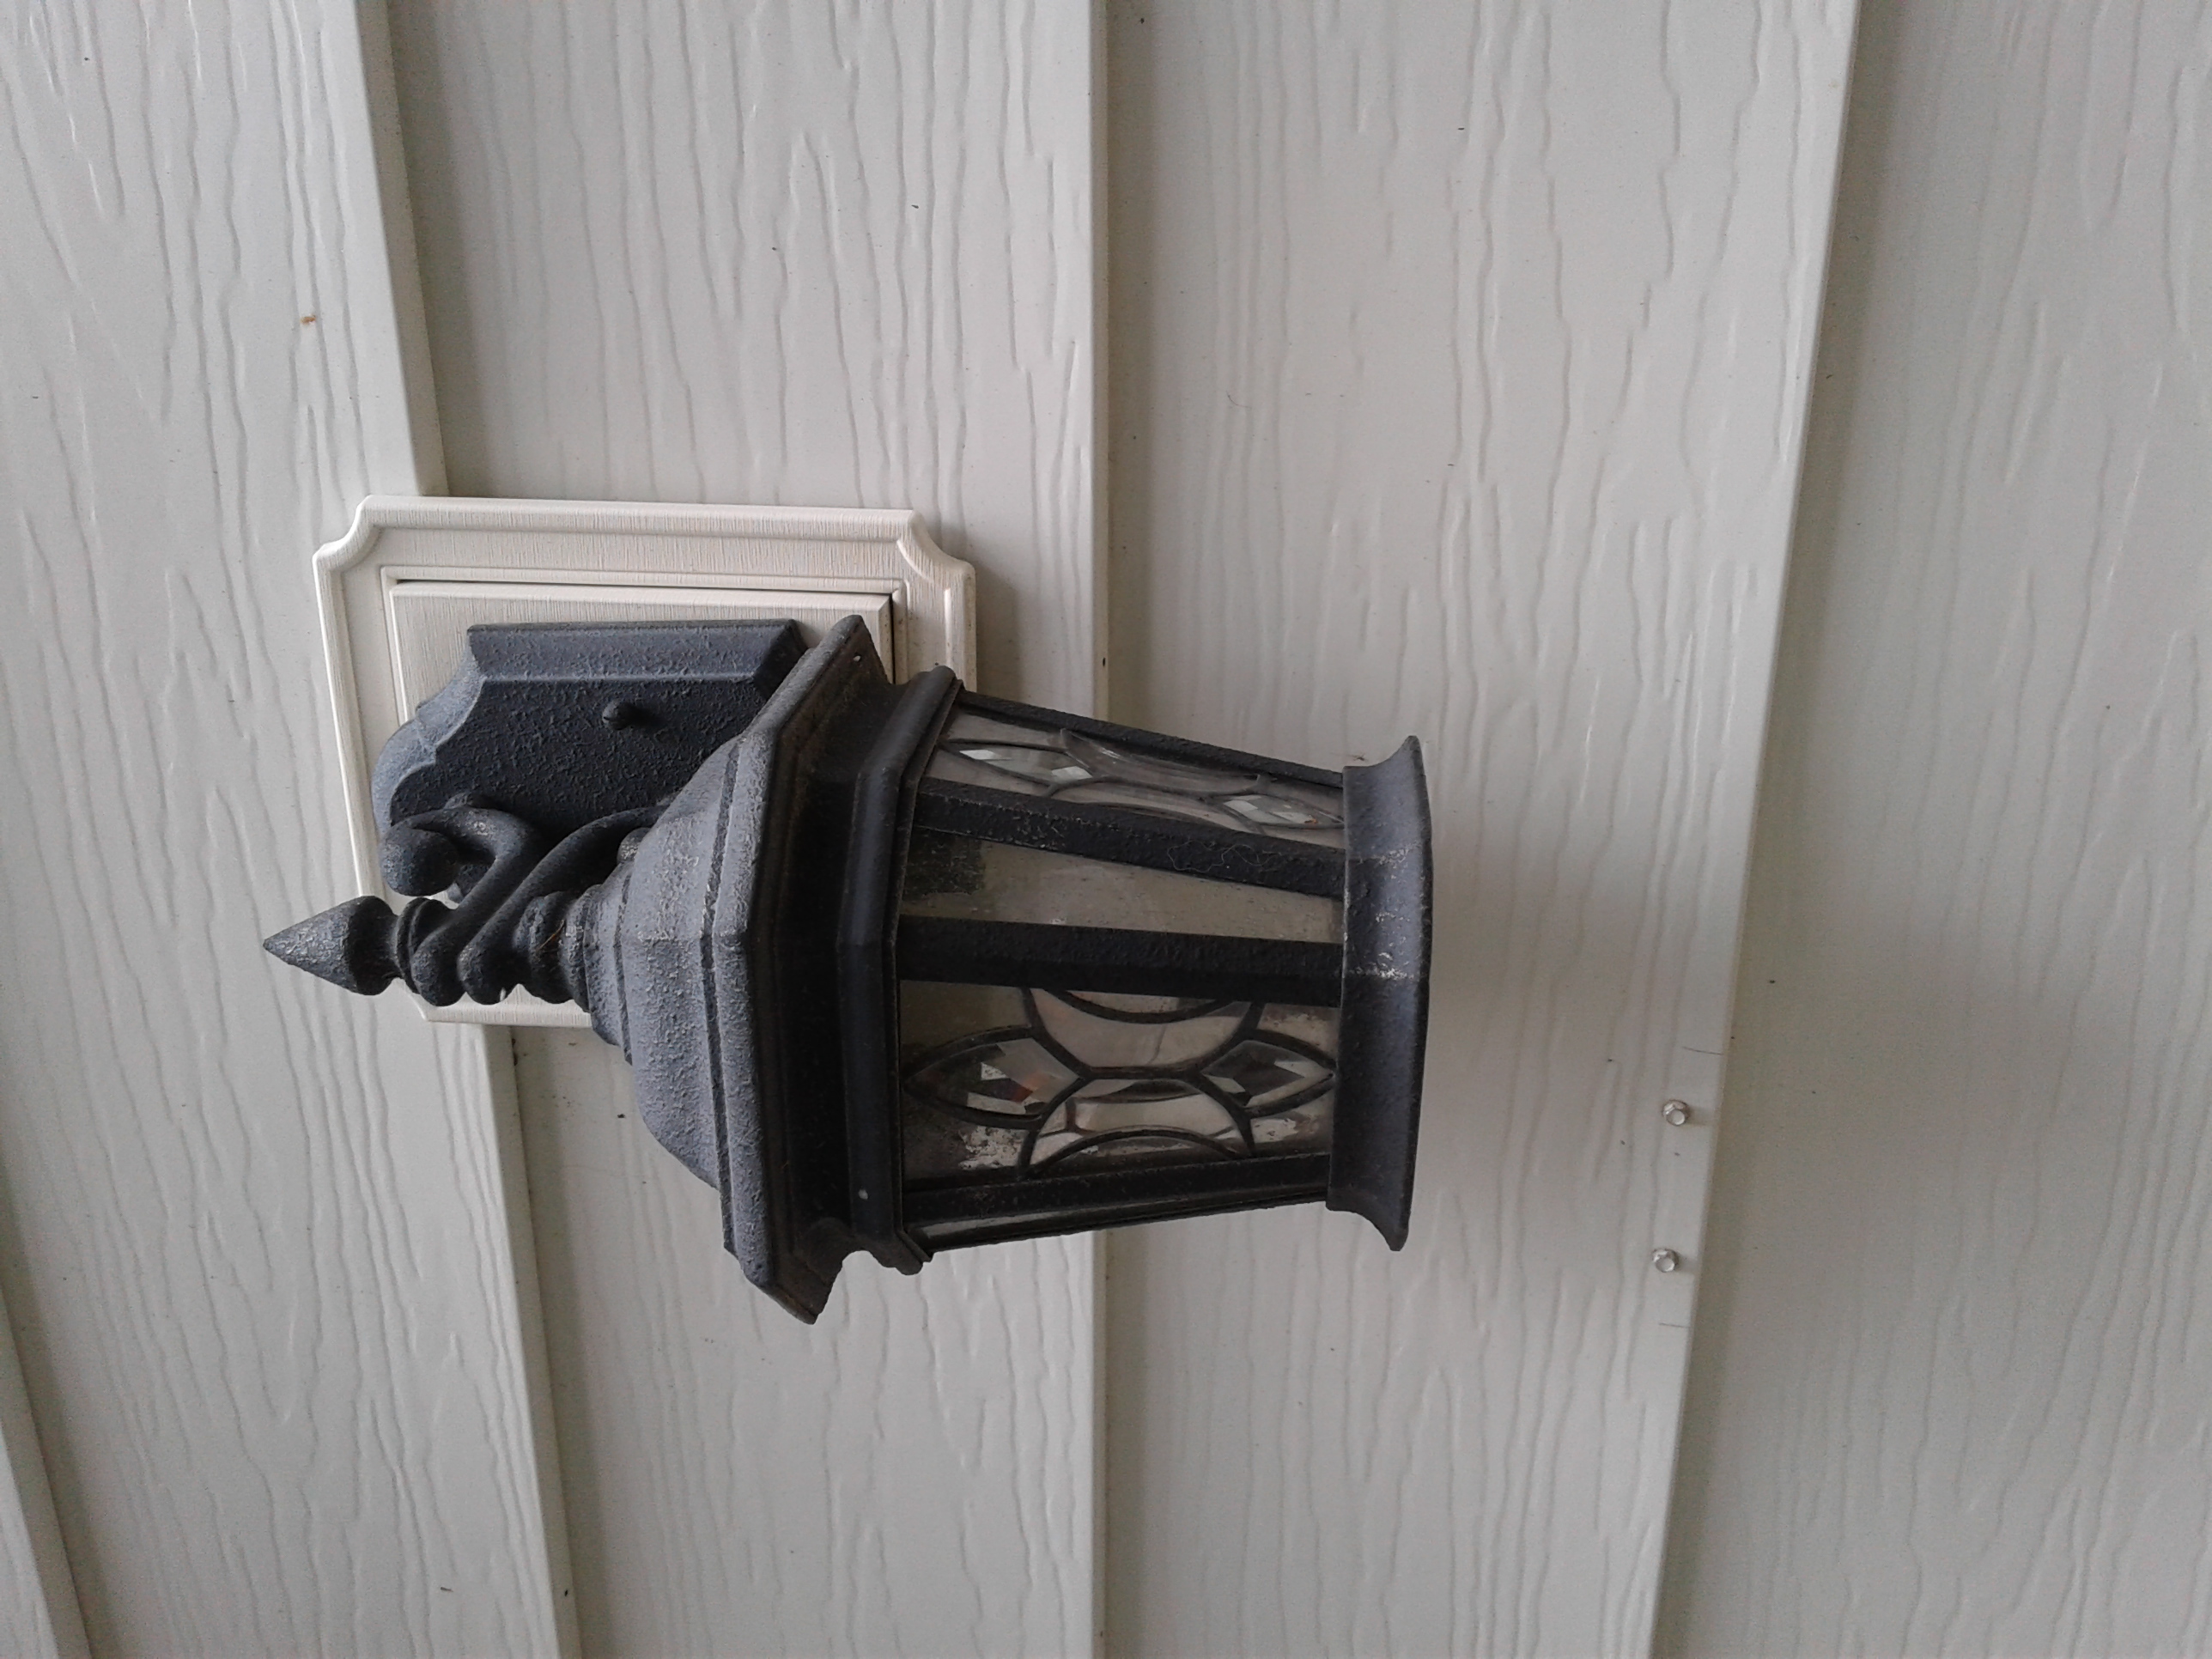
I had these adorable porch light covers that I got in WI and when it was time to decorate I put them on my porch lights in AZ. 2 days later one of them looked a little droopy so I went to adjust it and it didn't move. Y'all....it melted to the porch light! I completely underestimated the power of the sun in Arizona in the fall.
But I loved those light covers and had to come up with something like it. When I saw these typical pumpkin pails I knew they would work perfectly AND not melt!
What you'll need:
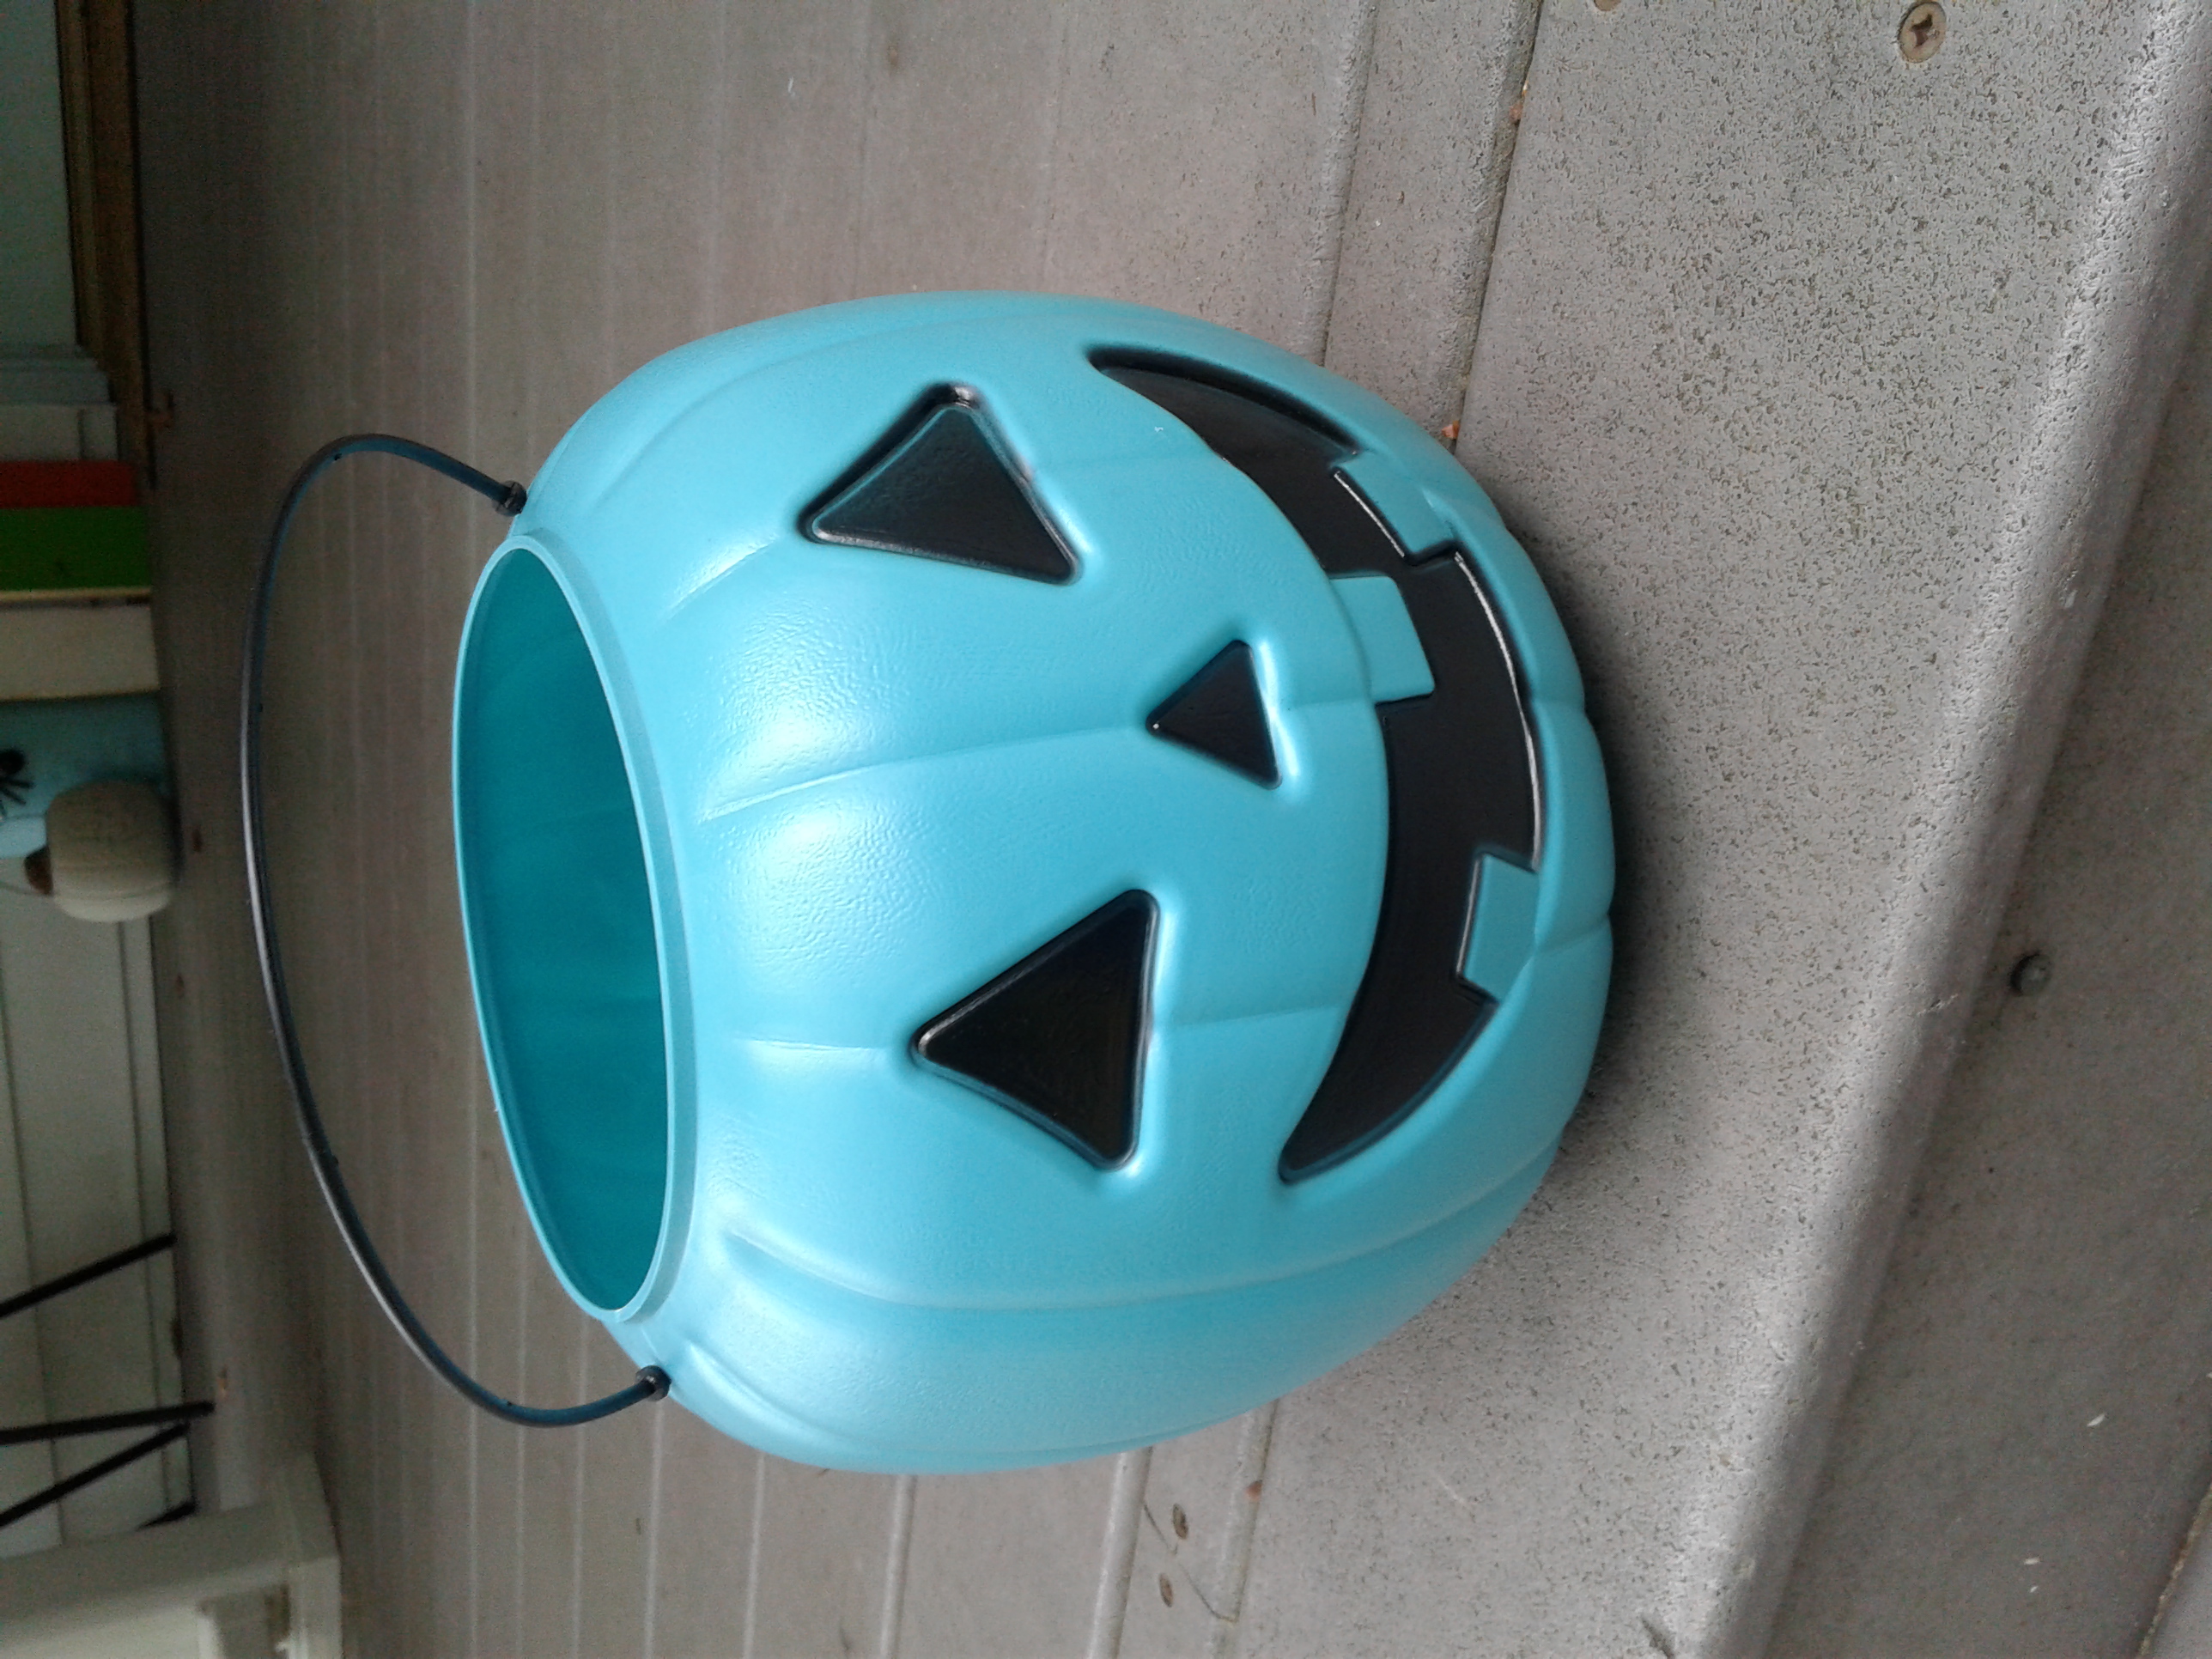
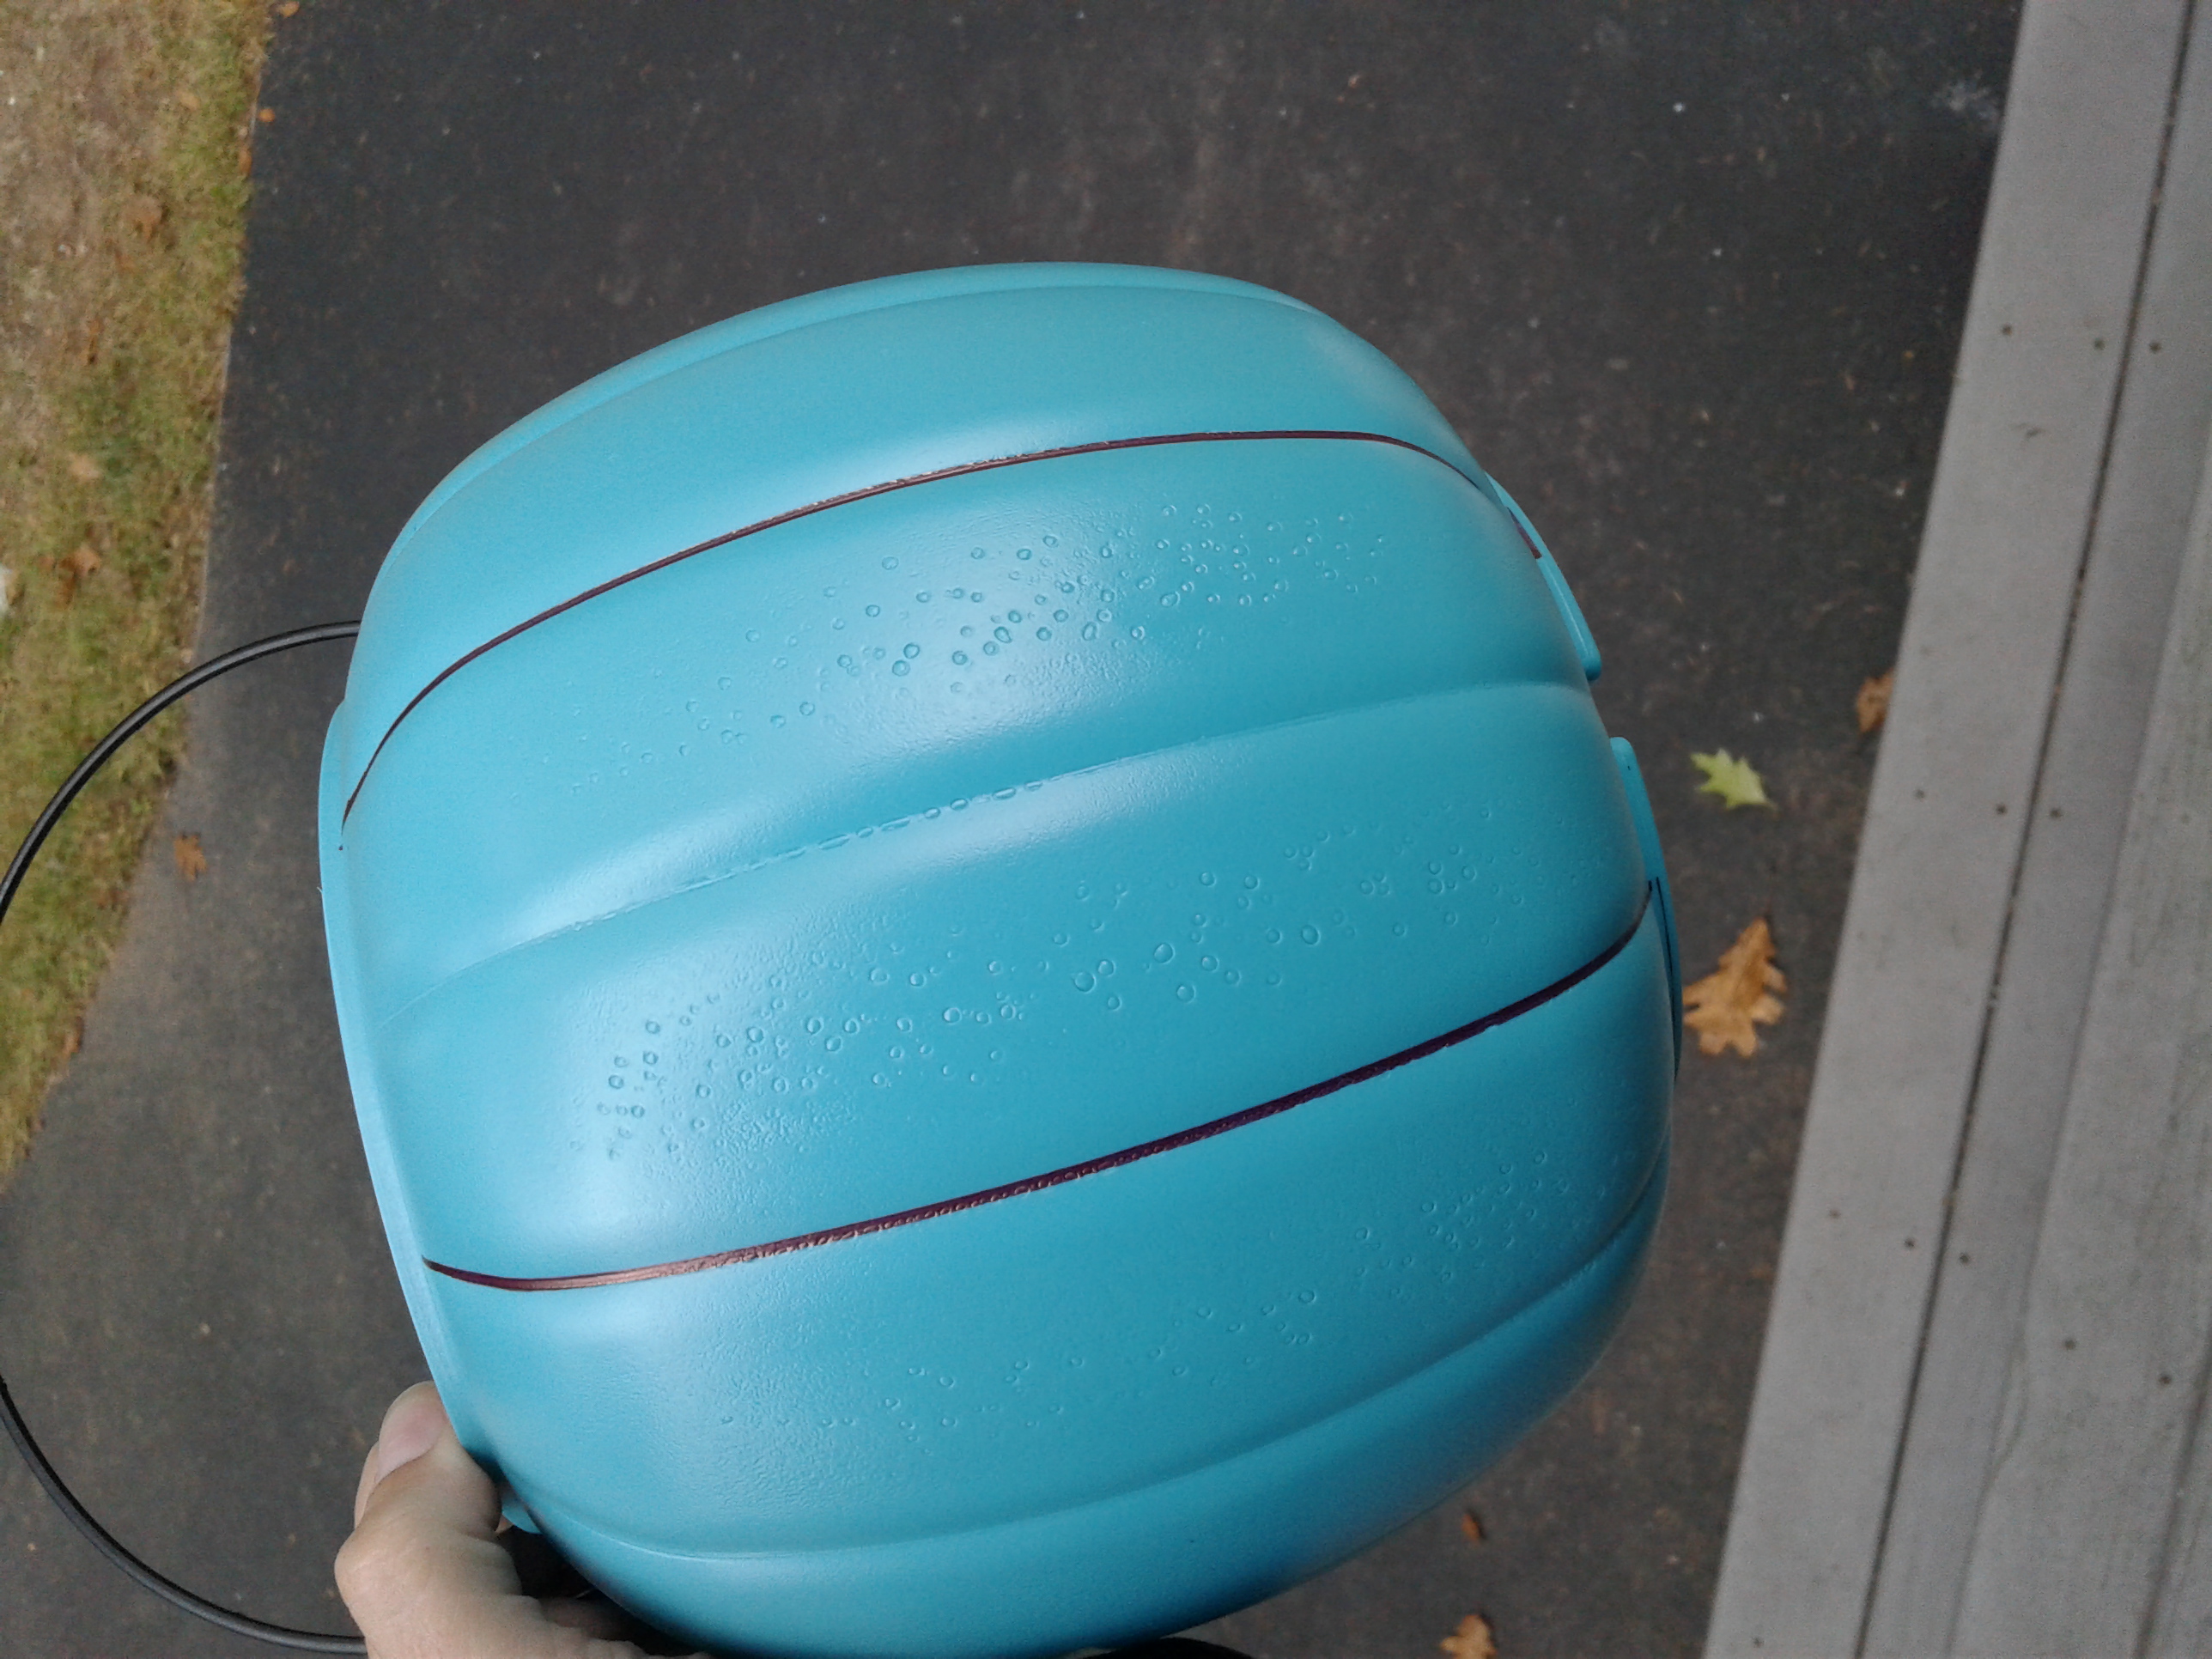
pumpkin pails
utility knife
Check out how wide your light is and mark an area in the back about half the width of the light that you will cut. Then take your utility knife and cut down those lines. You will also cut out the bottom circle of your pail so that your light can shine out the bottom.
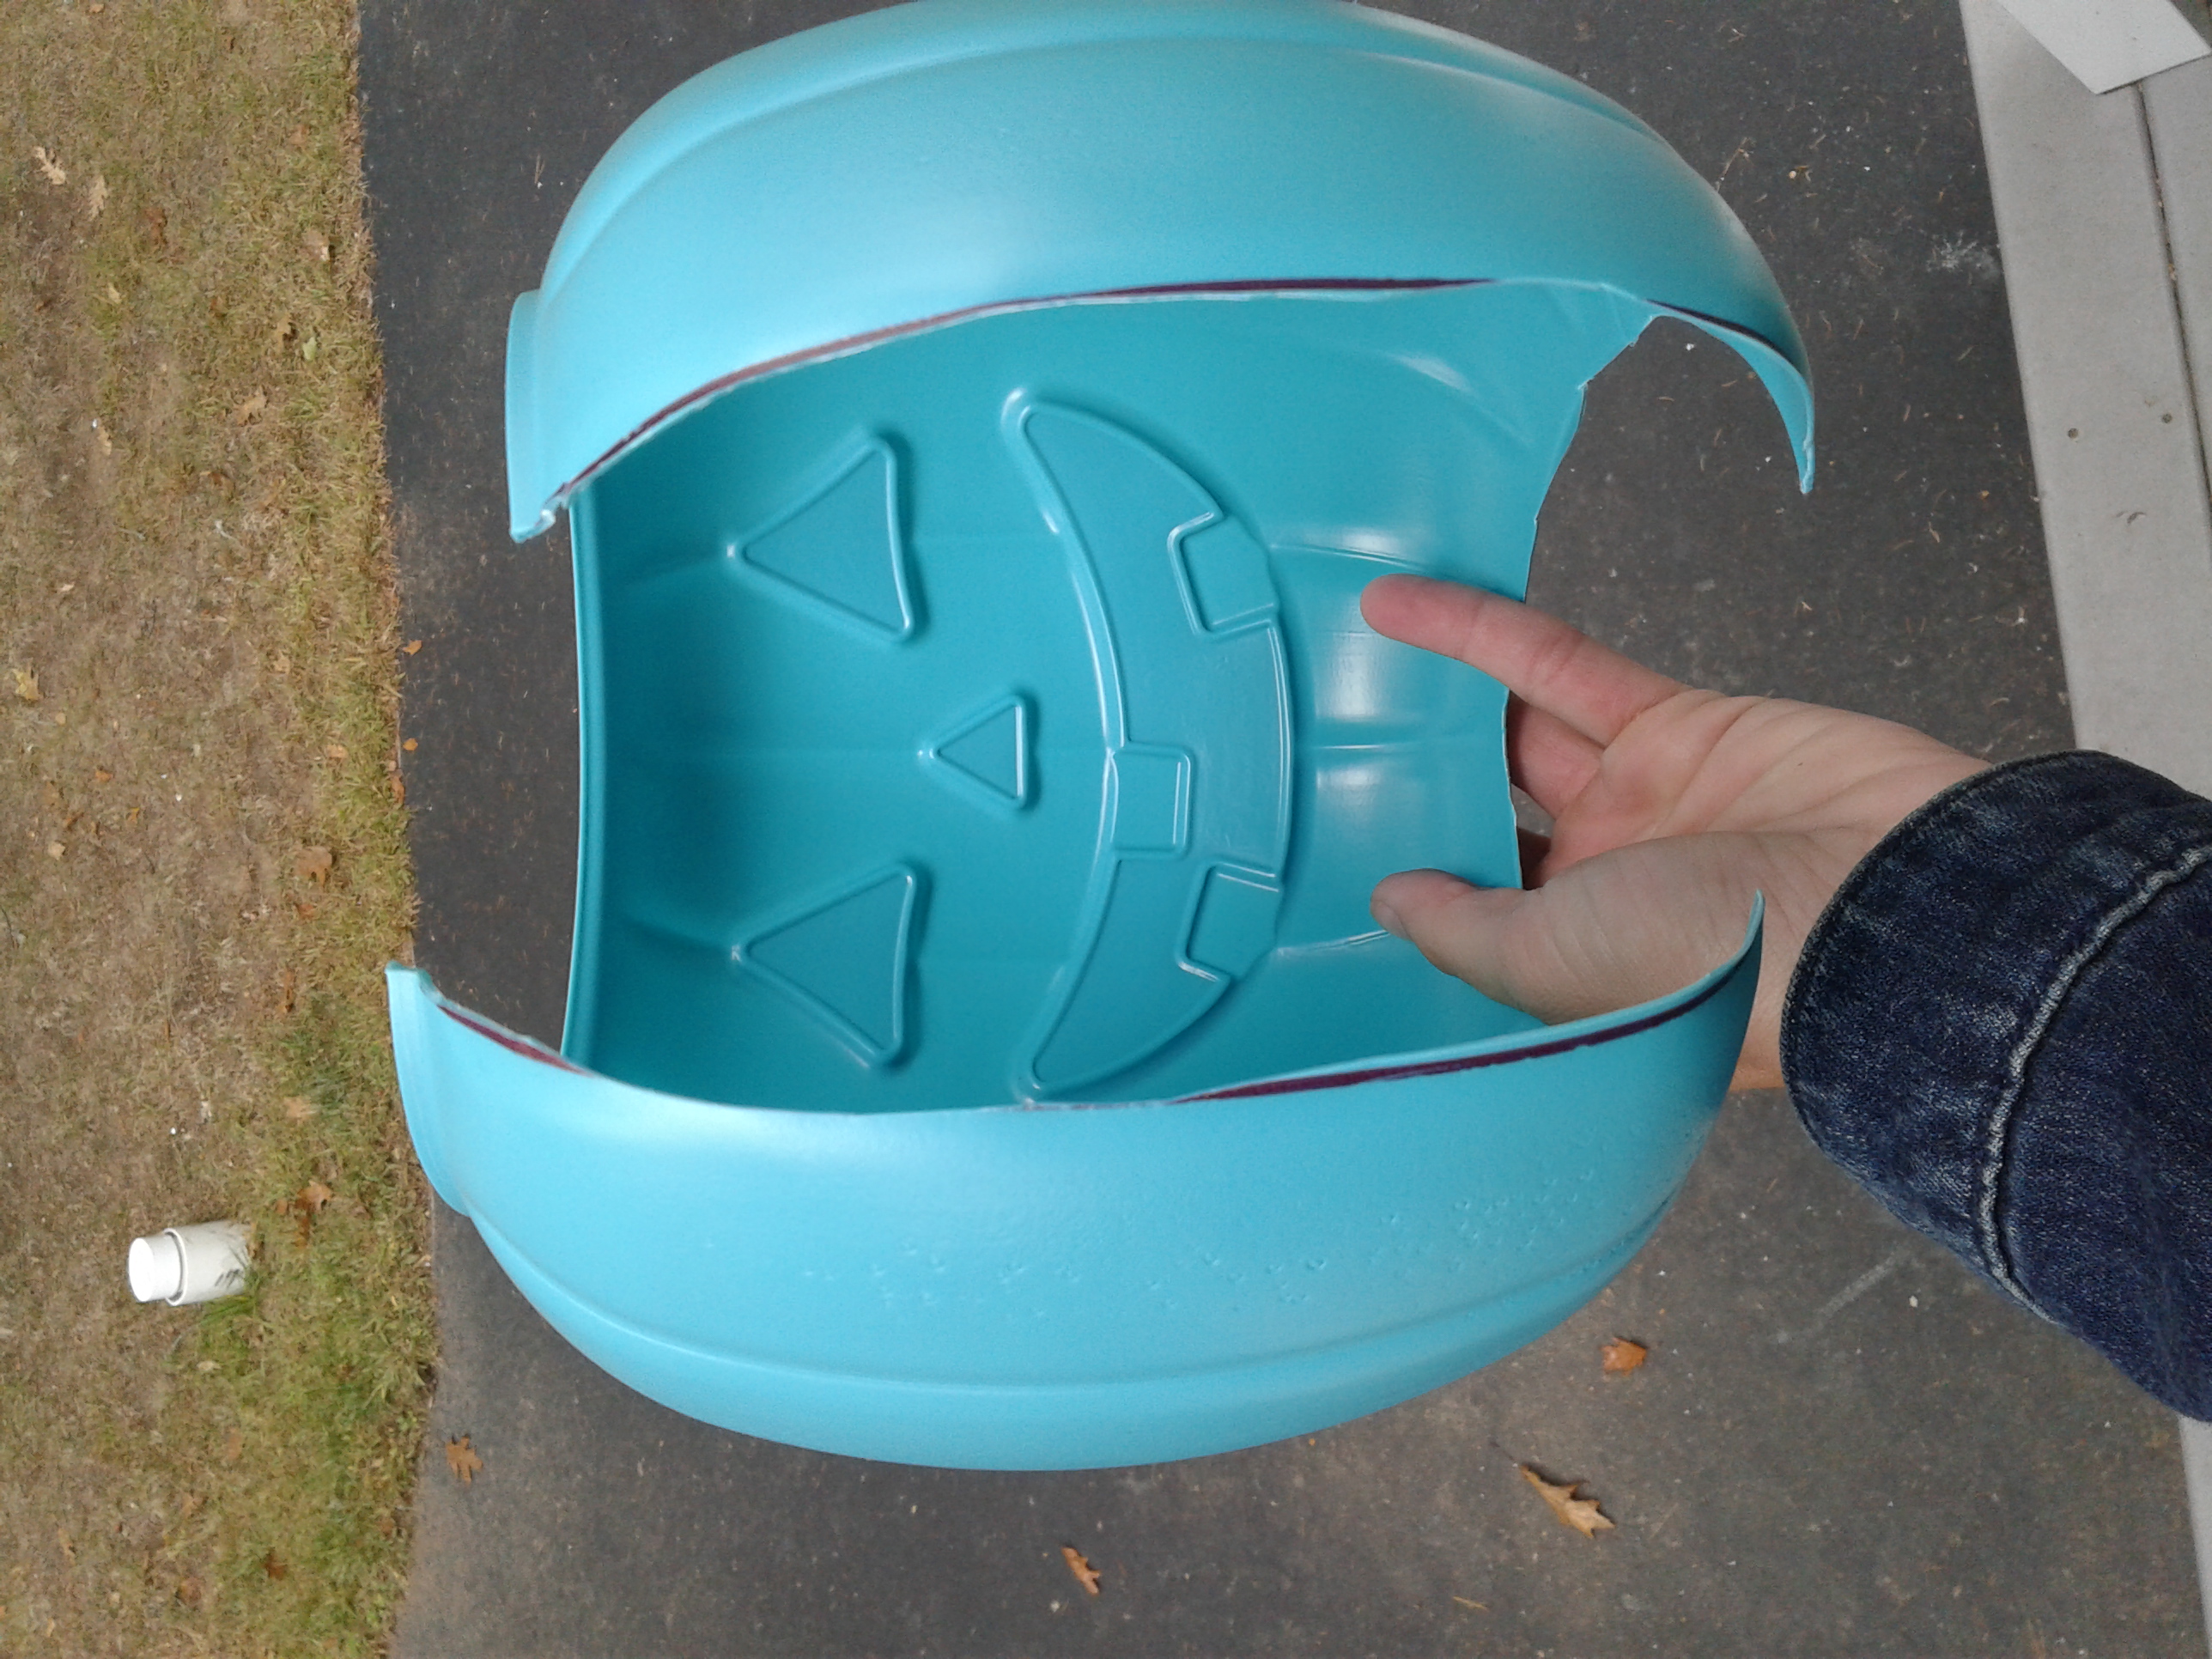
This is what your pumpkin will look like with everything all cut out. Then all you need to do is wrap it around your light and adjust it so that it fits nicely in place.
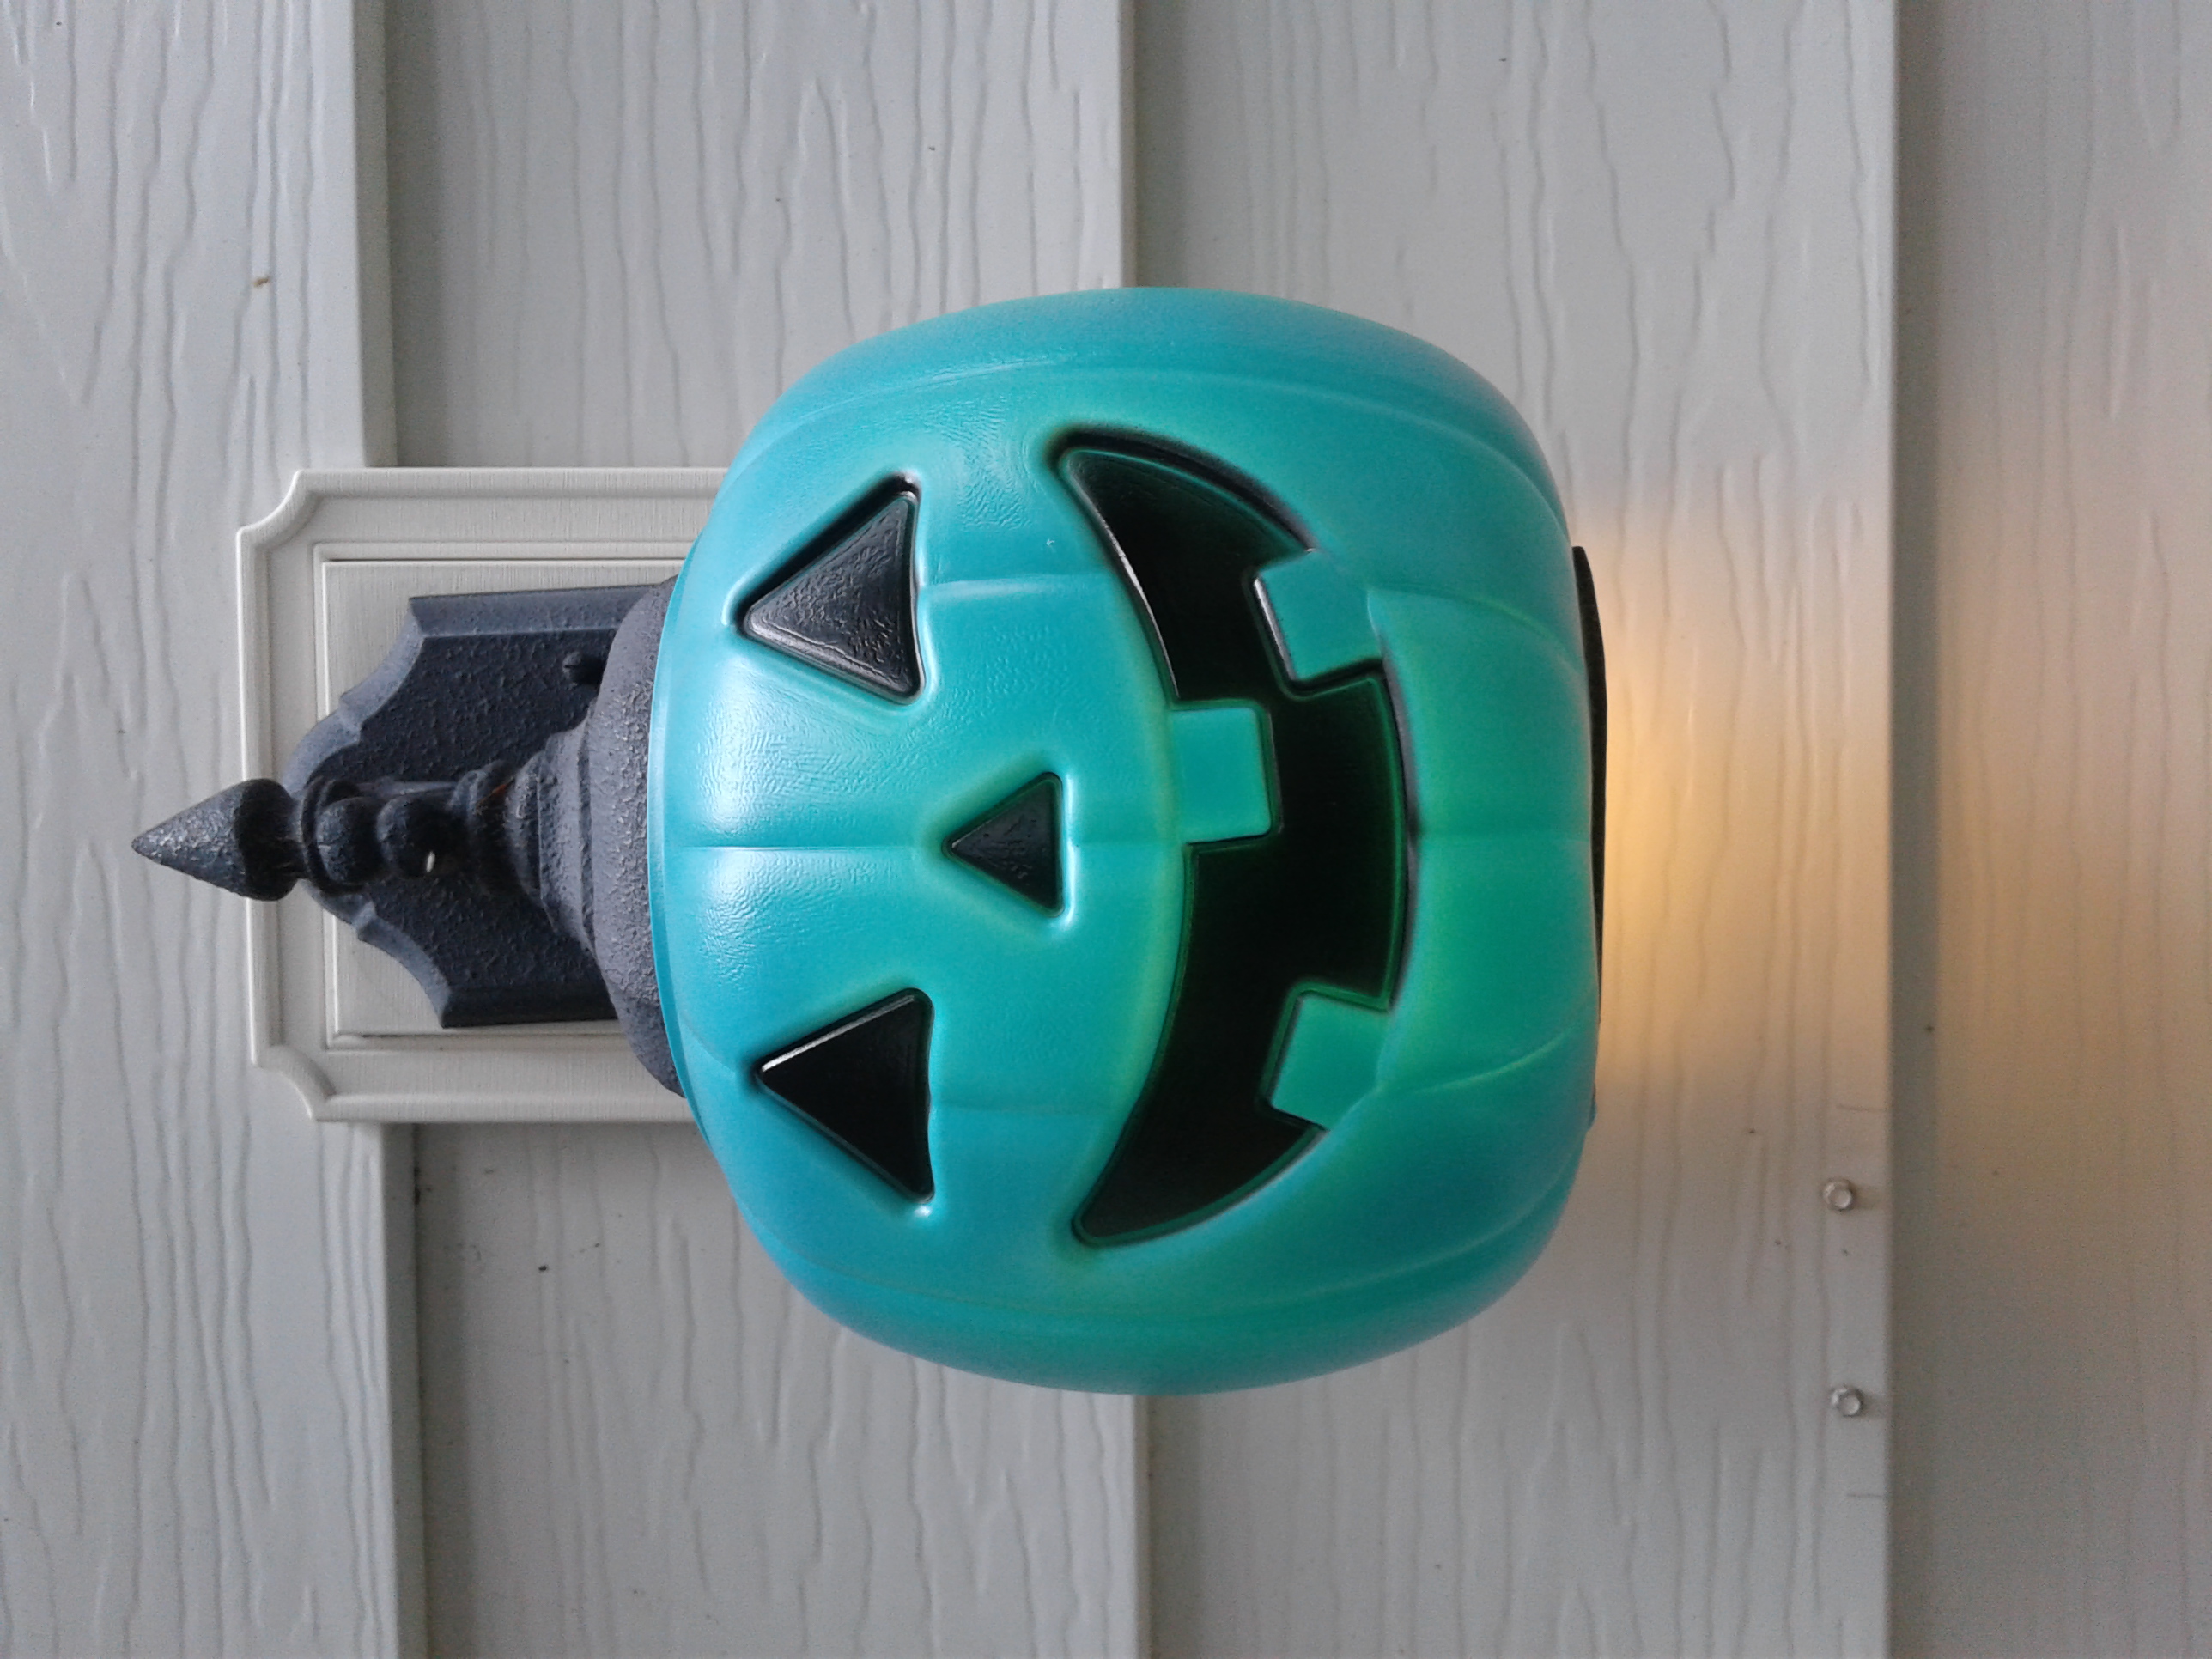
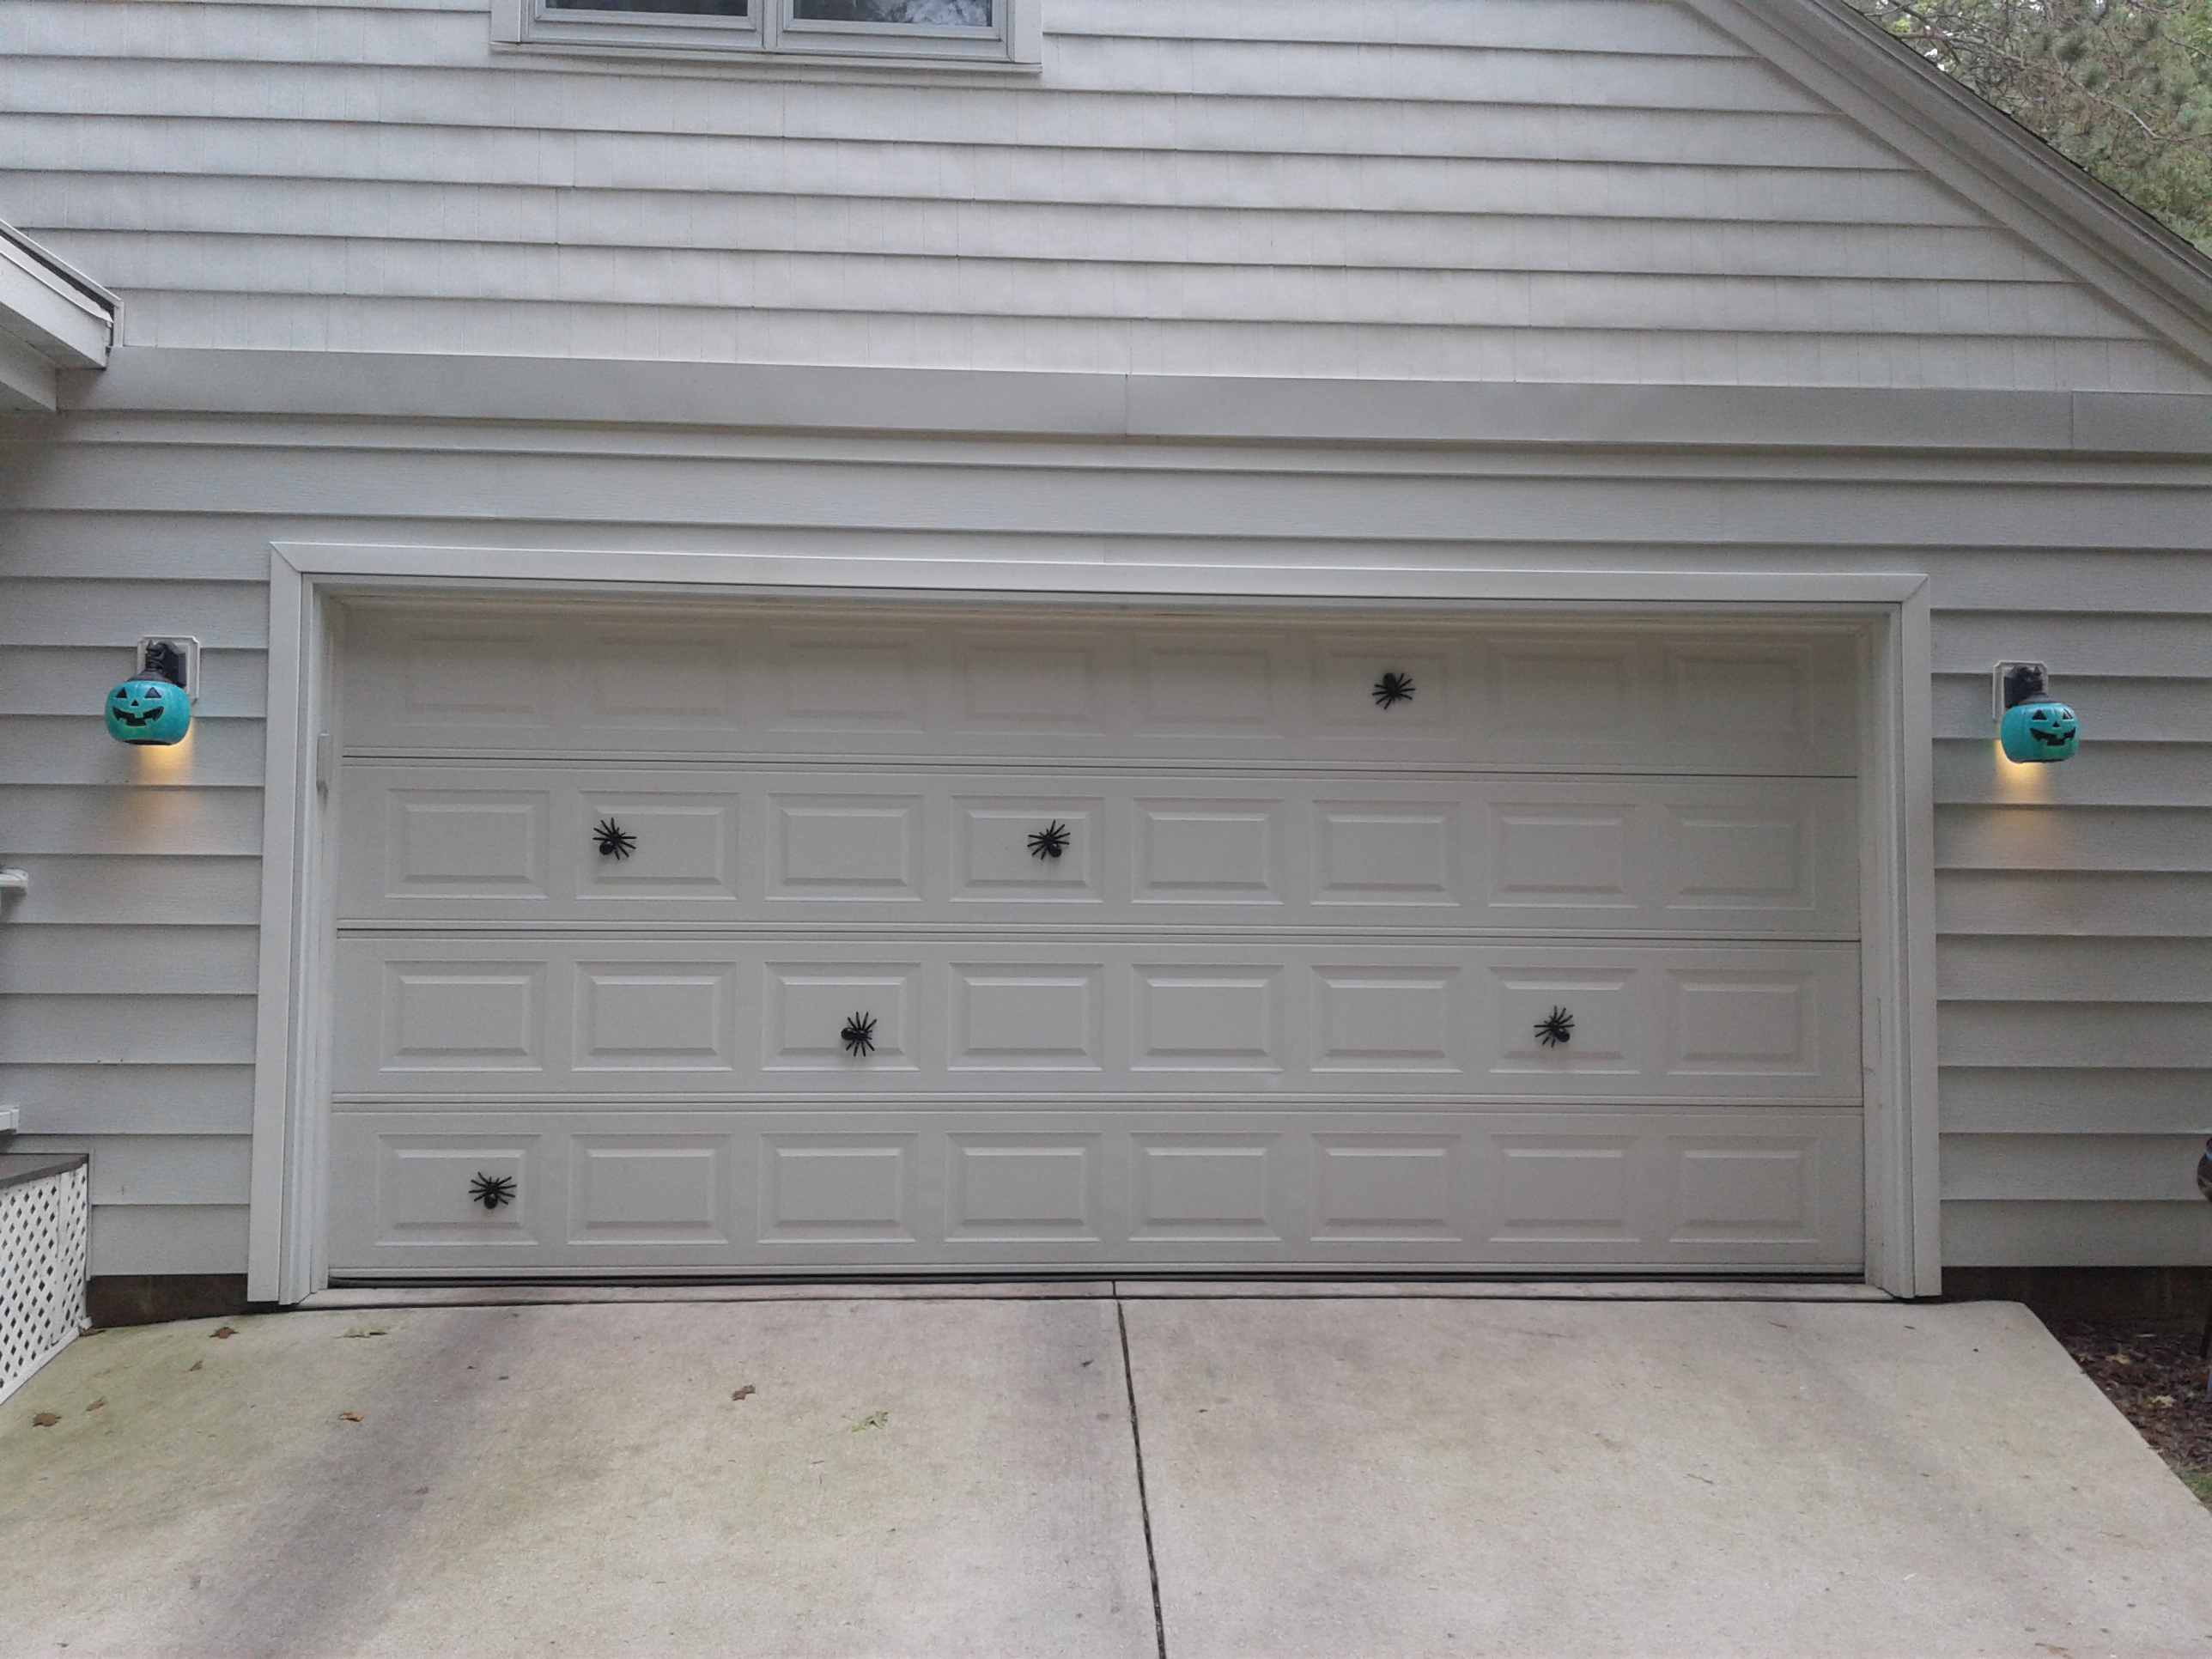
And these days you can find these pumpkin pails in so many different colors as well as faces. I chose these teal ones because they matched perfect with my decor! And those black spots on the garage? Those are our DIY magnetic spiders!
Can't find these items at your local dollar store? Get them online at DollarTree.com
do it yourself
CrazyDIYmom.com Contact Us Privacy Policy Disclaimer About me