
DIY home projects
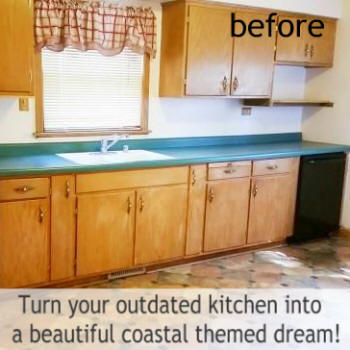
Before and after kitchen remodel
* This post may contain affiliate links.
Ok, so I'm obviously not going to post a full diy on this full kitchen remodel, but I did want to post a few pictures to show you some before and after to see what we did. Now, I have a dad who built his own house so he does know a lot about remodeling, but my hubby and I knew nothing at all. We did have a family member come over and help us with installing the new windows and back door and a friend helped us get started on how to drywall (we had NO CLUE how that went), otherwise we knocked this out on our own!

First thing we did was tear down a wall. We had a bathroom in the kitchen. Yep, a bathroom in the kitchen. How.....convenient?!
Fortunately we were able to move the bathroom to an existing laundry room (that's another remodel), so we could remove this bathroom and make our kitchen bigger. Yay for a bigger kitchen because this one was tiny. You can see the bath tucked in the corner of this picture:


We had to remove 2 windows and make one larger one instead. We also had to remove a chimney so that we could enlarge the kitchen, We had to put in new insulation, put up new drywall, put up new beams in the ceiling to support the new larger kitchen (plus this gave us an attic we could actually walk in and use!), new floors, new lights, new cabinets.....the list went on and on. Basically everything in the room is new!
WOW! I still can't believe we knocked this one out on our own. We are so proud of ourselves ;)

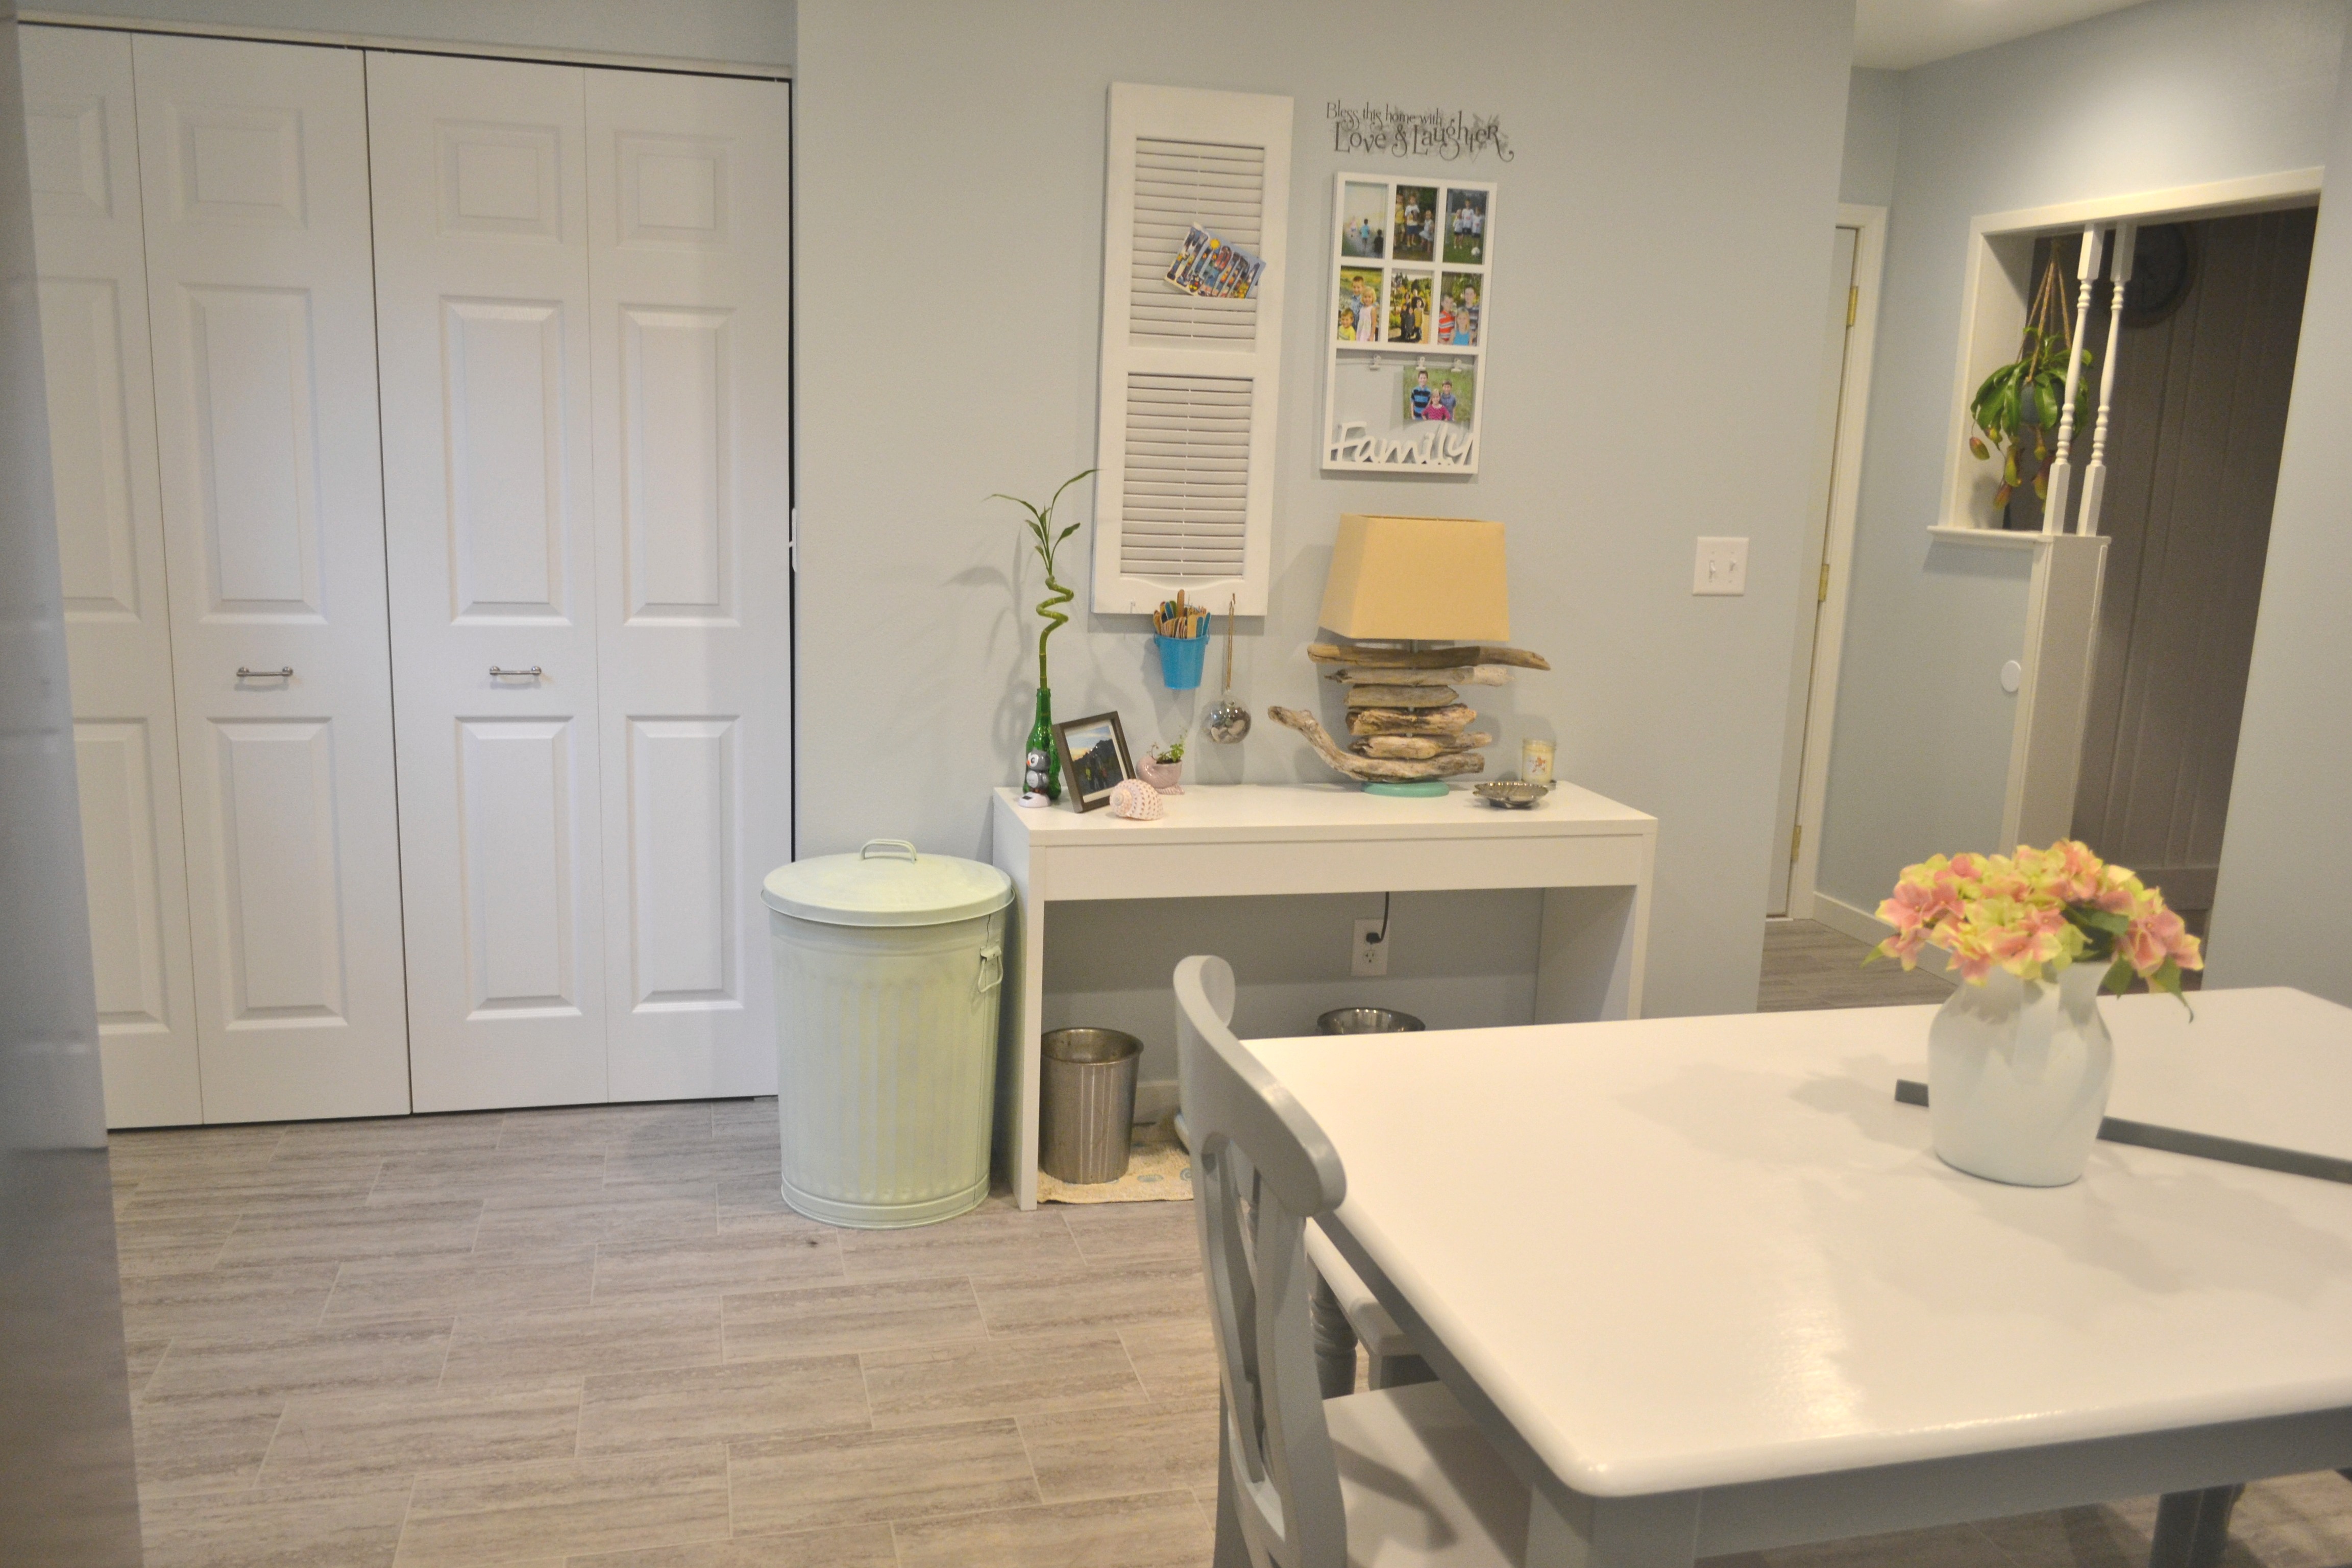
Where the bathroom was, we installed these closet doors
It took us about 4-6 months from start to finish and it cost us about $10,000. But it made a HUGE difference in the look and feel of the house as well as the resale value.
The paint color is Glidden Quiet Rain. I used a brush to trim along all the edges and a 3/4" nap roller for the walls. I highly recommend these brushes
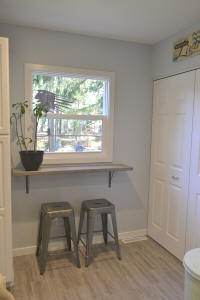
We got these metal counter height stools
I LOVE, LOVE, LOVE IT!!
do it yoursel
CrazyDIYmom.com Contact Us Privacy Policy Disclaimer About me