
DIY farmhouse table
This post may contain affiliate links.
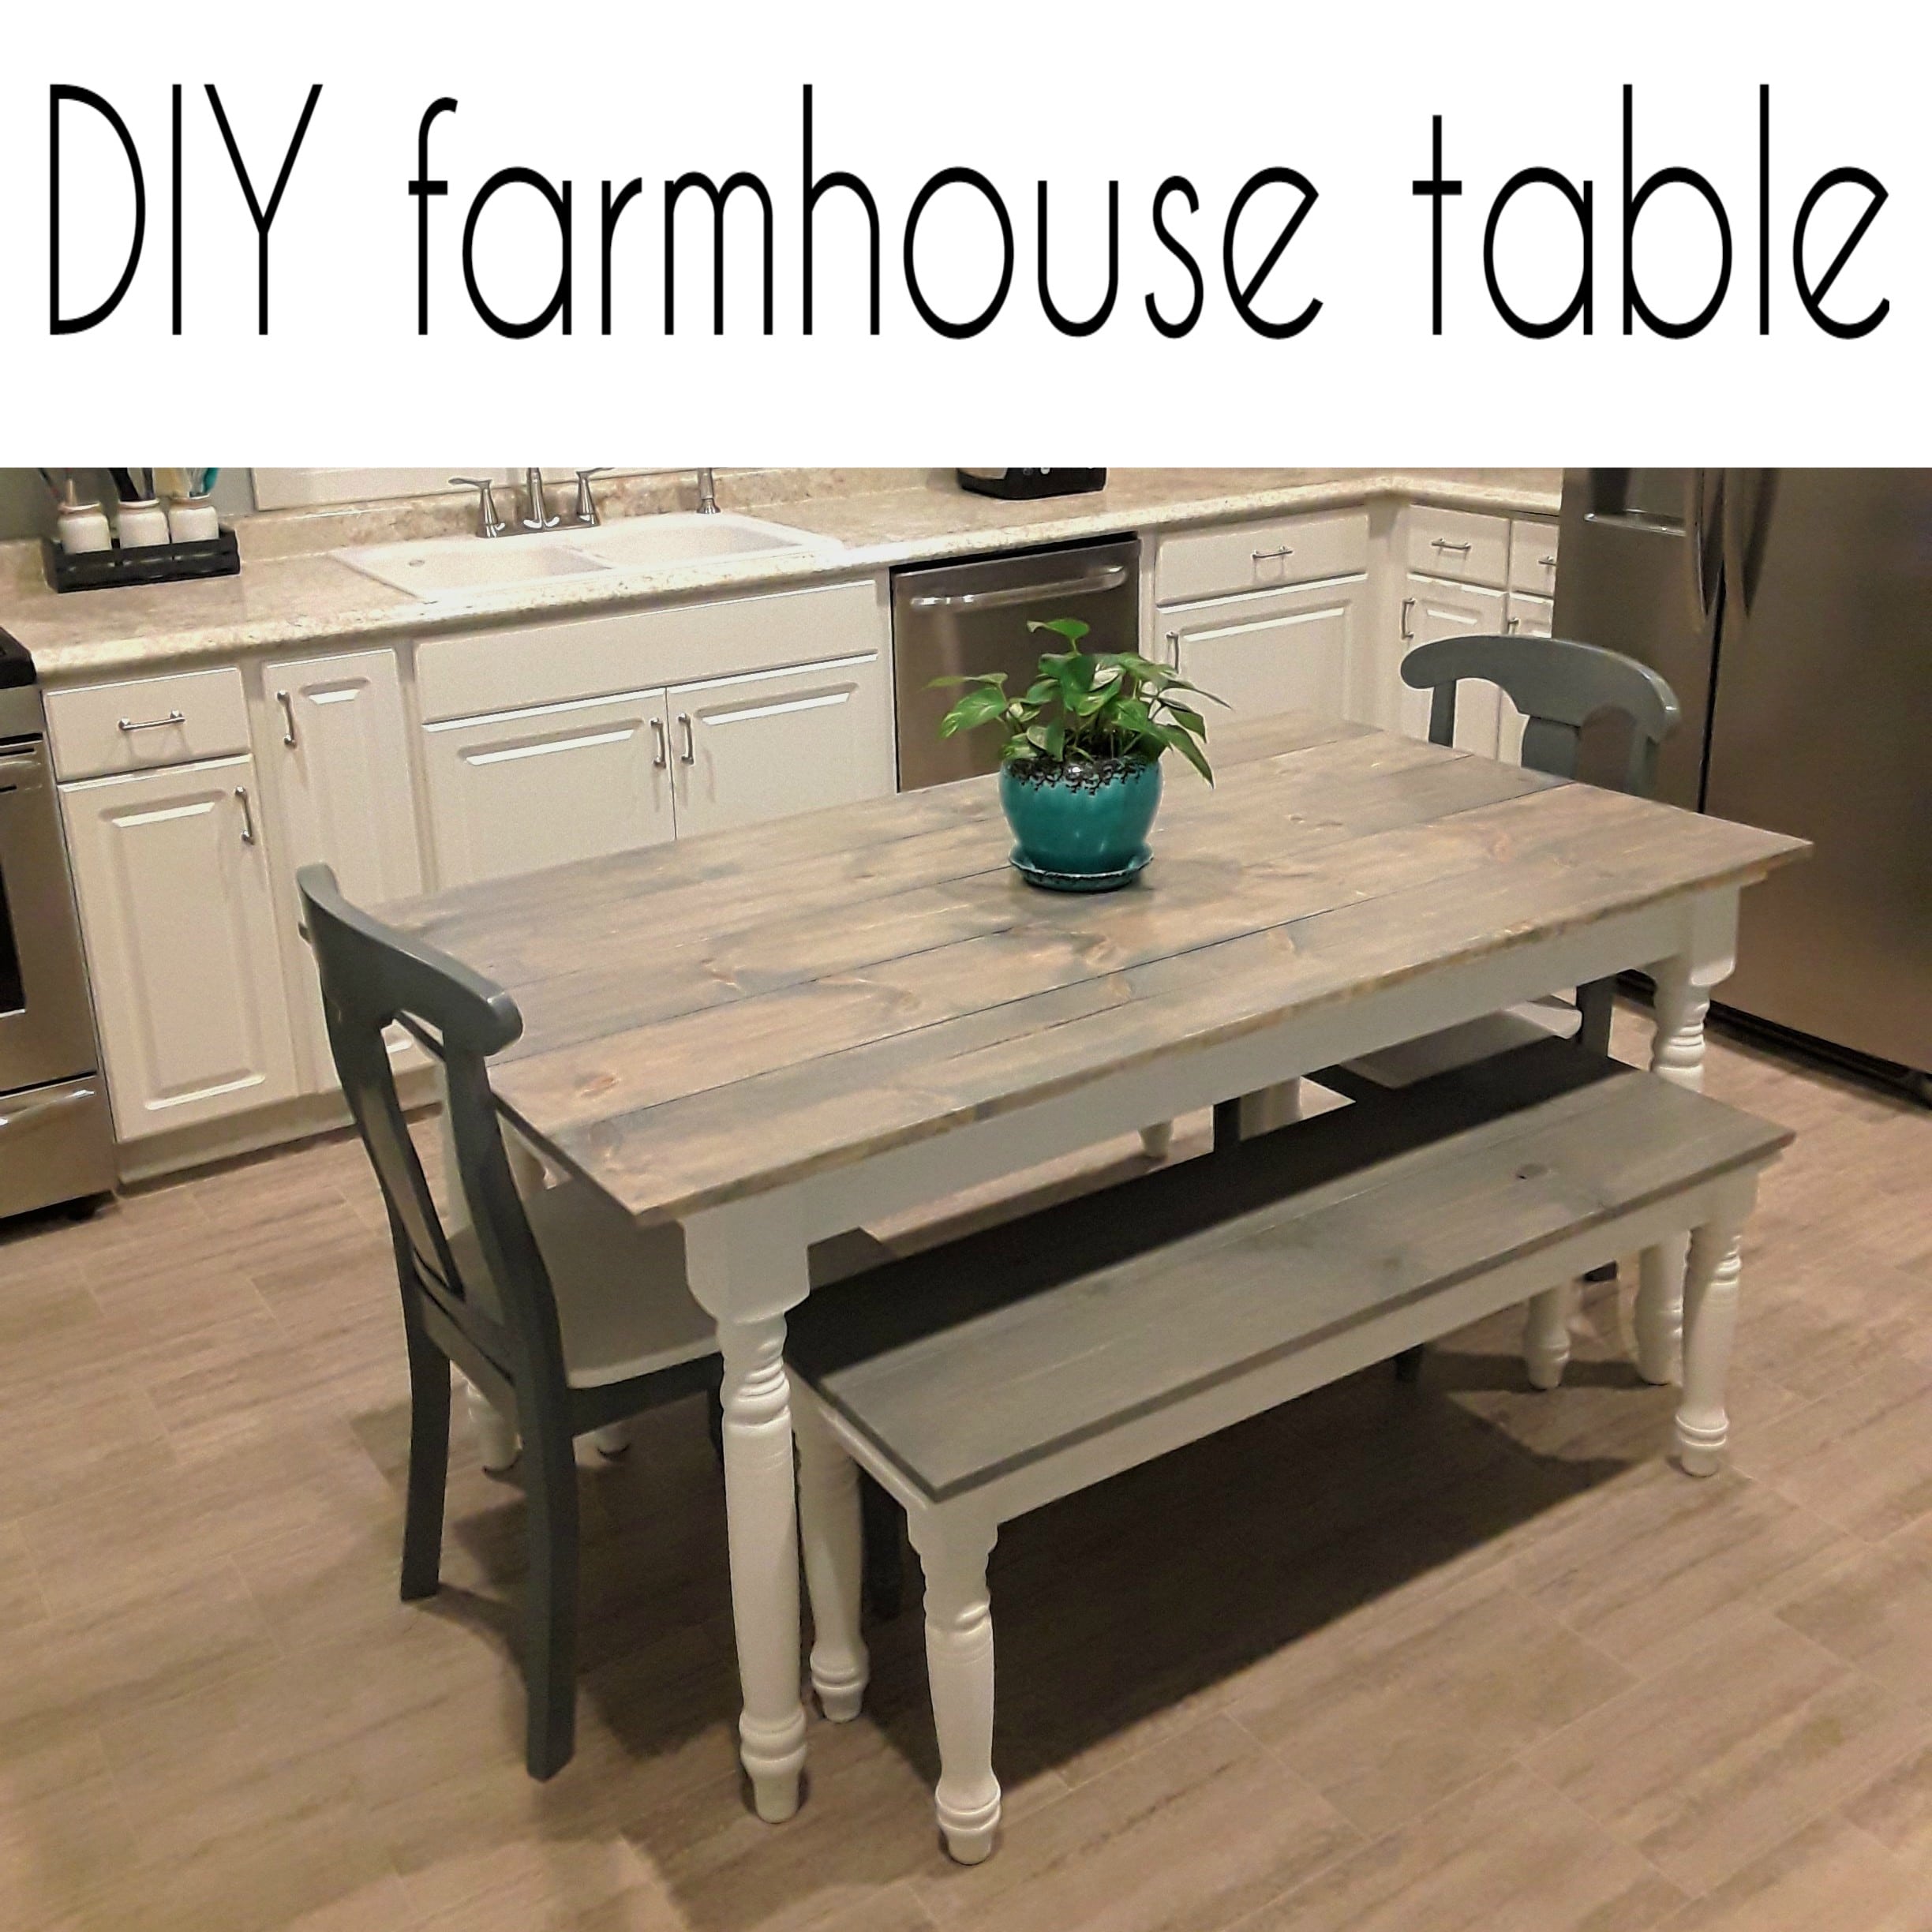
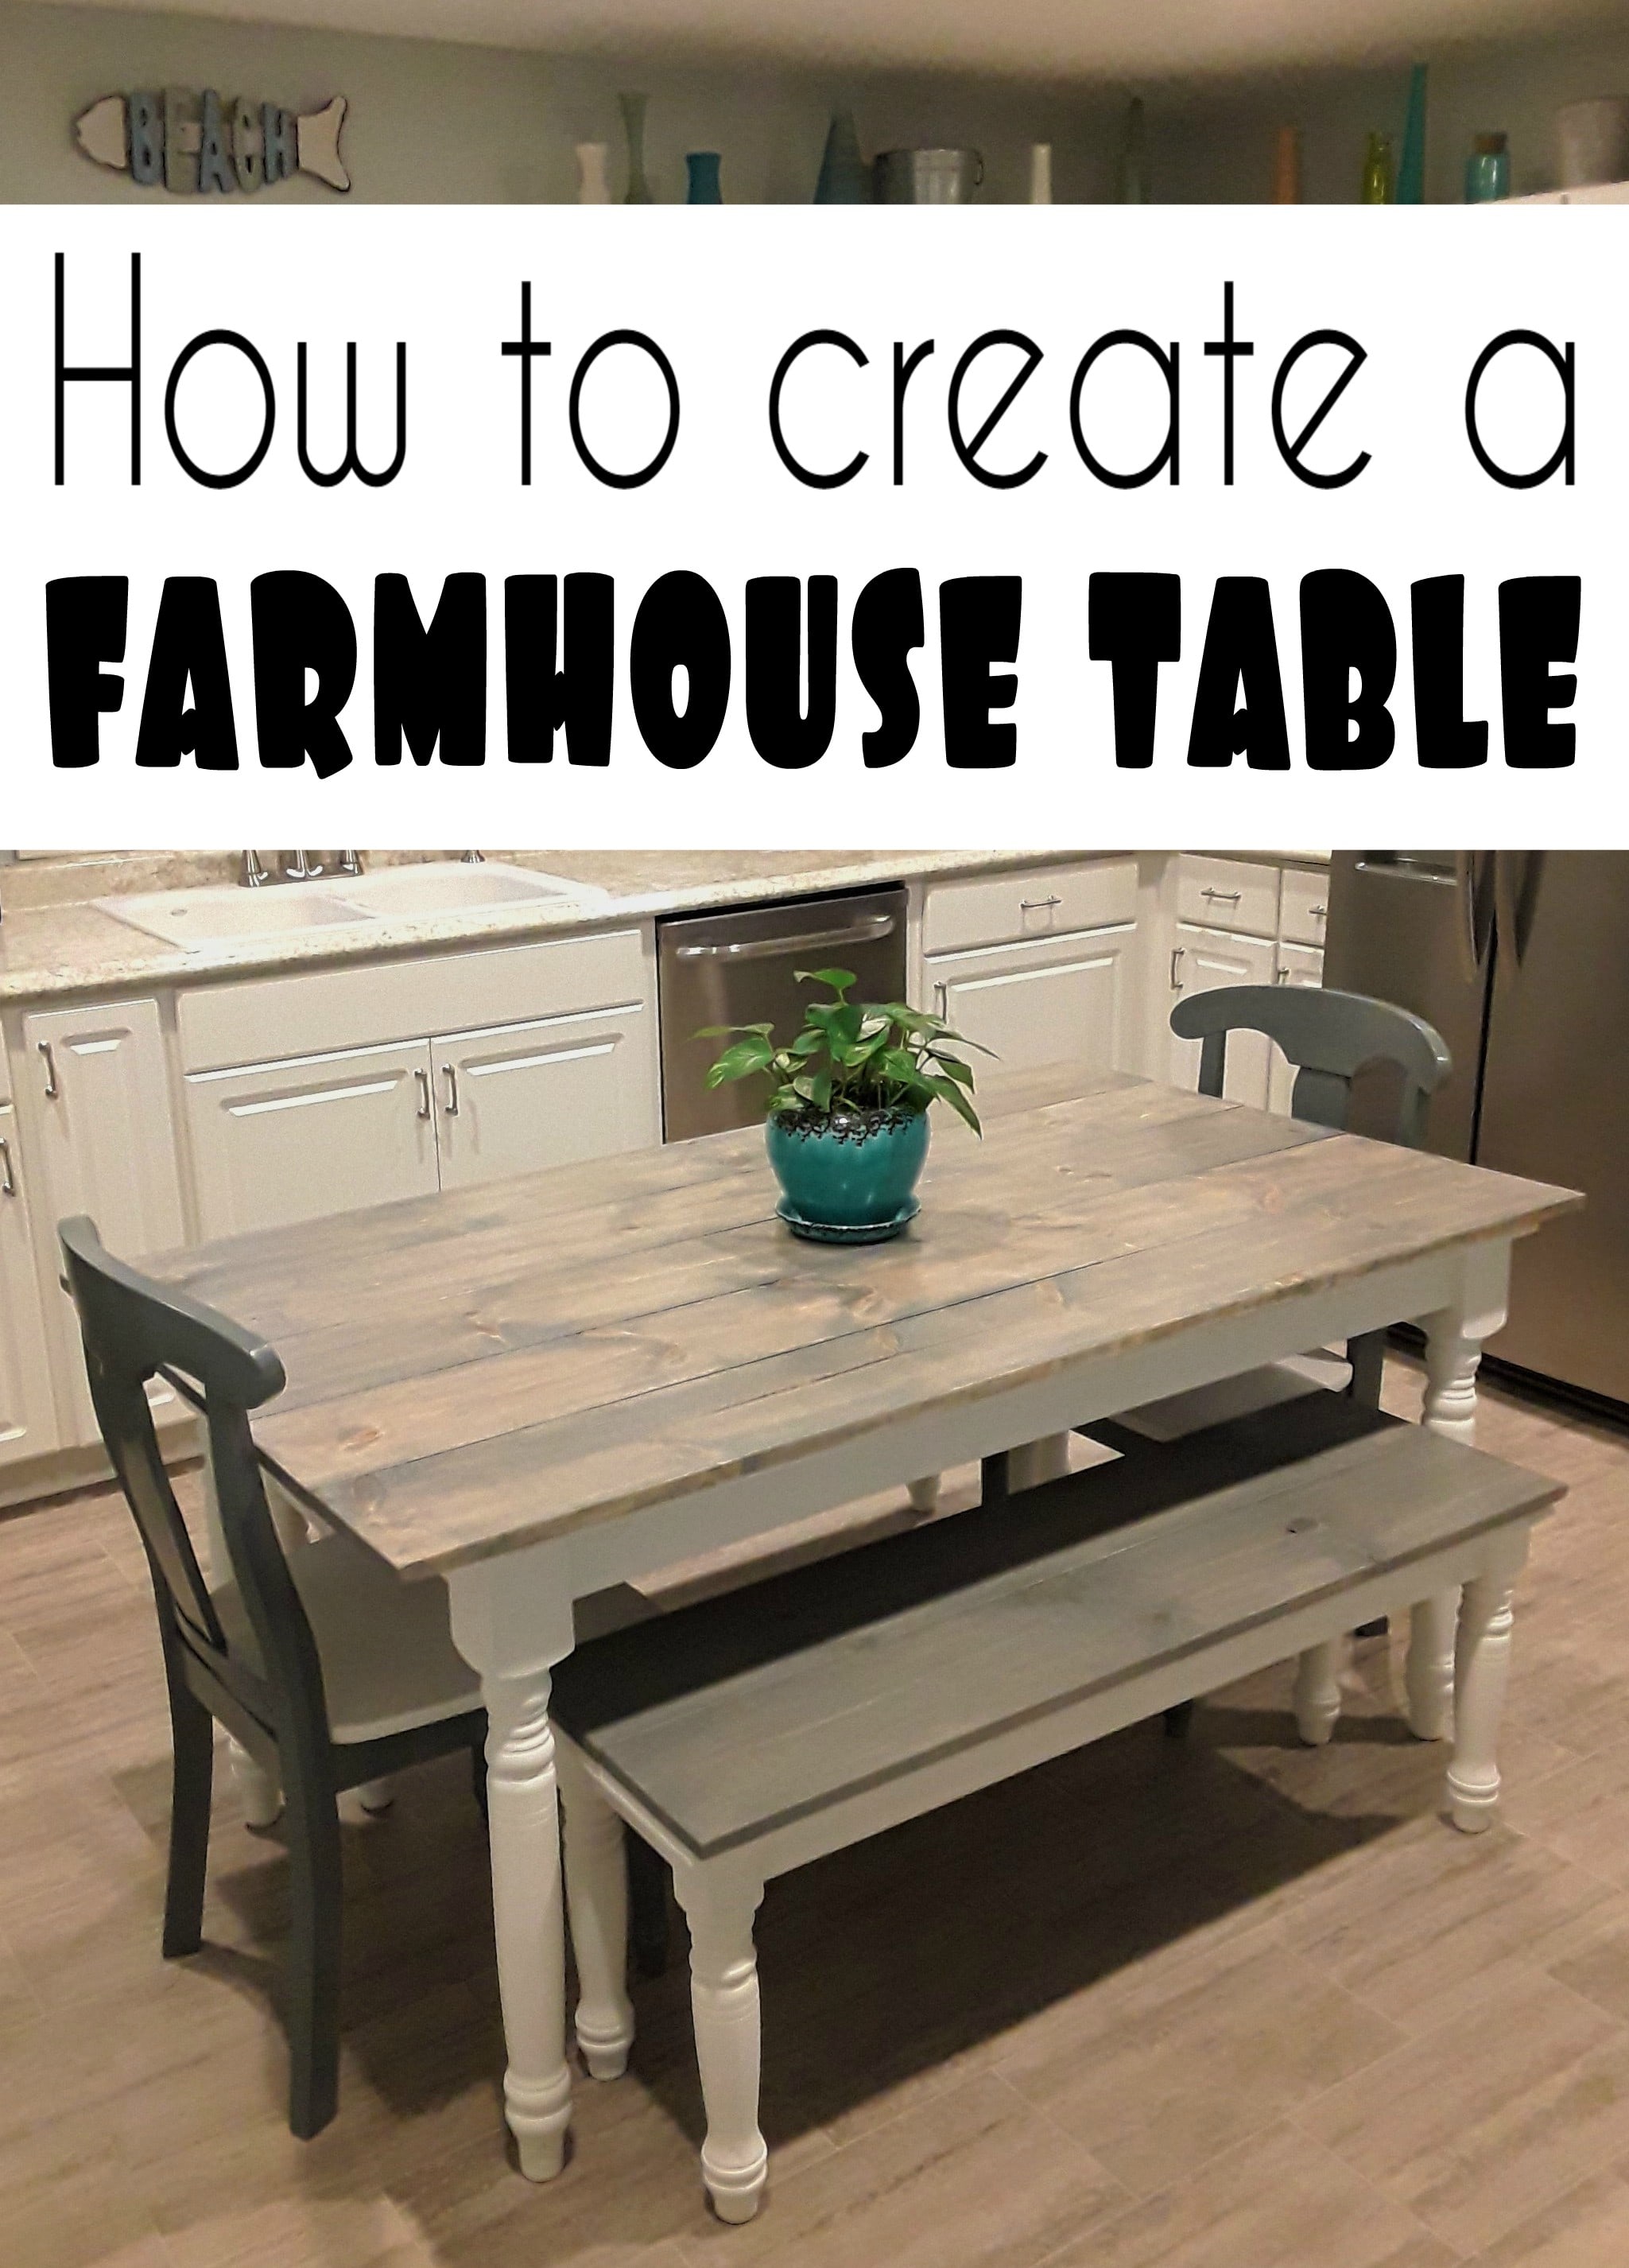
This kitchen table has been with us for quite a few years now. It's been painted twice, has so many knicks, dings and dents from 3 moves and kids growing up with it, but it was a good and sturdy table. I just couldn't stand to look at it.
I was browsing pinterest and Etsy and spotted a beautiful farmhouse table that I loved. Unfortunately, I couldn't justify spending $400+ dollars on a new table since mine was still "usable". So we decided to make our own.
What you will need:
wood (I used standard pine)
liquid nails
caulking gun
drill
screws
KILZ white chalk paint
KILZ clear wax sealer
sander
wood stain
protective sealer
A lot of these item specifics will vary depending on which wood you select and what your current table is like, but it will give you a basic idea of what you need and how I put mine together.
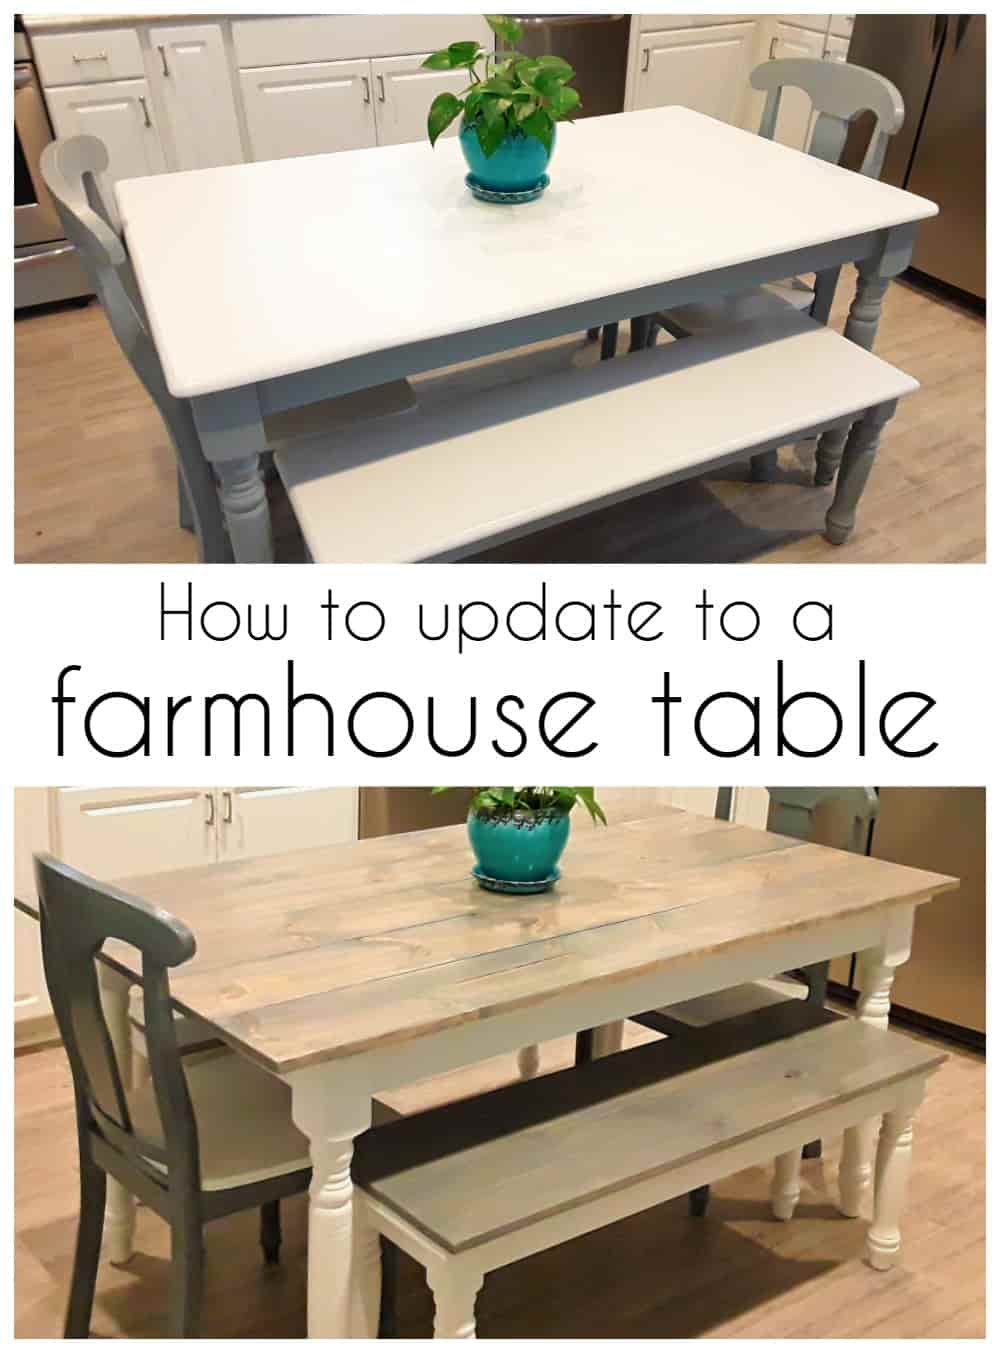
I started by giving my table, chairs and bench legs a fresh coat of paint. I was sick of the gray, so I went with this Kilz chalk paint and I gotta say - I loved it! After the chalk paint has dried, make sure you seal it with a wax sealer to protect it the paint. Both the paint and wax went on so easy and after a year, has held up incredible. Now if you already like the color or stain of yours, you can leave them alone.
Next your going to need to calculate how much wood you will need and which sized boards you want to use. I used (9) 1x8 boards that were 6' long. I needed 5 for the table and 2 for each bench. I left the chairs alone. This gave me enough to cover the full length of each bench and the table and gave me about 1/2" over hang on each side of the bench and about 2" of overhang on each side of the table.
Start by finding the middle of your bench and your table and making a mark so that you know where to place your boards. For the bench, I marked the middle so I knew where to make the 2 boards meet. For the table, the middle marks where I want the middle of the board.
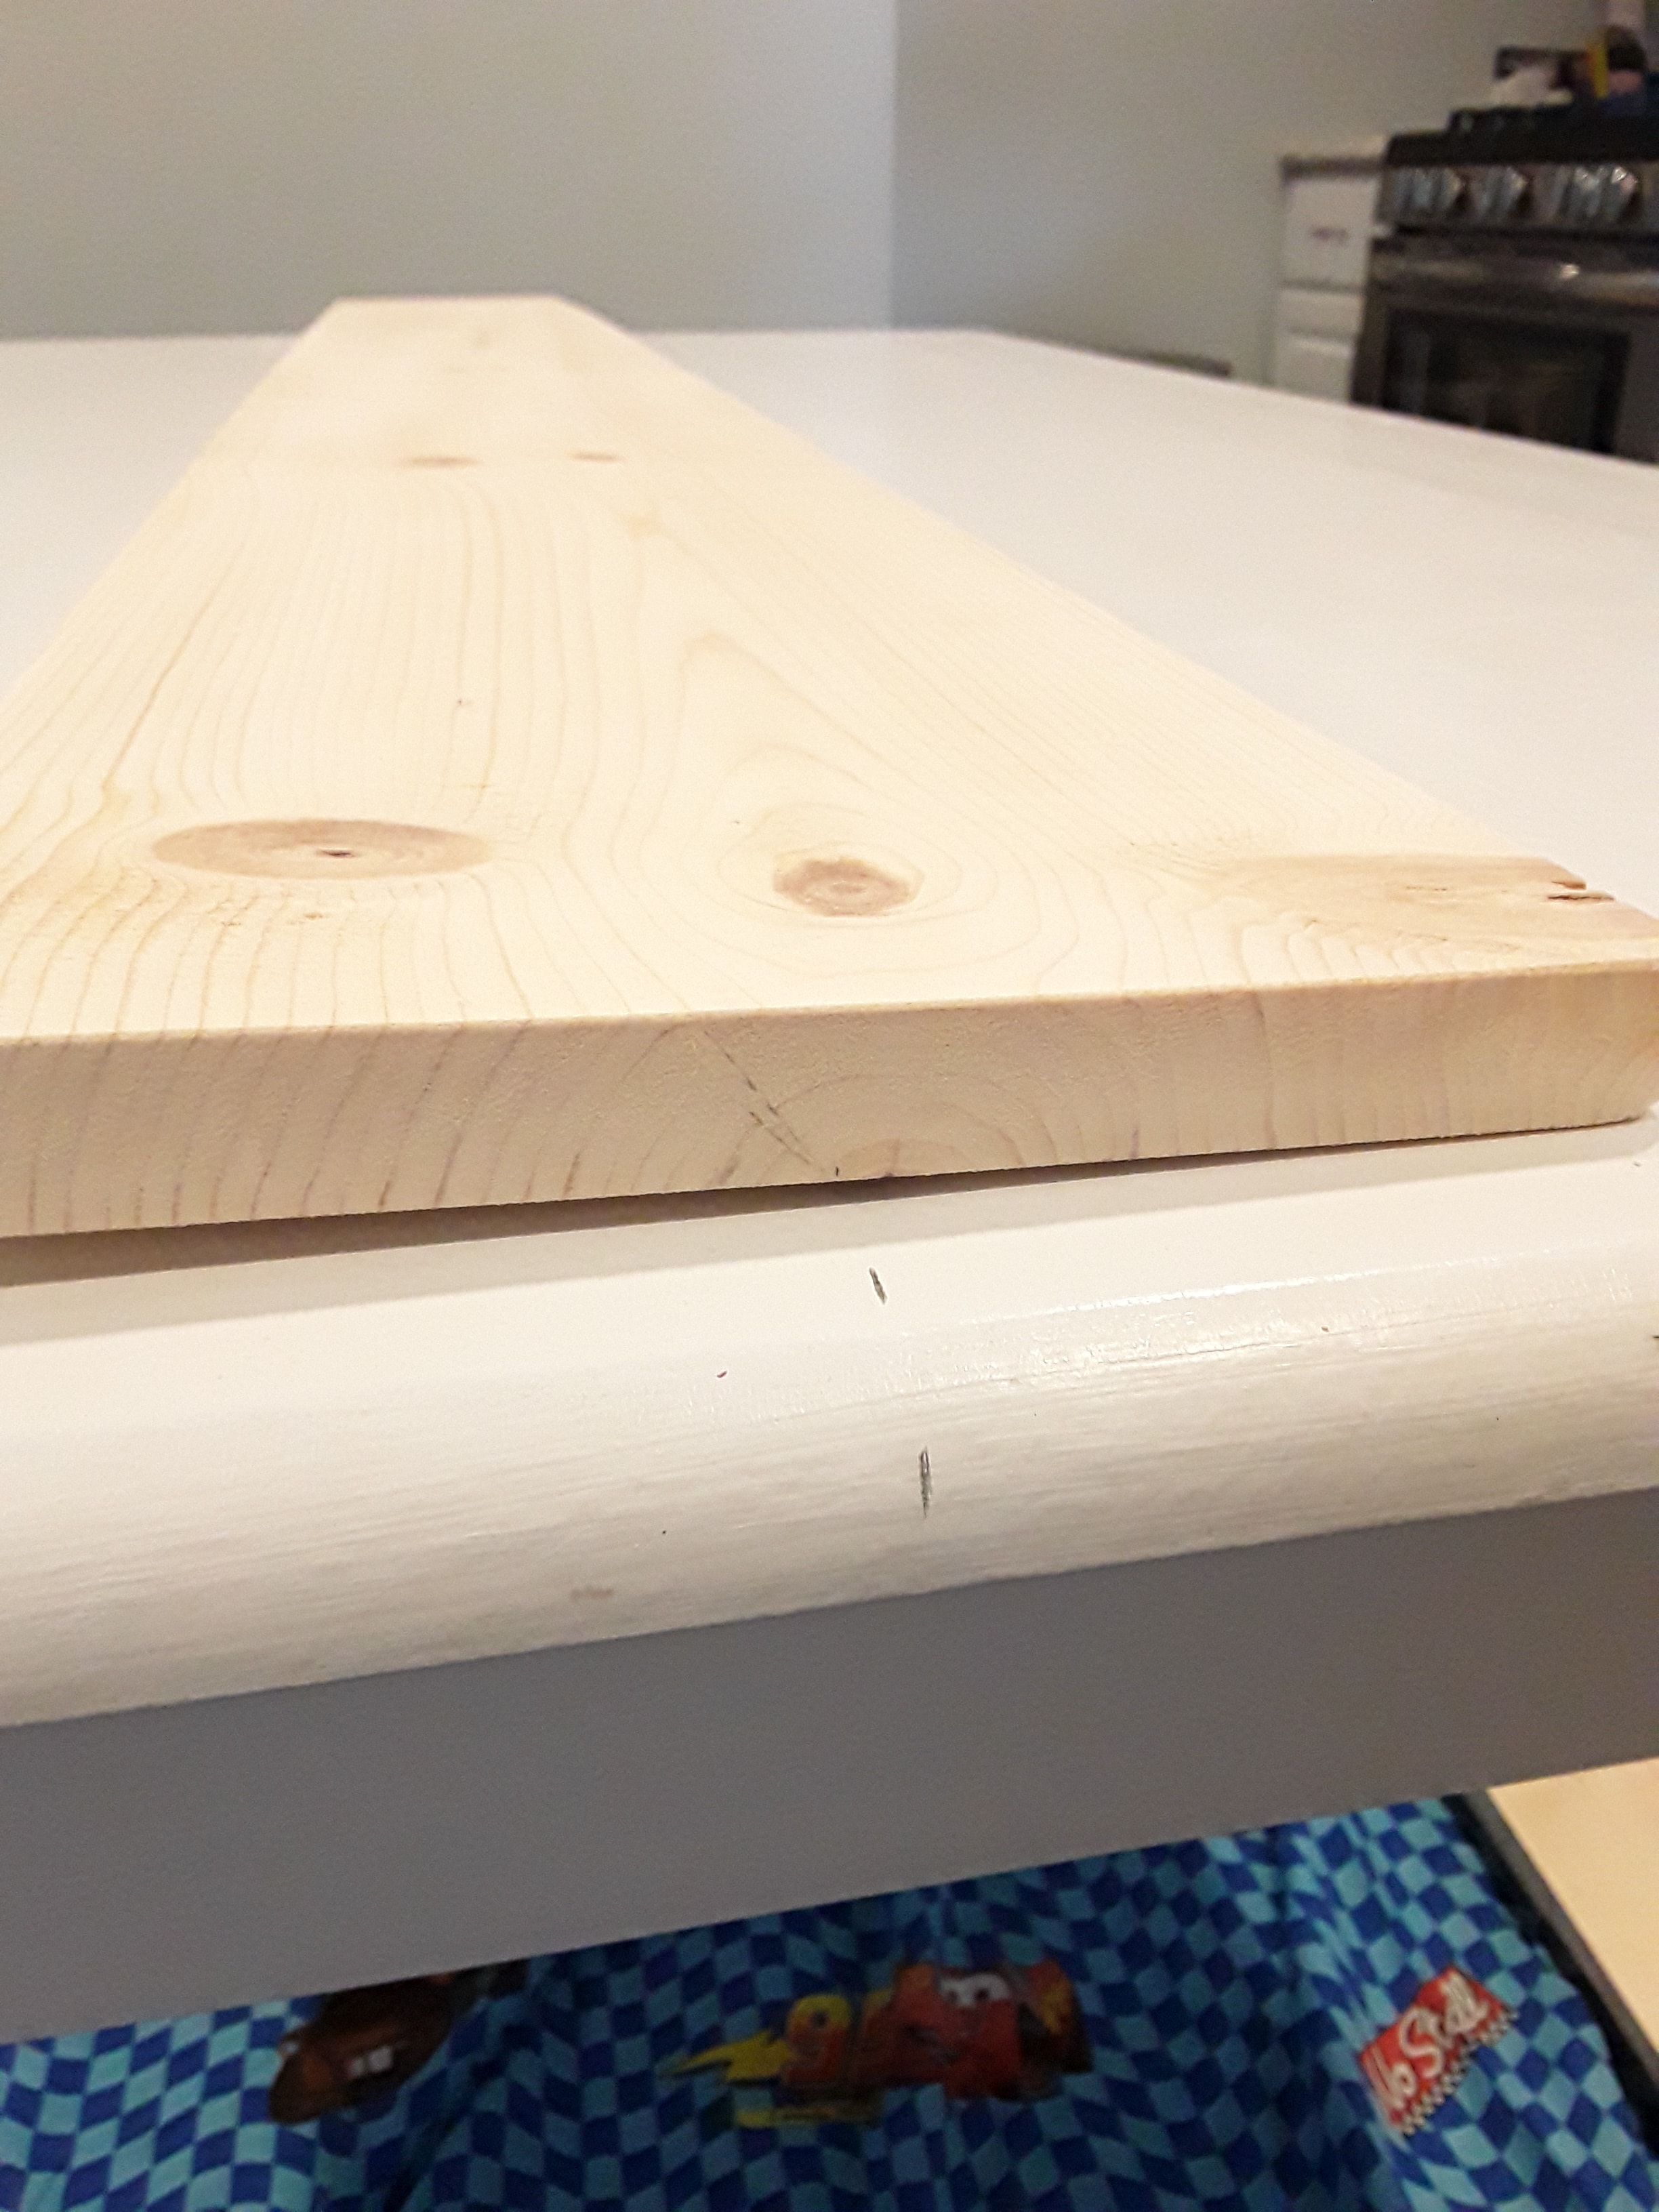
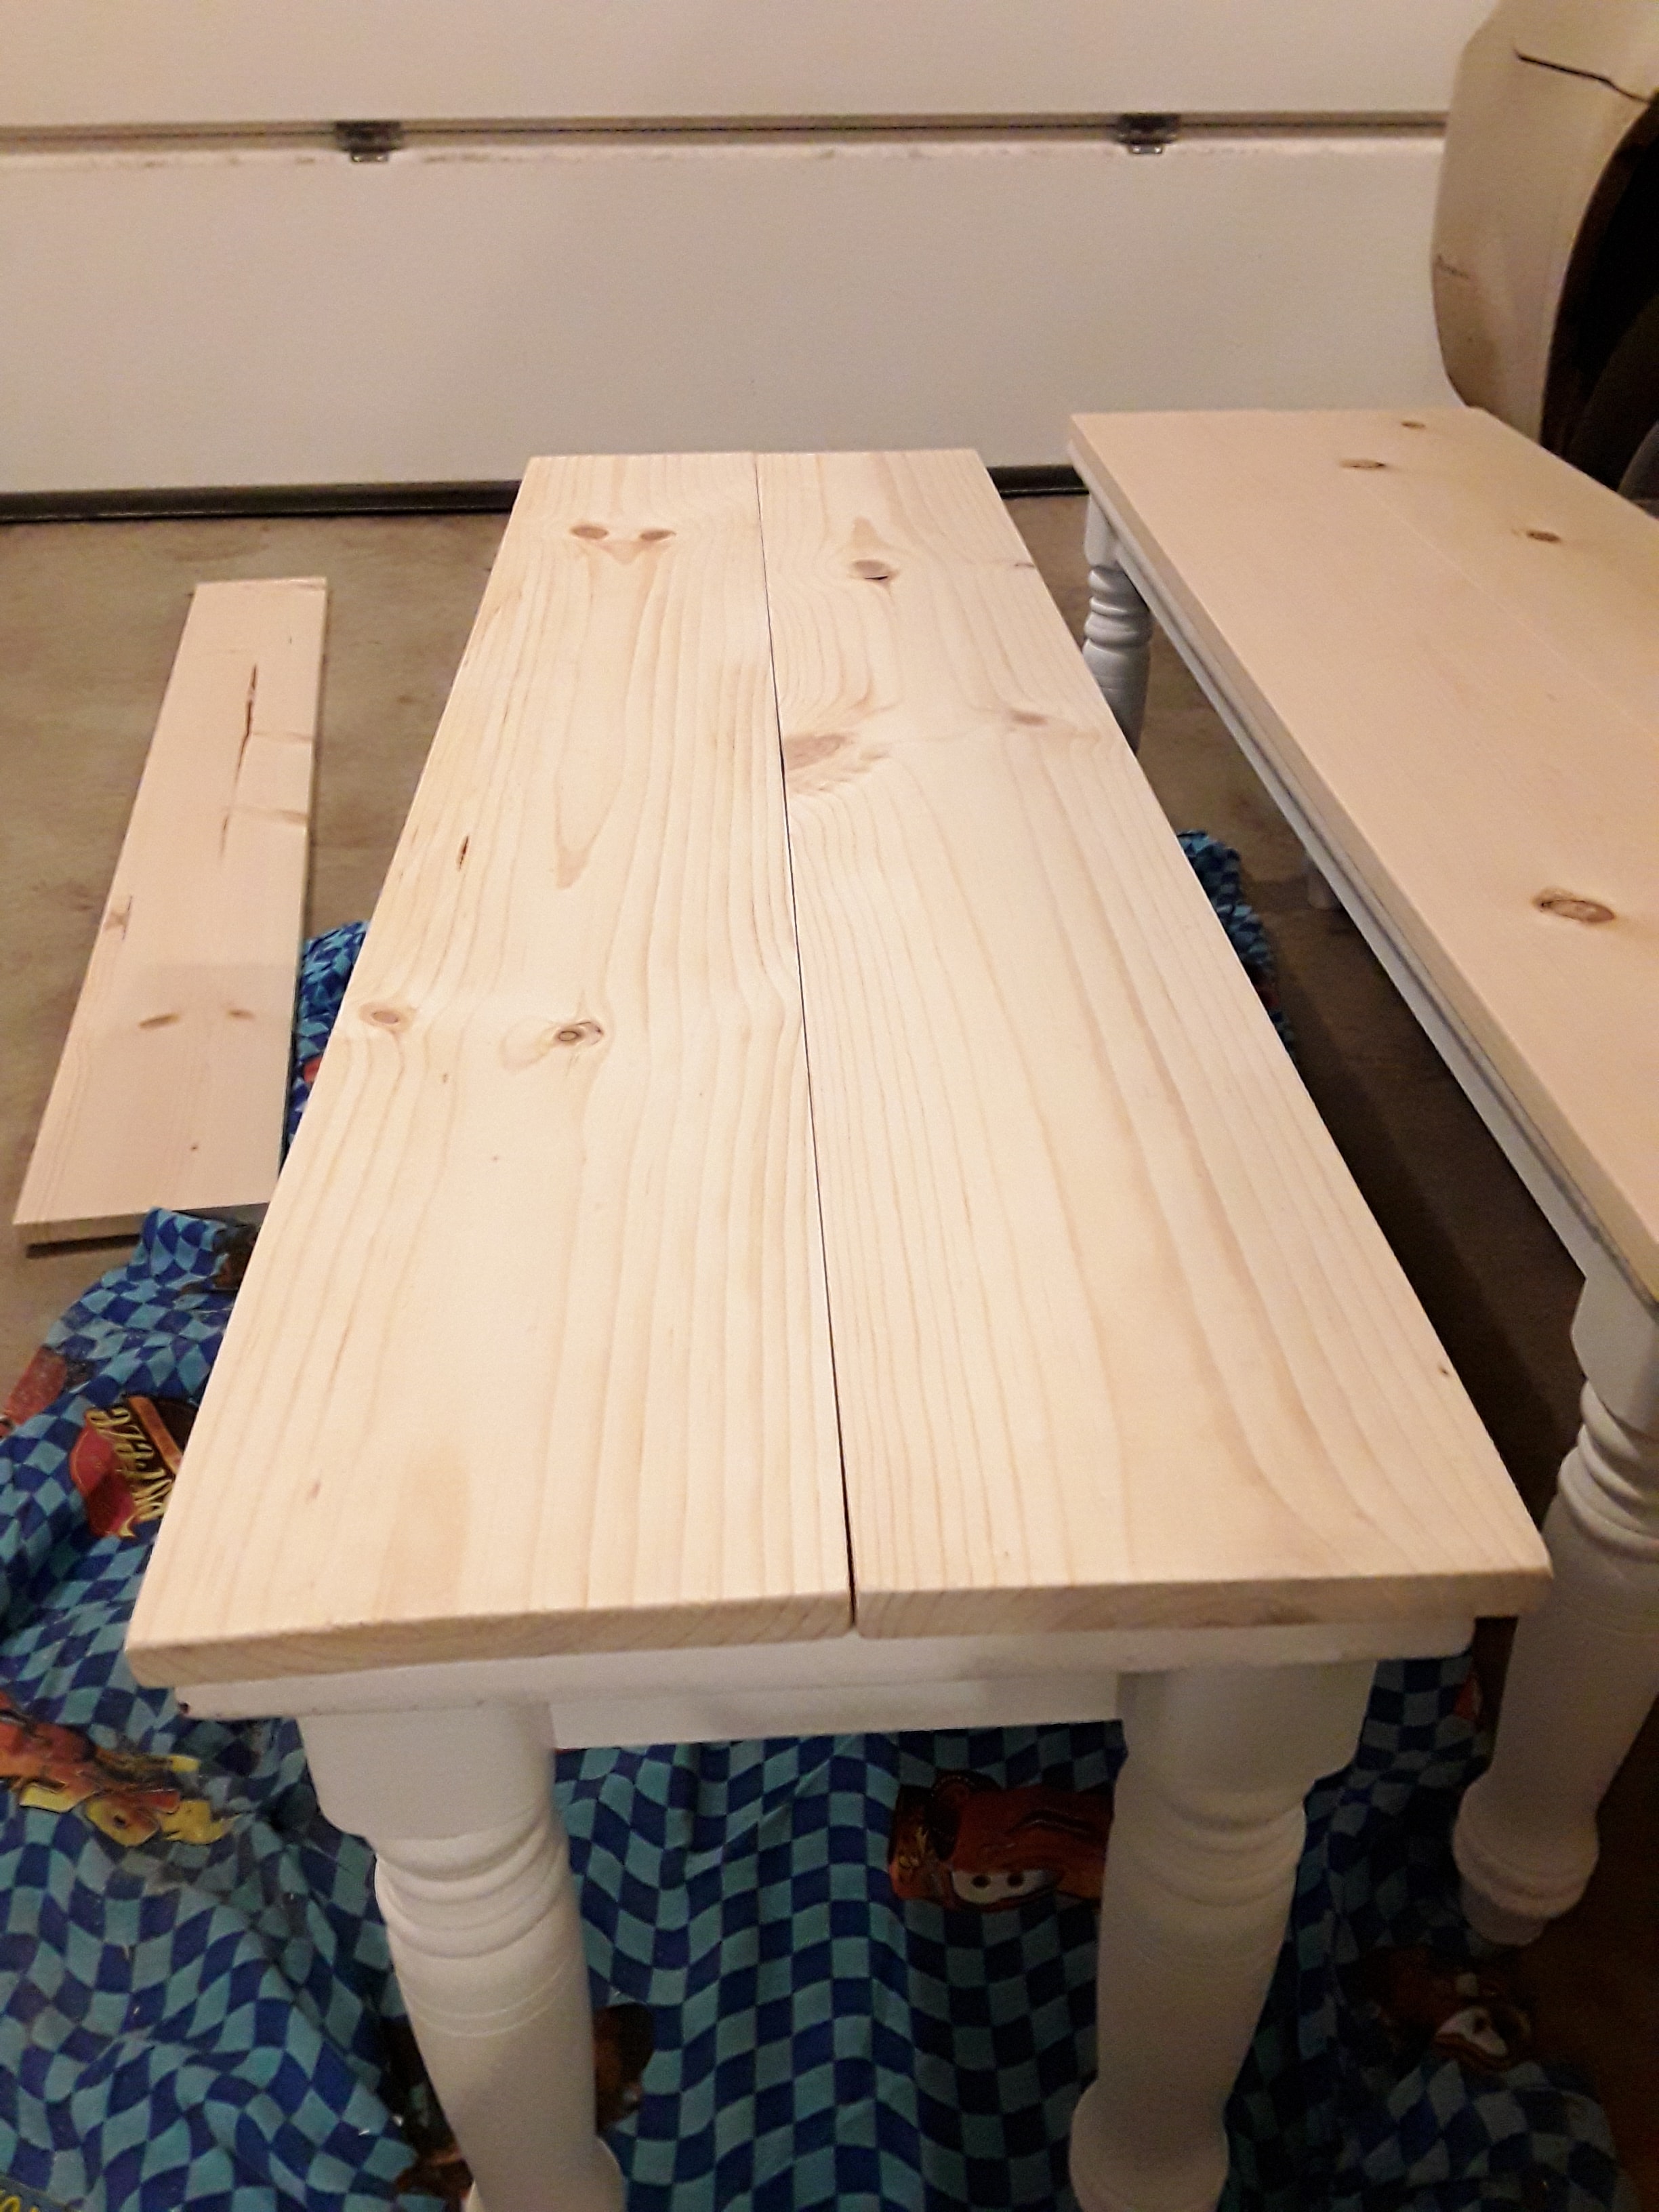
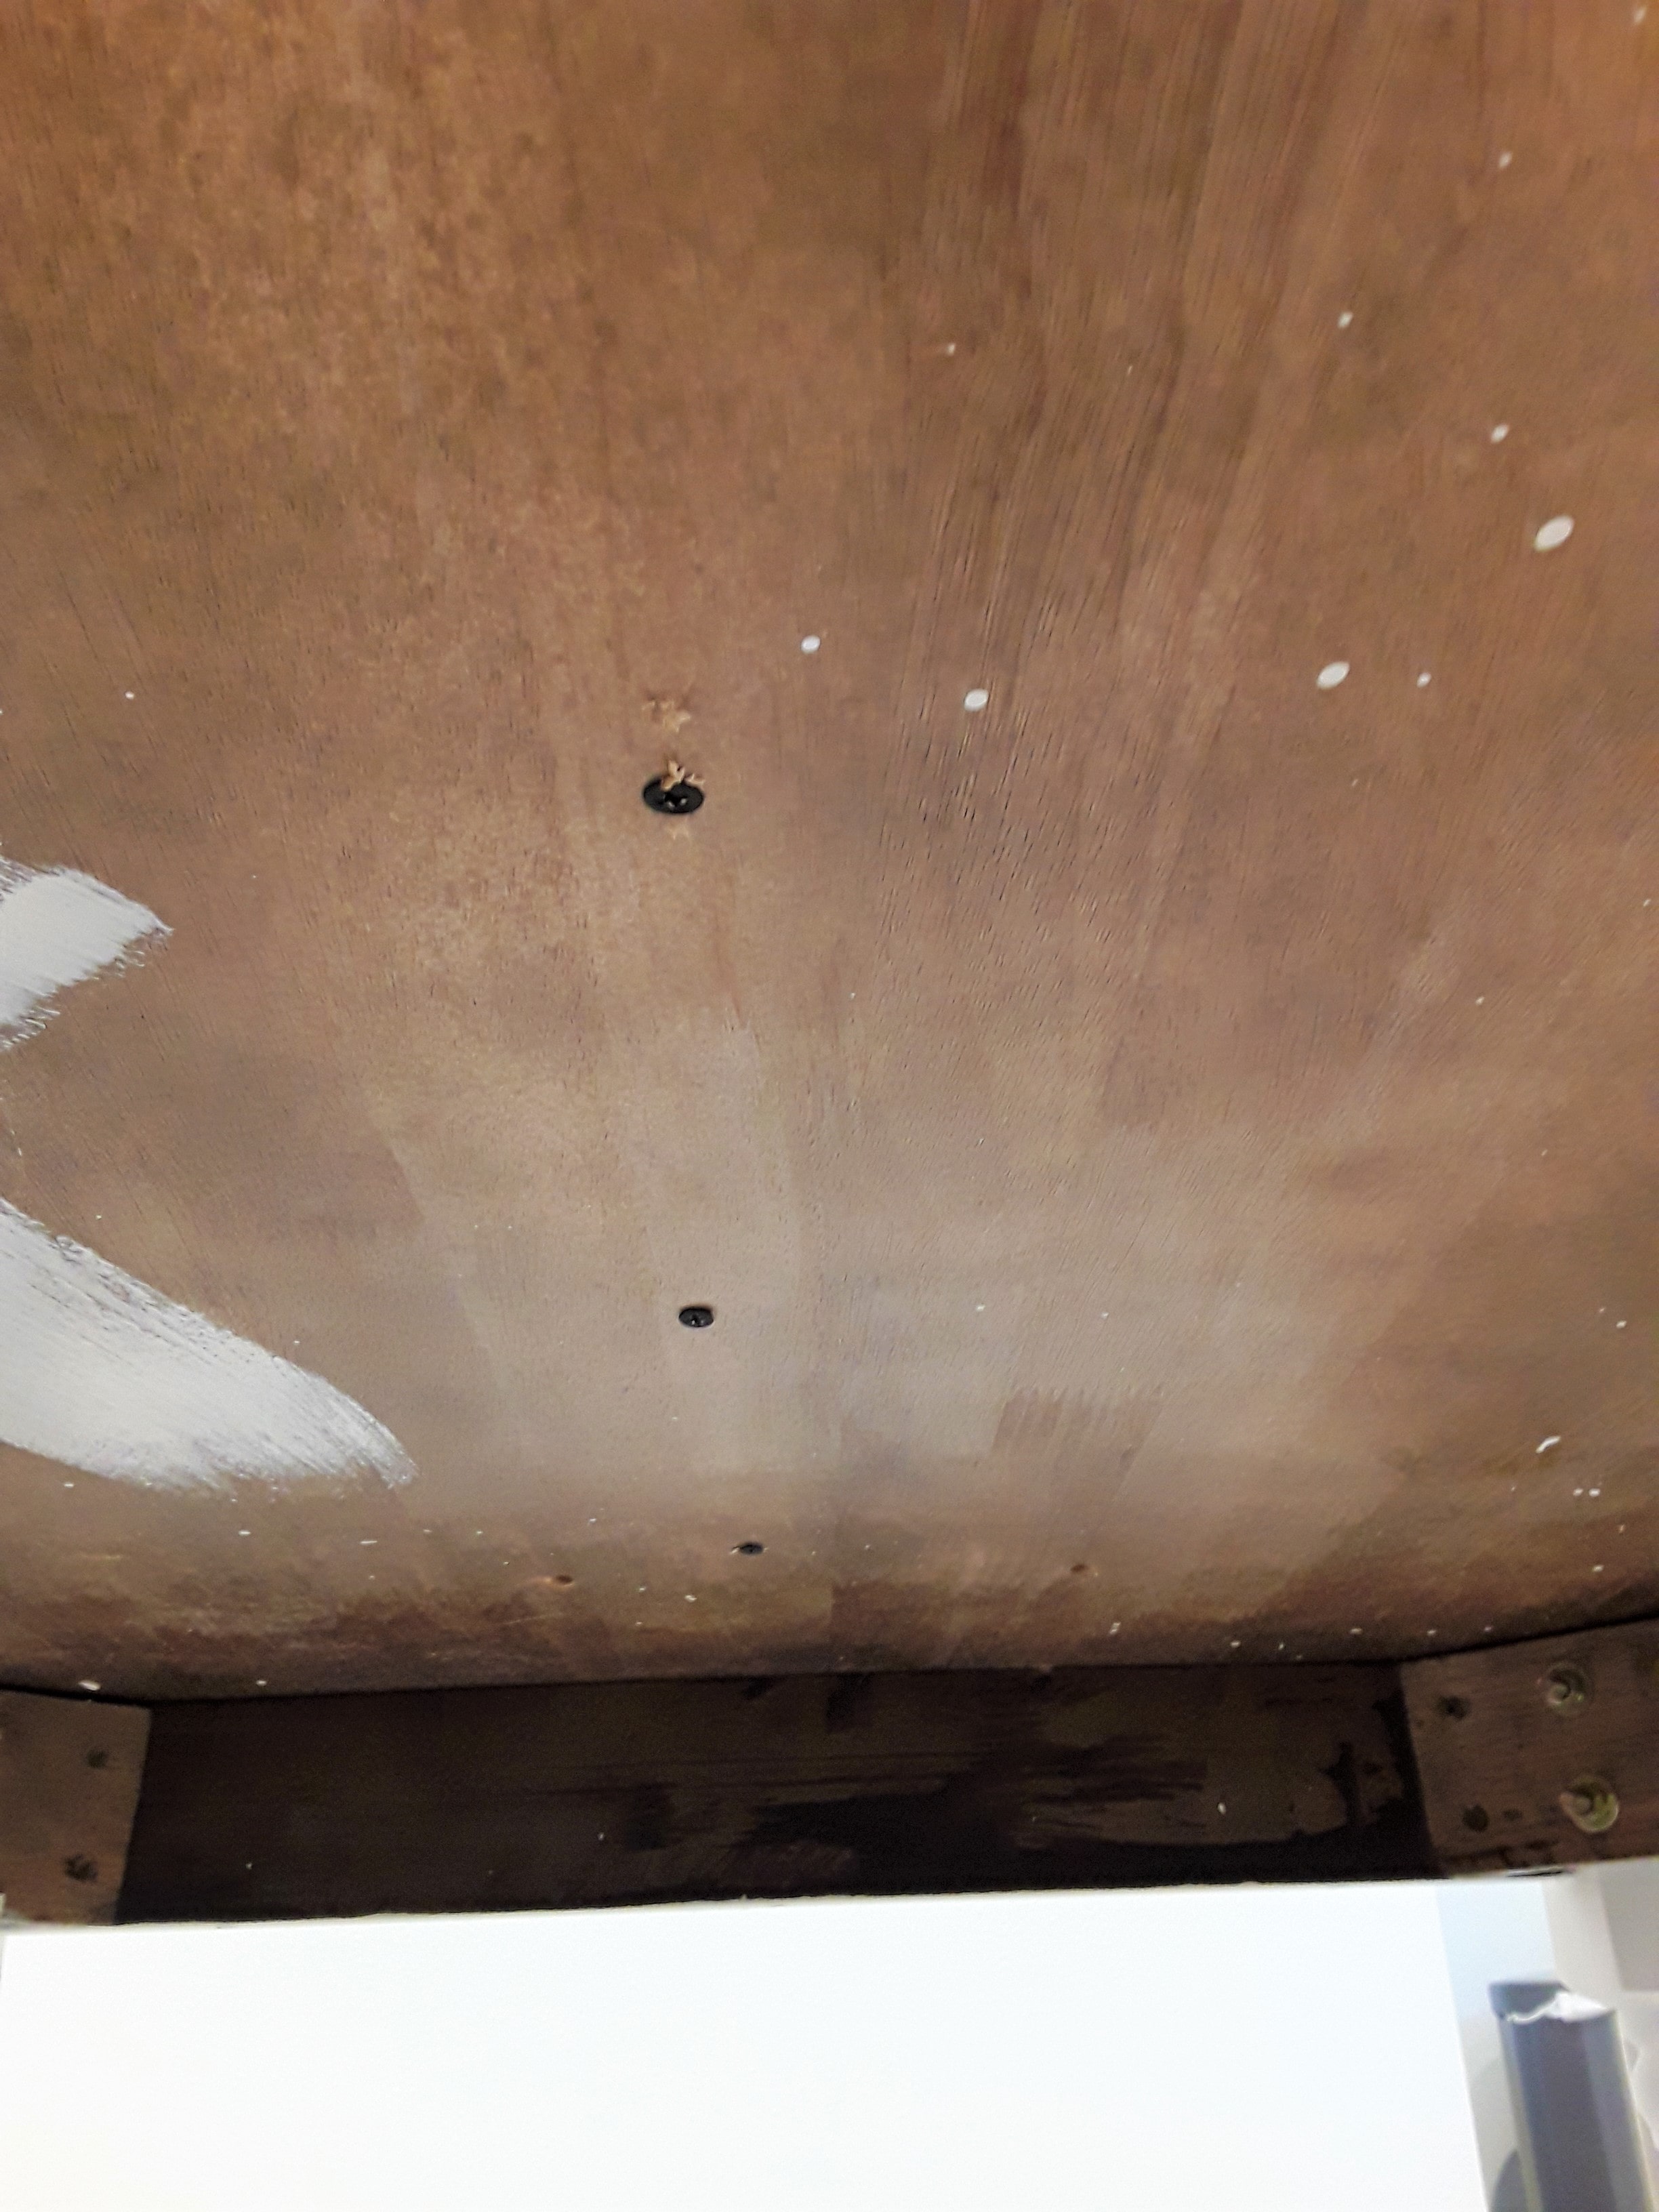
Then it's time to attach your boards. Working one board at a time, squeeze out a nice thick line of liquid nails where you will lay your board and then set it in place. This is where you may need a second set of hands - I used my kids. Have someone keep the board in place while you drill your screws underneath the table/bench into the underside of the board to hold the board in place. I had one of my kids sit on the board while I drilled the screw in place.
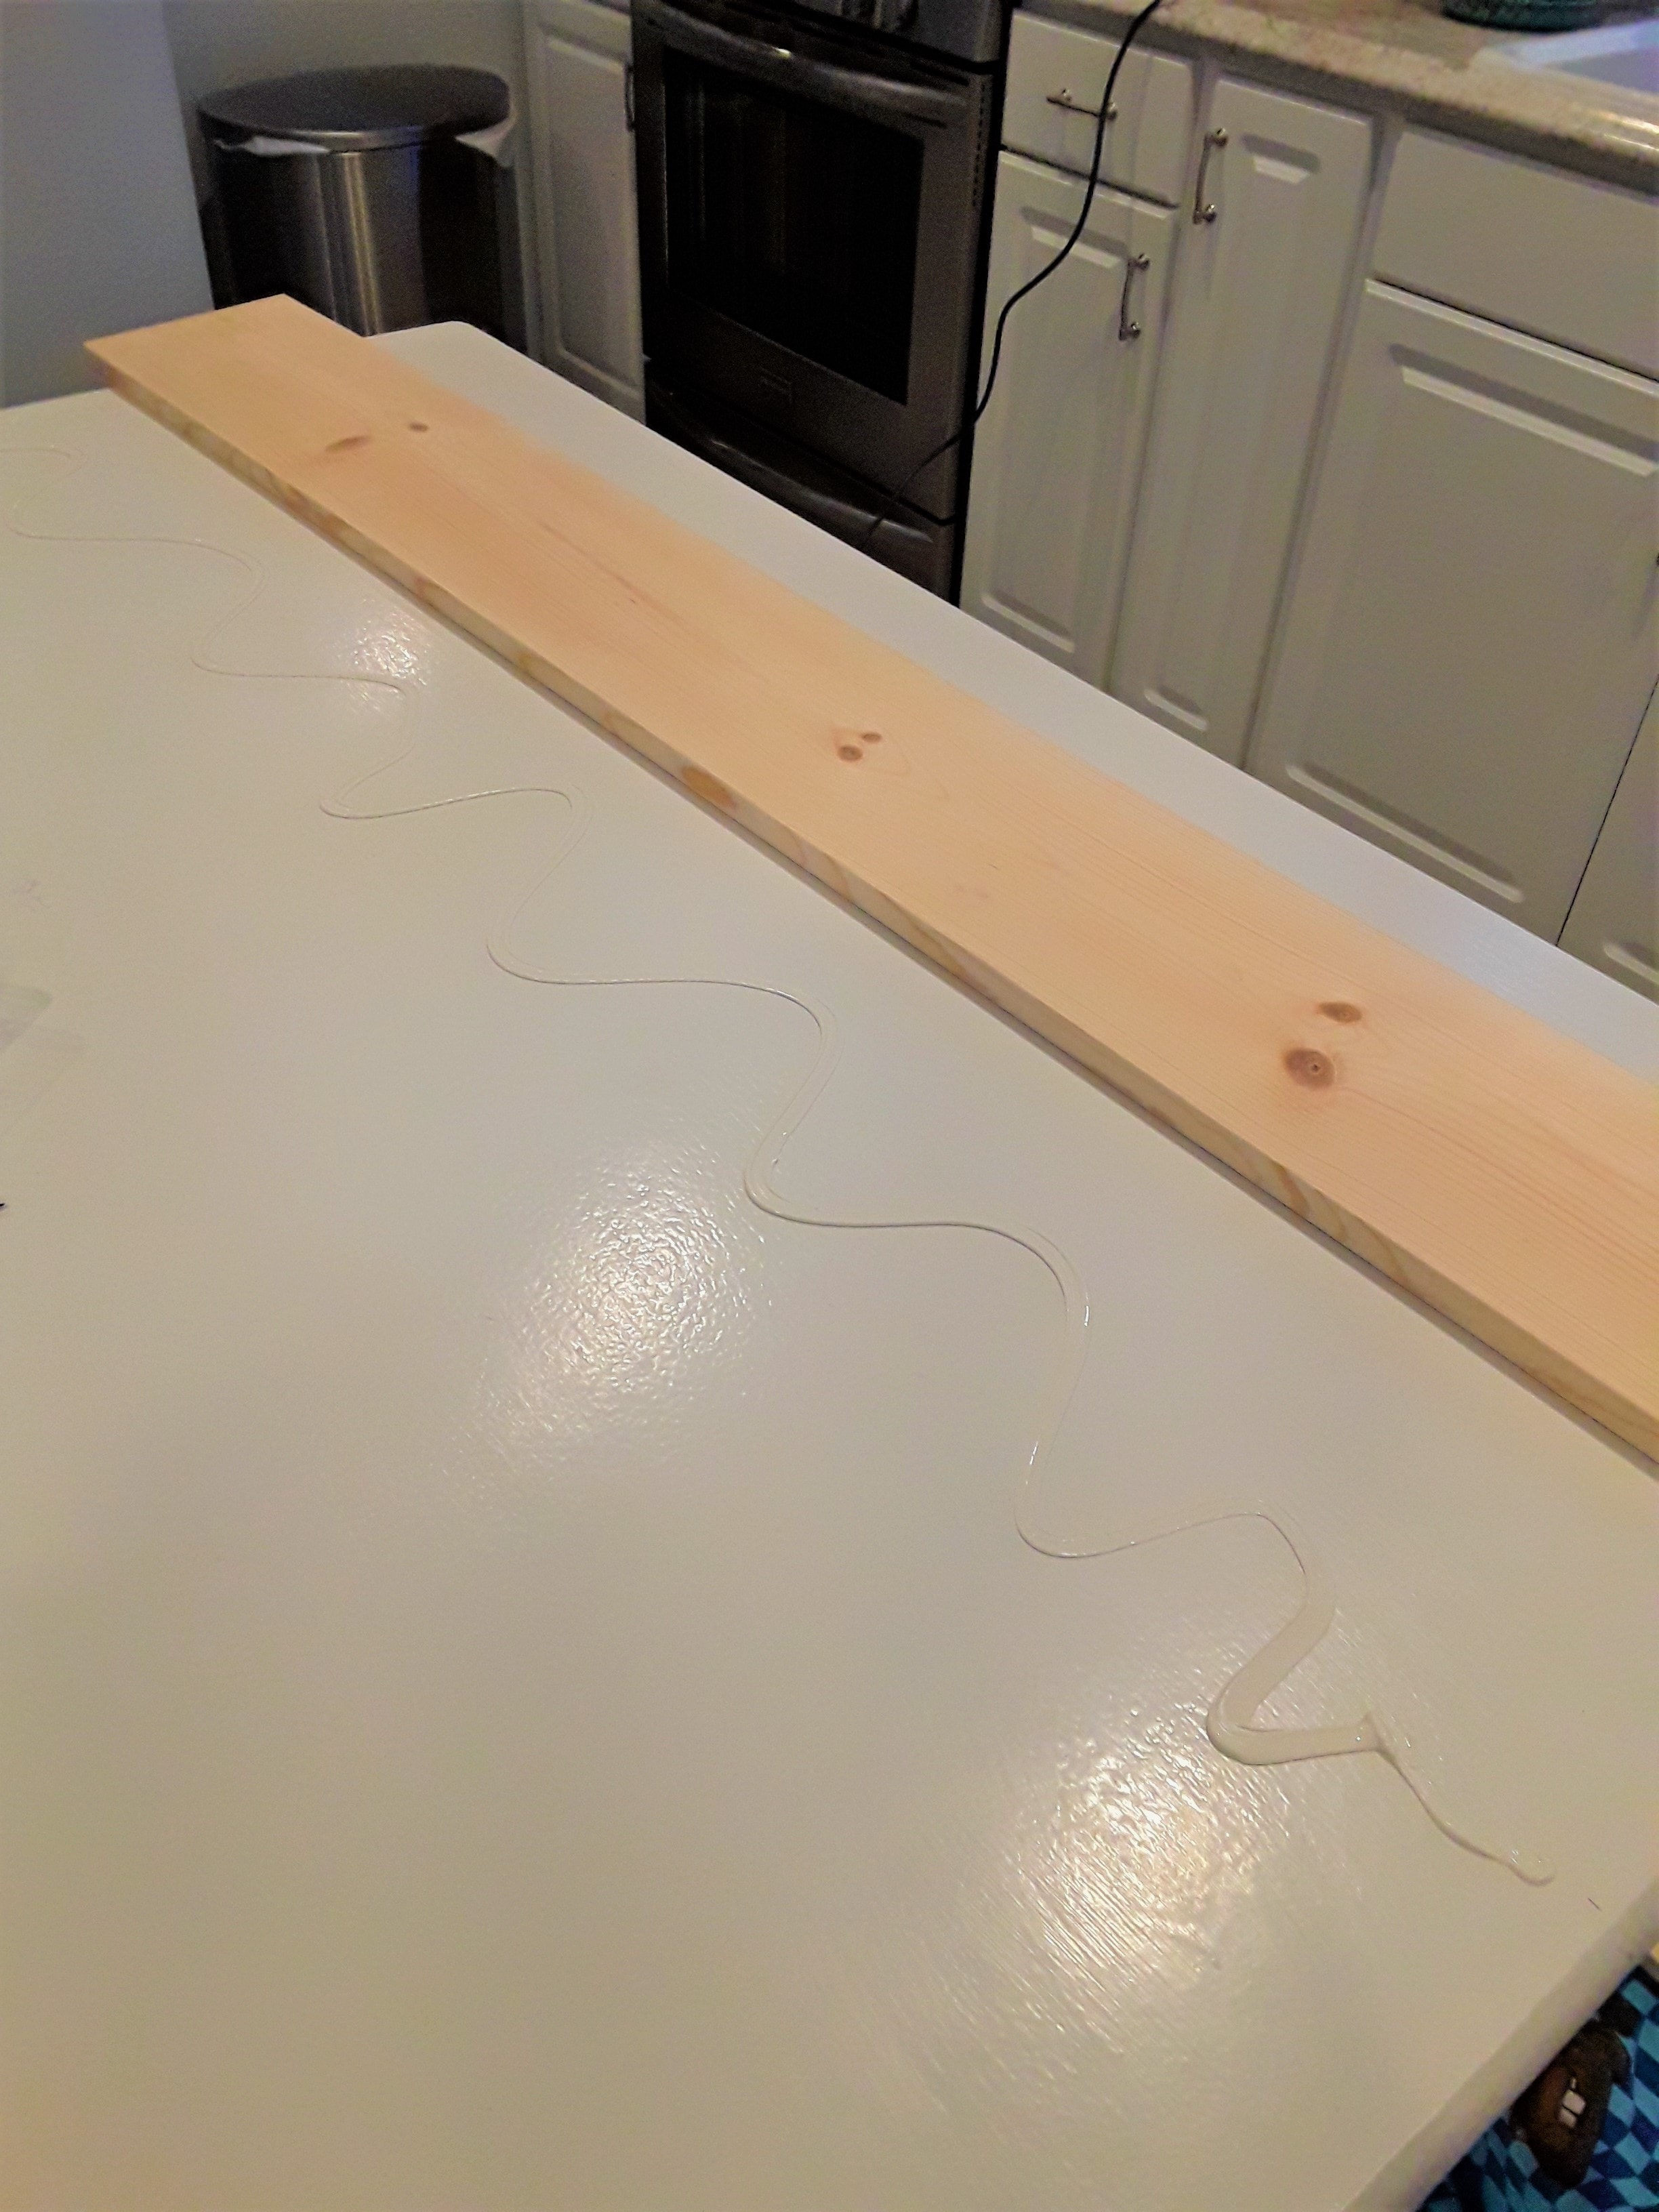
Continue working your way across your table and your benches applying the liquid nails and screwing the boards into place. Keep double checking to make sure that your boards are lining up and in place. Once you have everything nice and secure you're ready for stain! I love this wood stain
Let stain dry according to the manufacturers directions and then you will need to apply a protective sealer
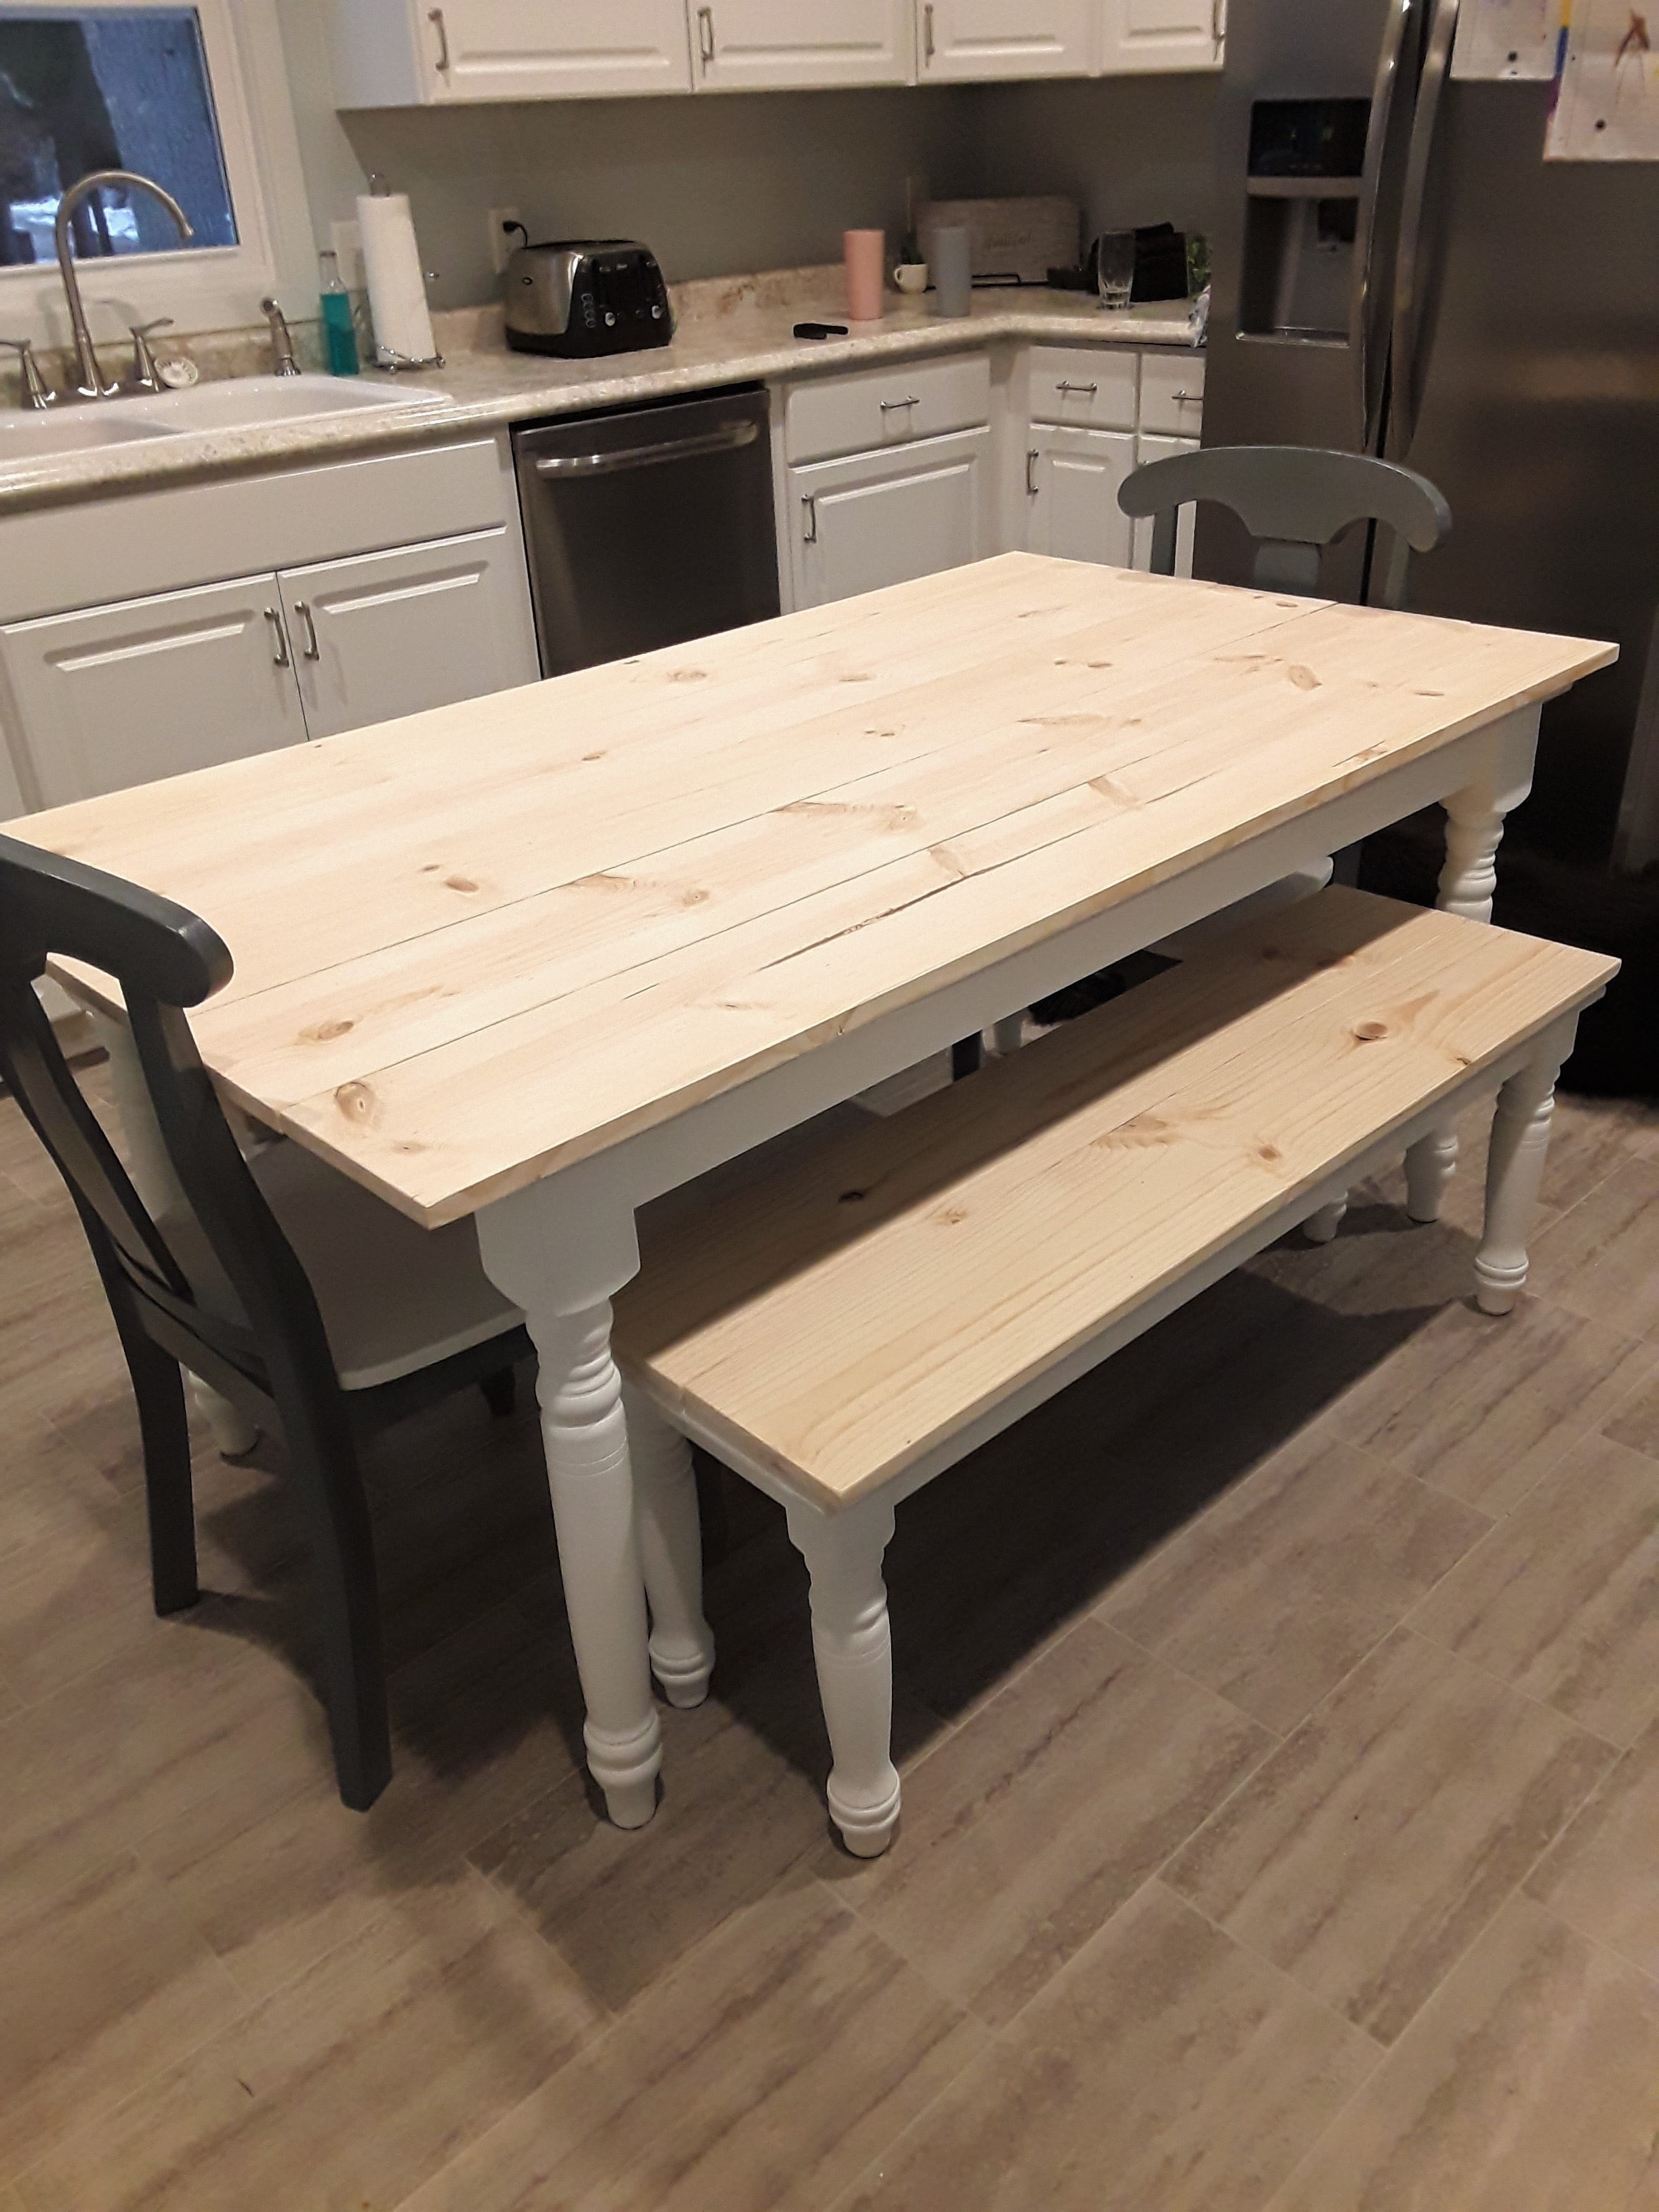
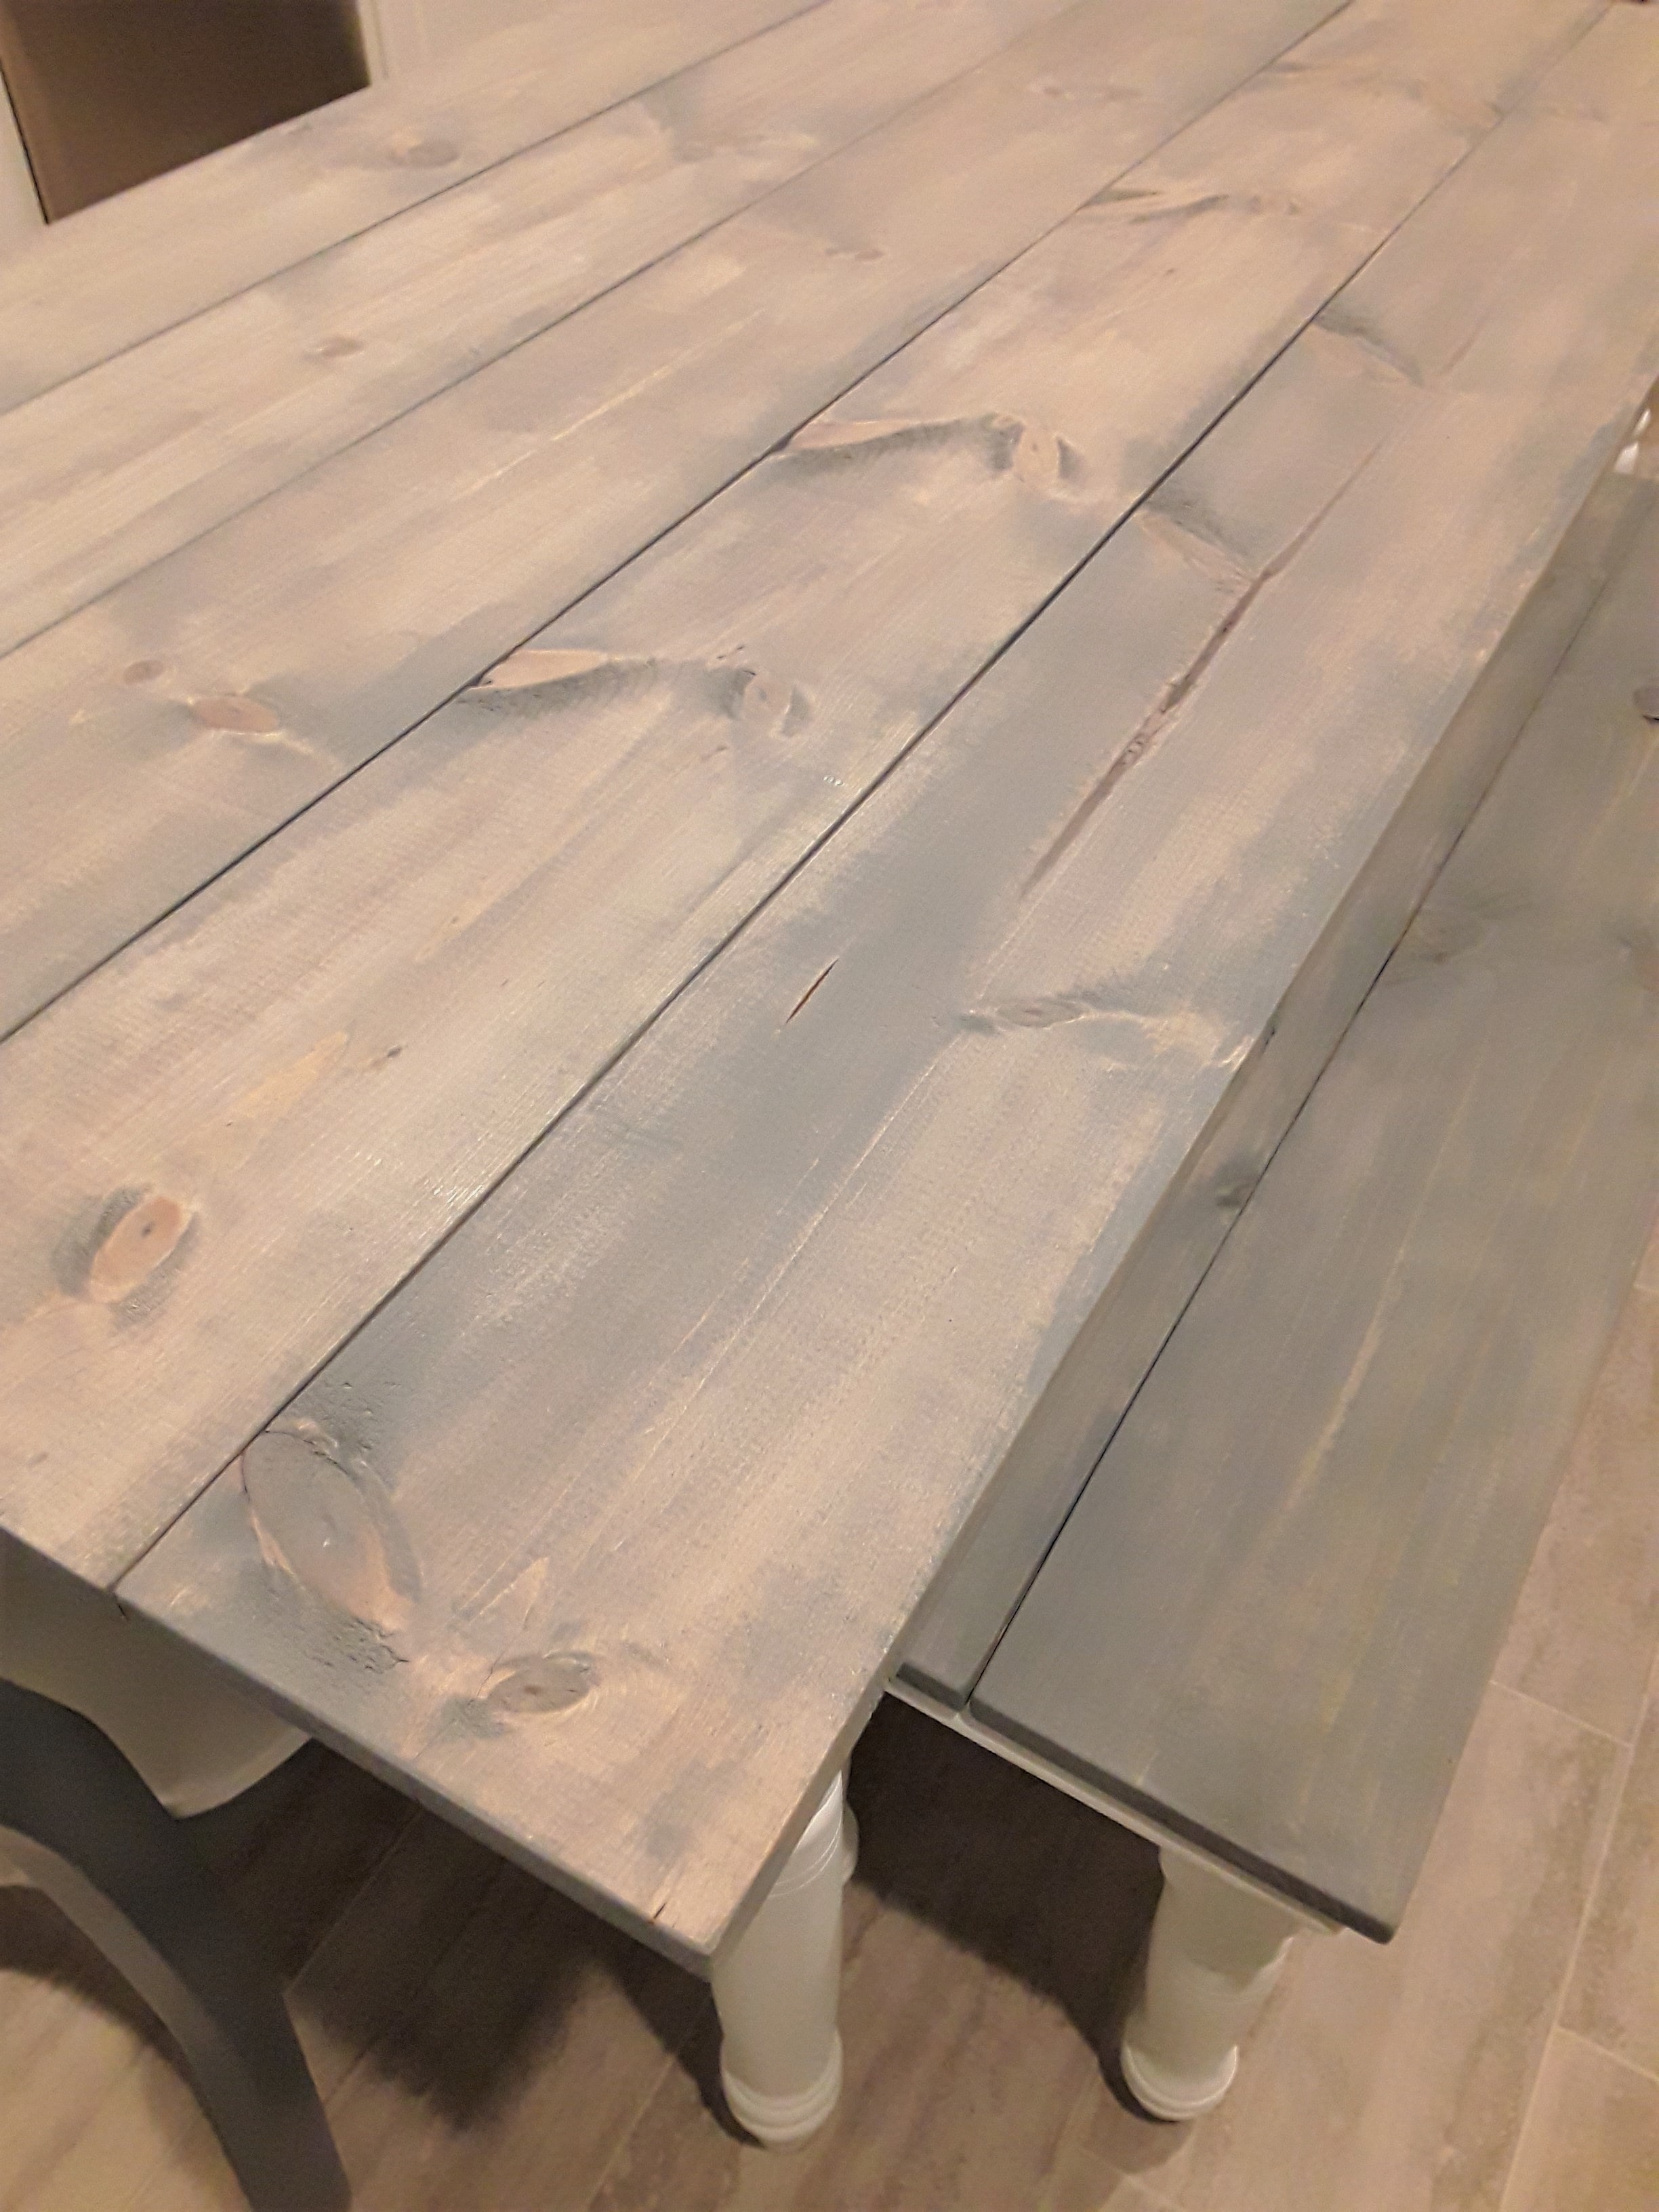
Let your sealer dry according to the manufacturers directions and then it's ready for dinner! I absolutely love it and over a year later there is nothing I would change or wish I did differently.
Want more DIY's?
CrazyDIYmom.com Contact Us Privacy Policy Disclaimer About me