
DIY home projects
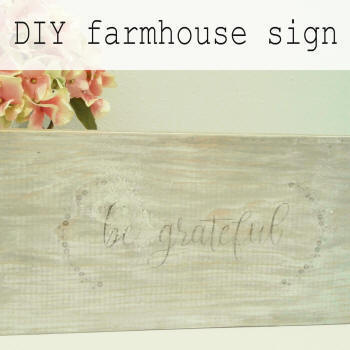
DIY rustic farmhouse style wood ink sign
* This post may contain affiliate links.
I wanted to add something to a table I had in our guest bedroom and wanted it to have a cute and simple saying. I decided on "be grateful" and I think it blends in perfectly with the clean and simple them we have in that room.
What do you need:
wood - I used a leftover piece of pine I had from a previous project
Classic Gray wood stain
white acrylic paint
sandpaper
contact paper
an ink jet printer and printer paper
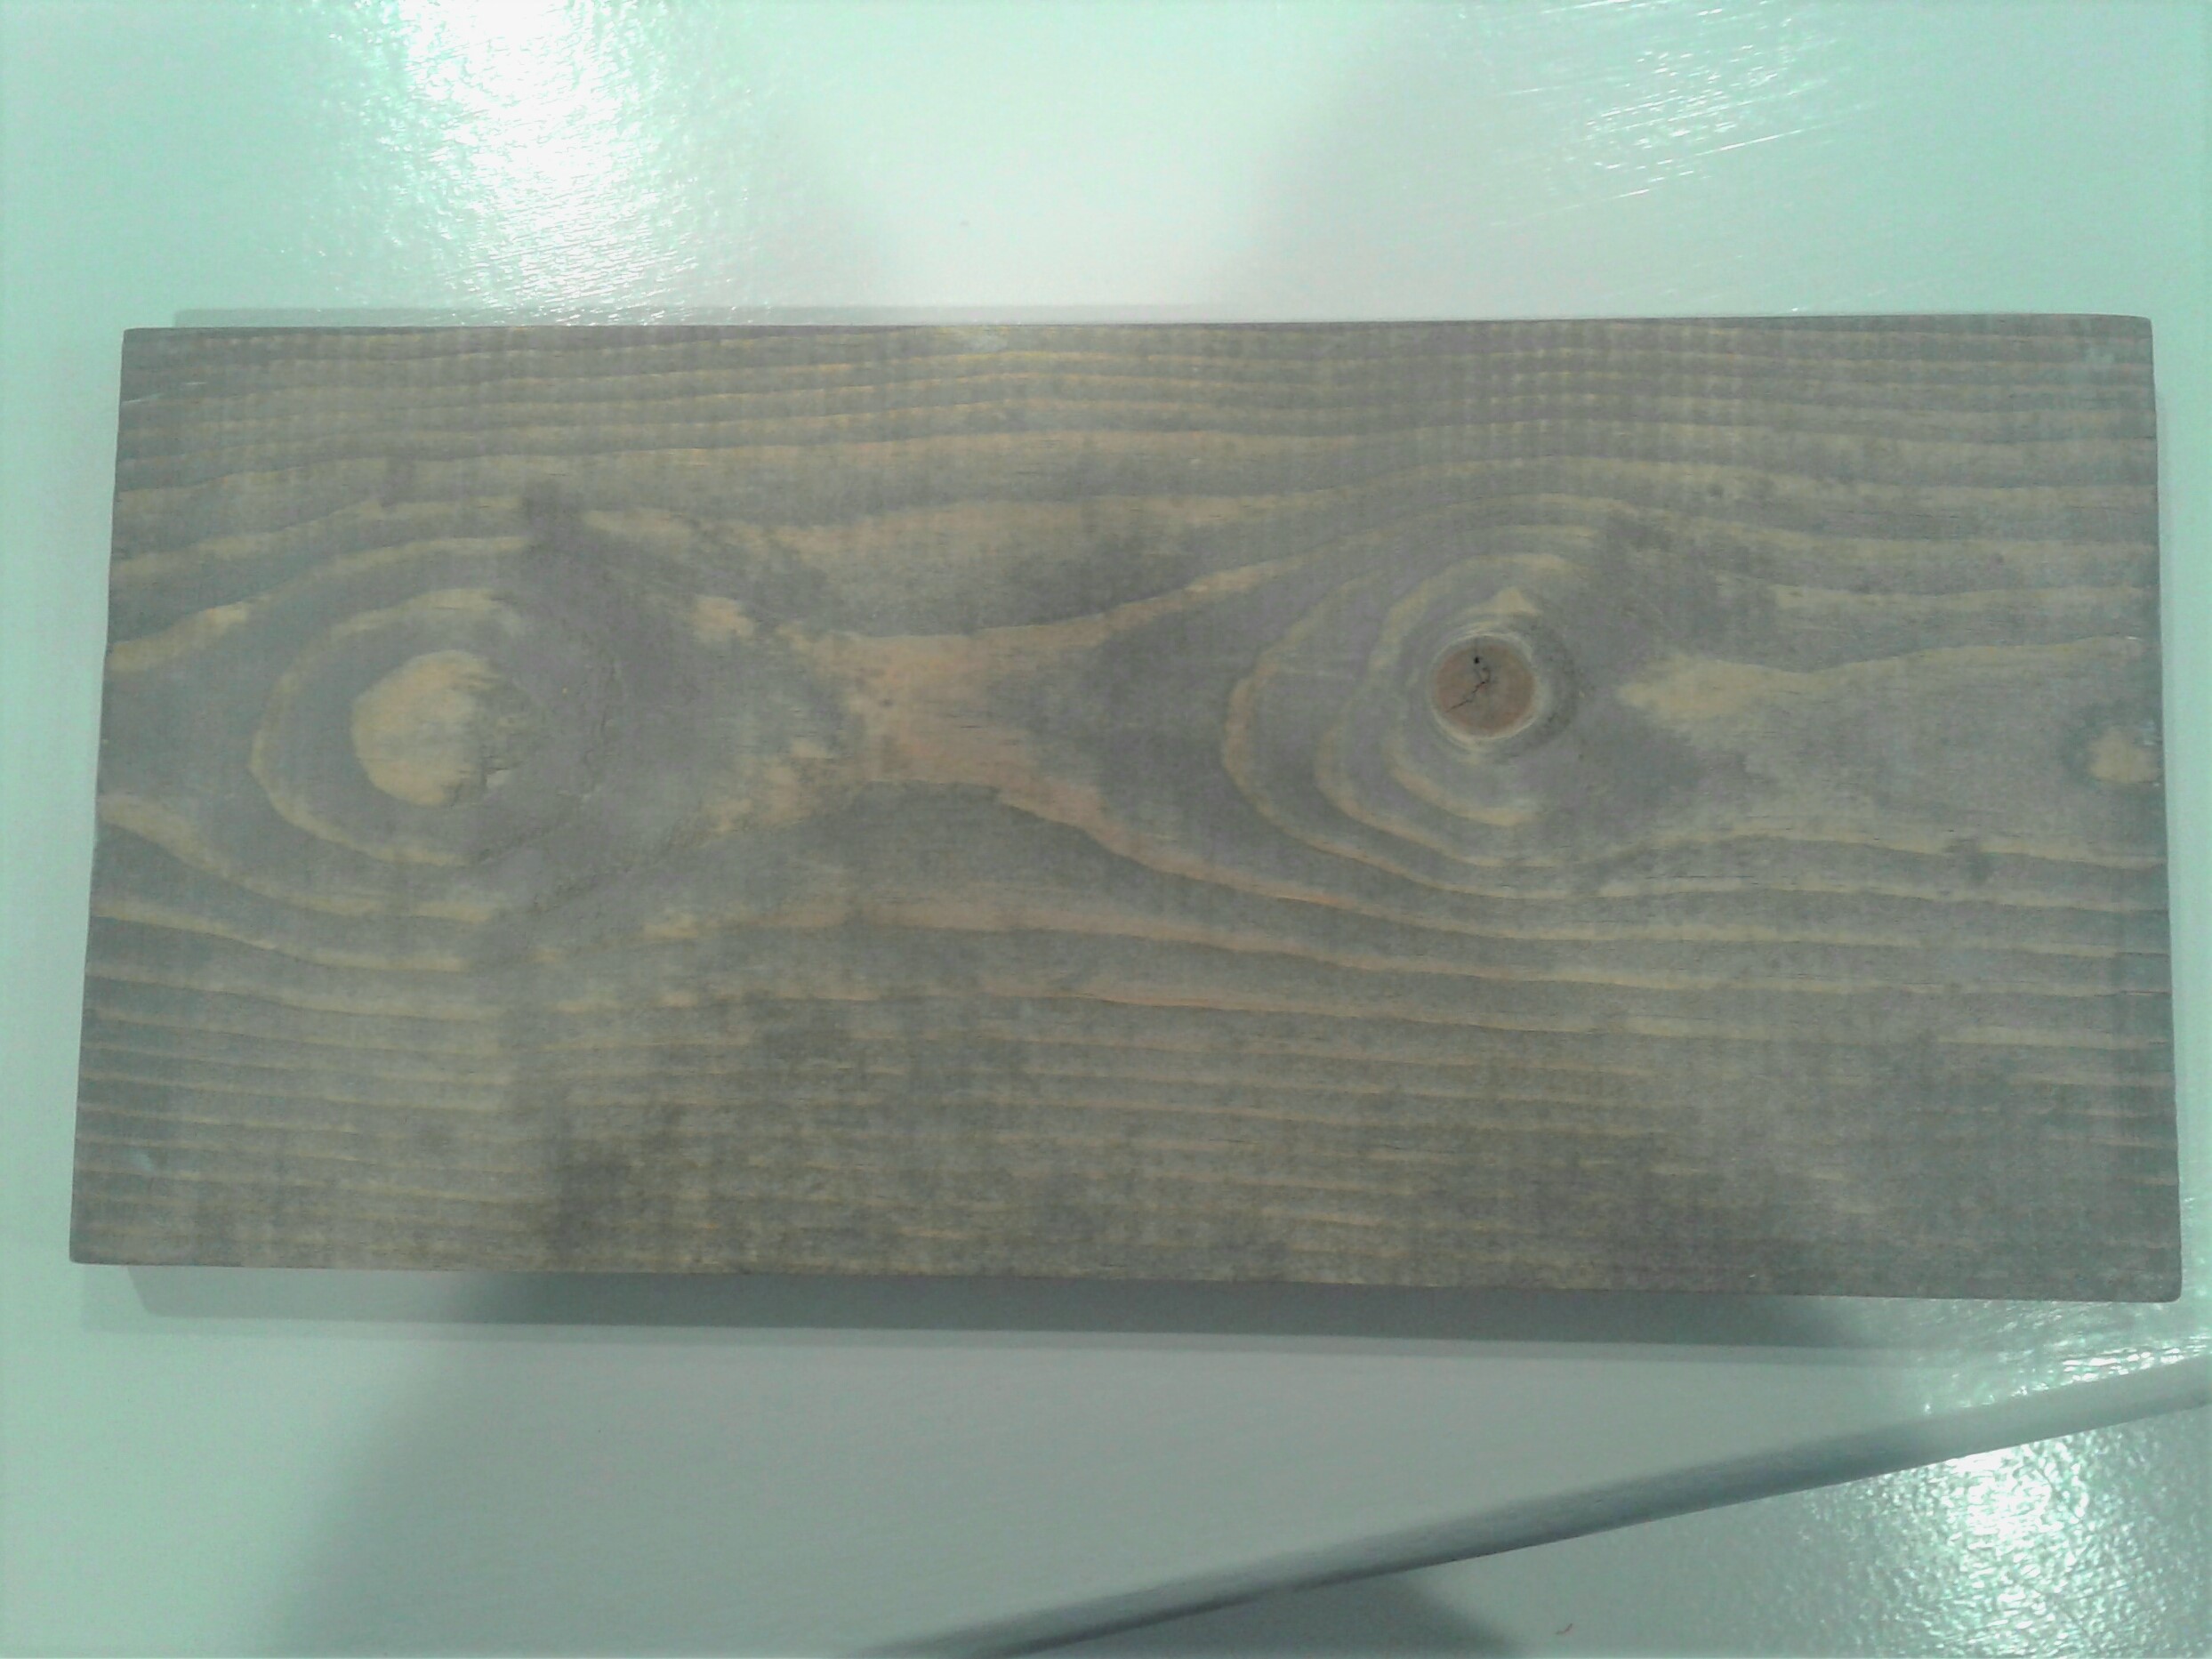
First stain your wood with the classic gray stain. Apply as many coats as you would like - I did 2 coats.
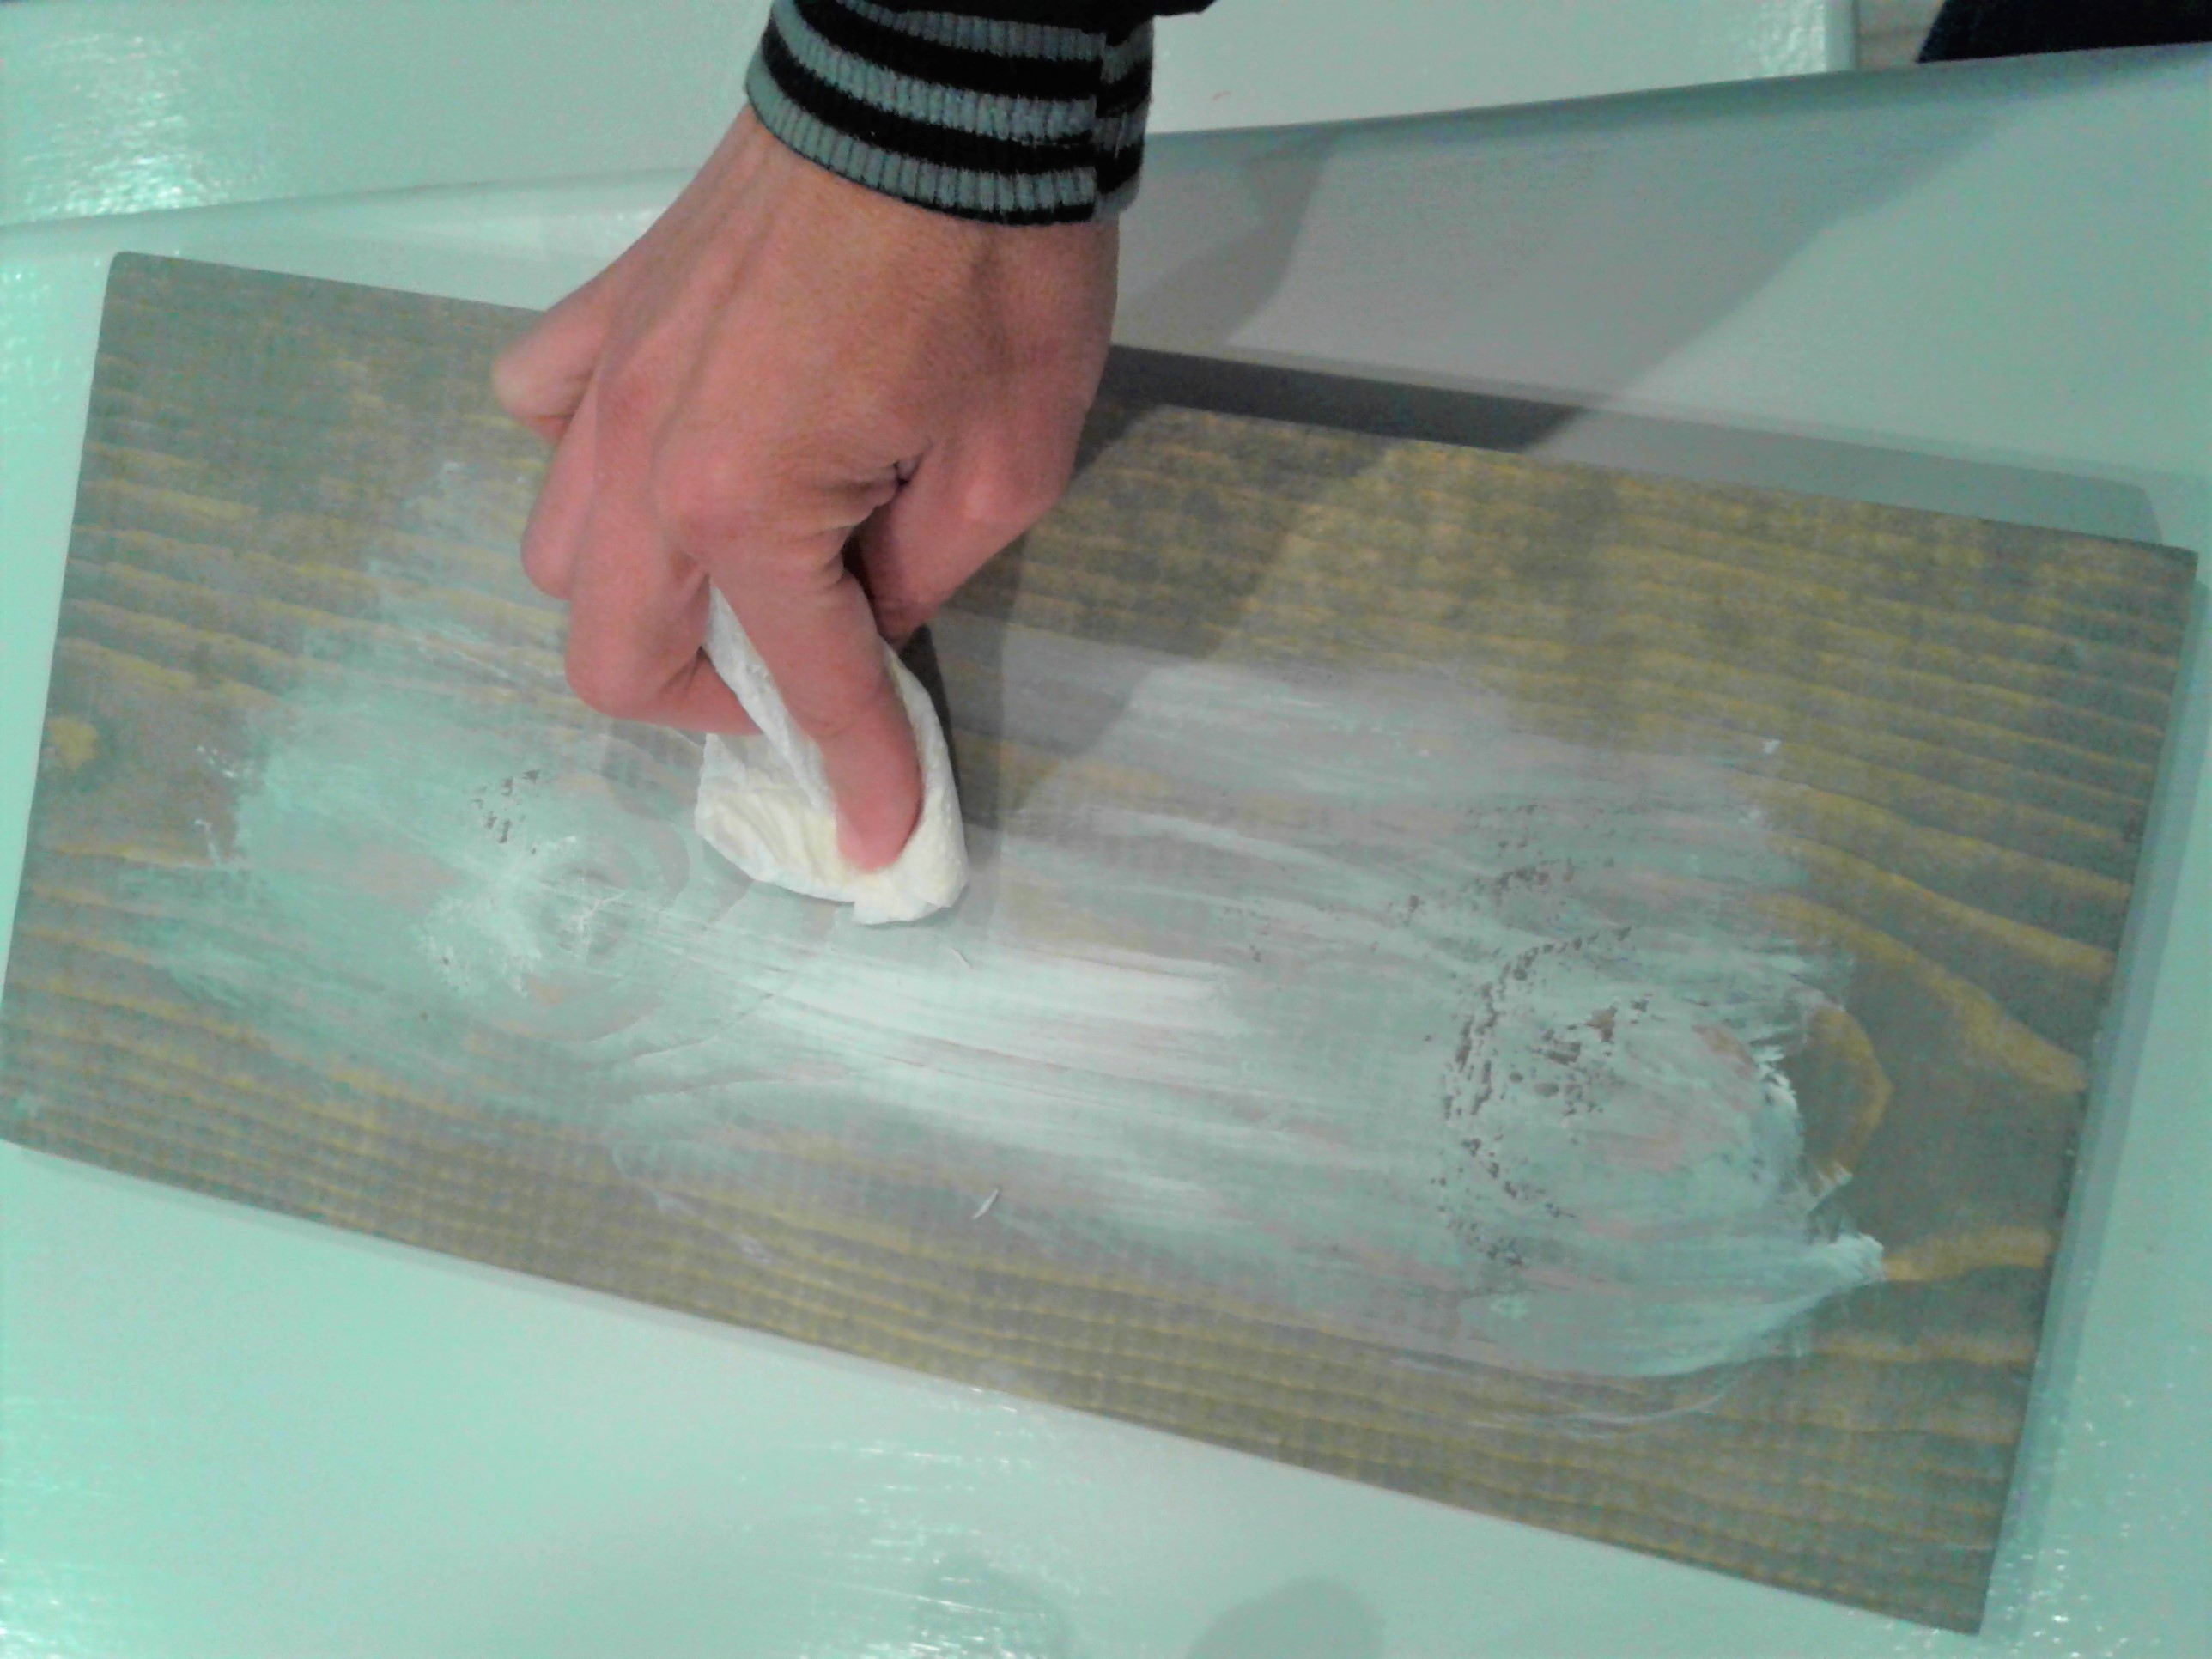
Once the stain has dried I applied a coat of acrylic white paint. I applied it with some paper towel and just sort of rubbed it on all over. Don't paint it on with a real thick coat, it's just to give the wood a little more text. As the paint is drying, get a new paper towel and rub it around as it dries and to help remove excess paint.
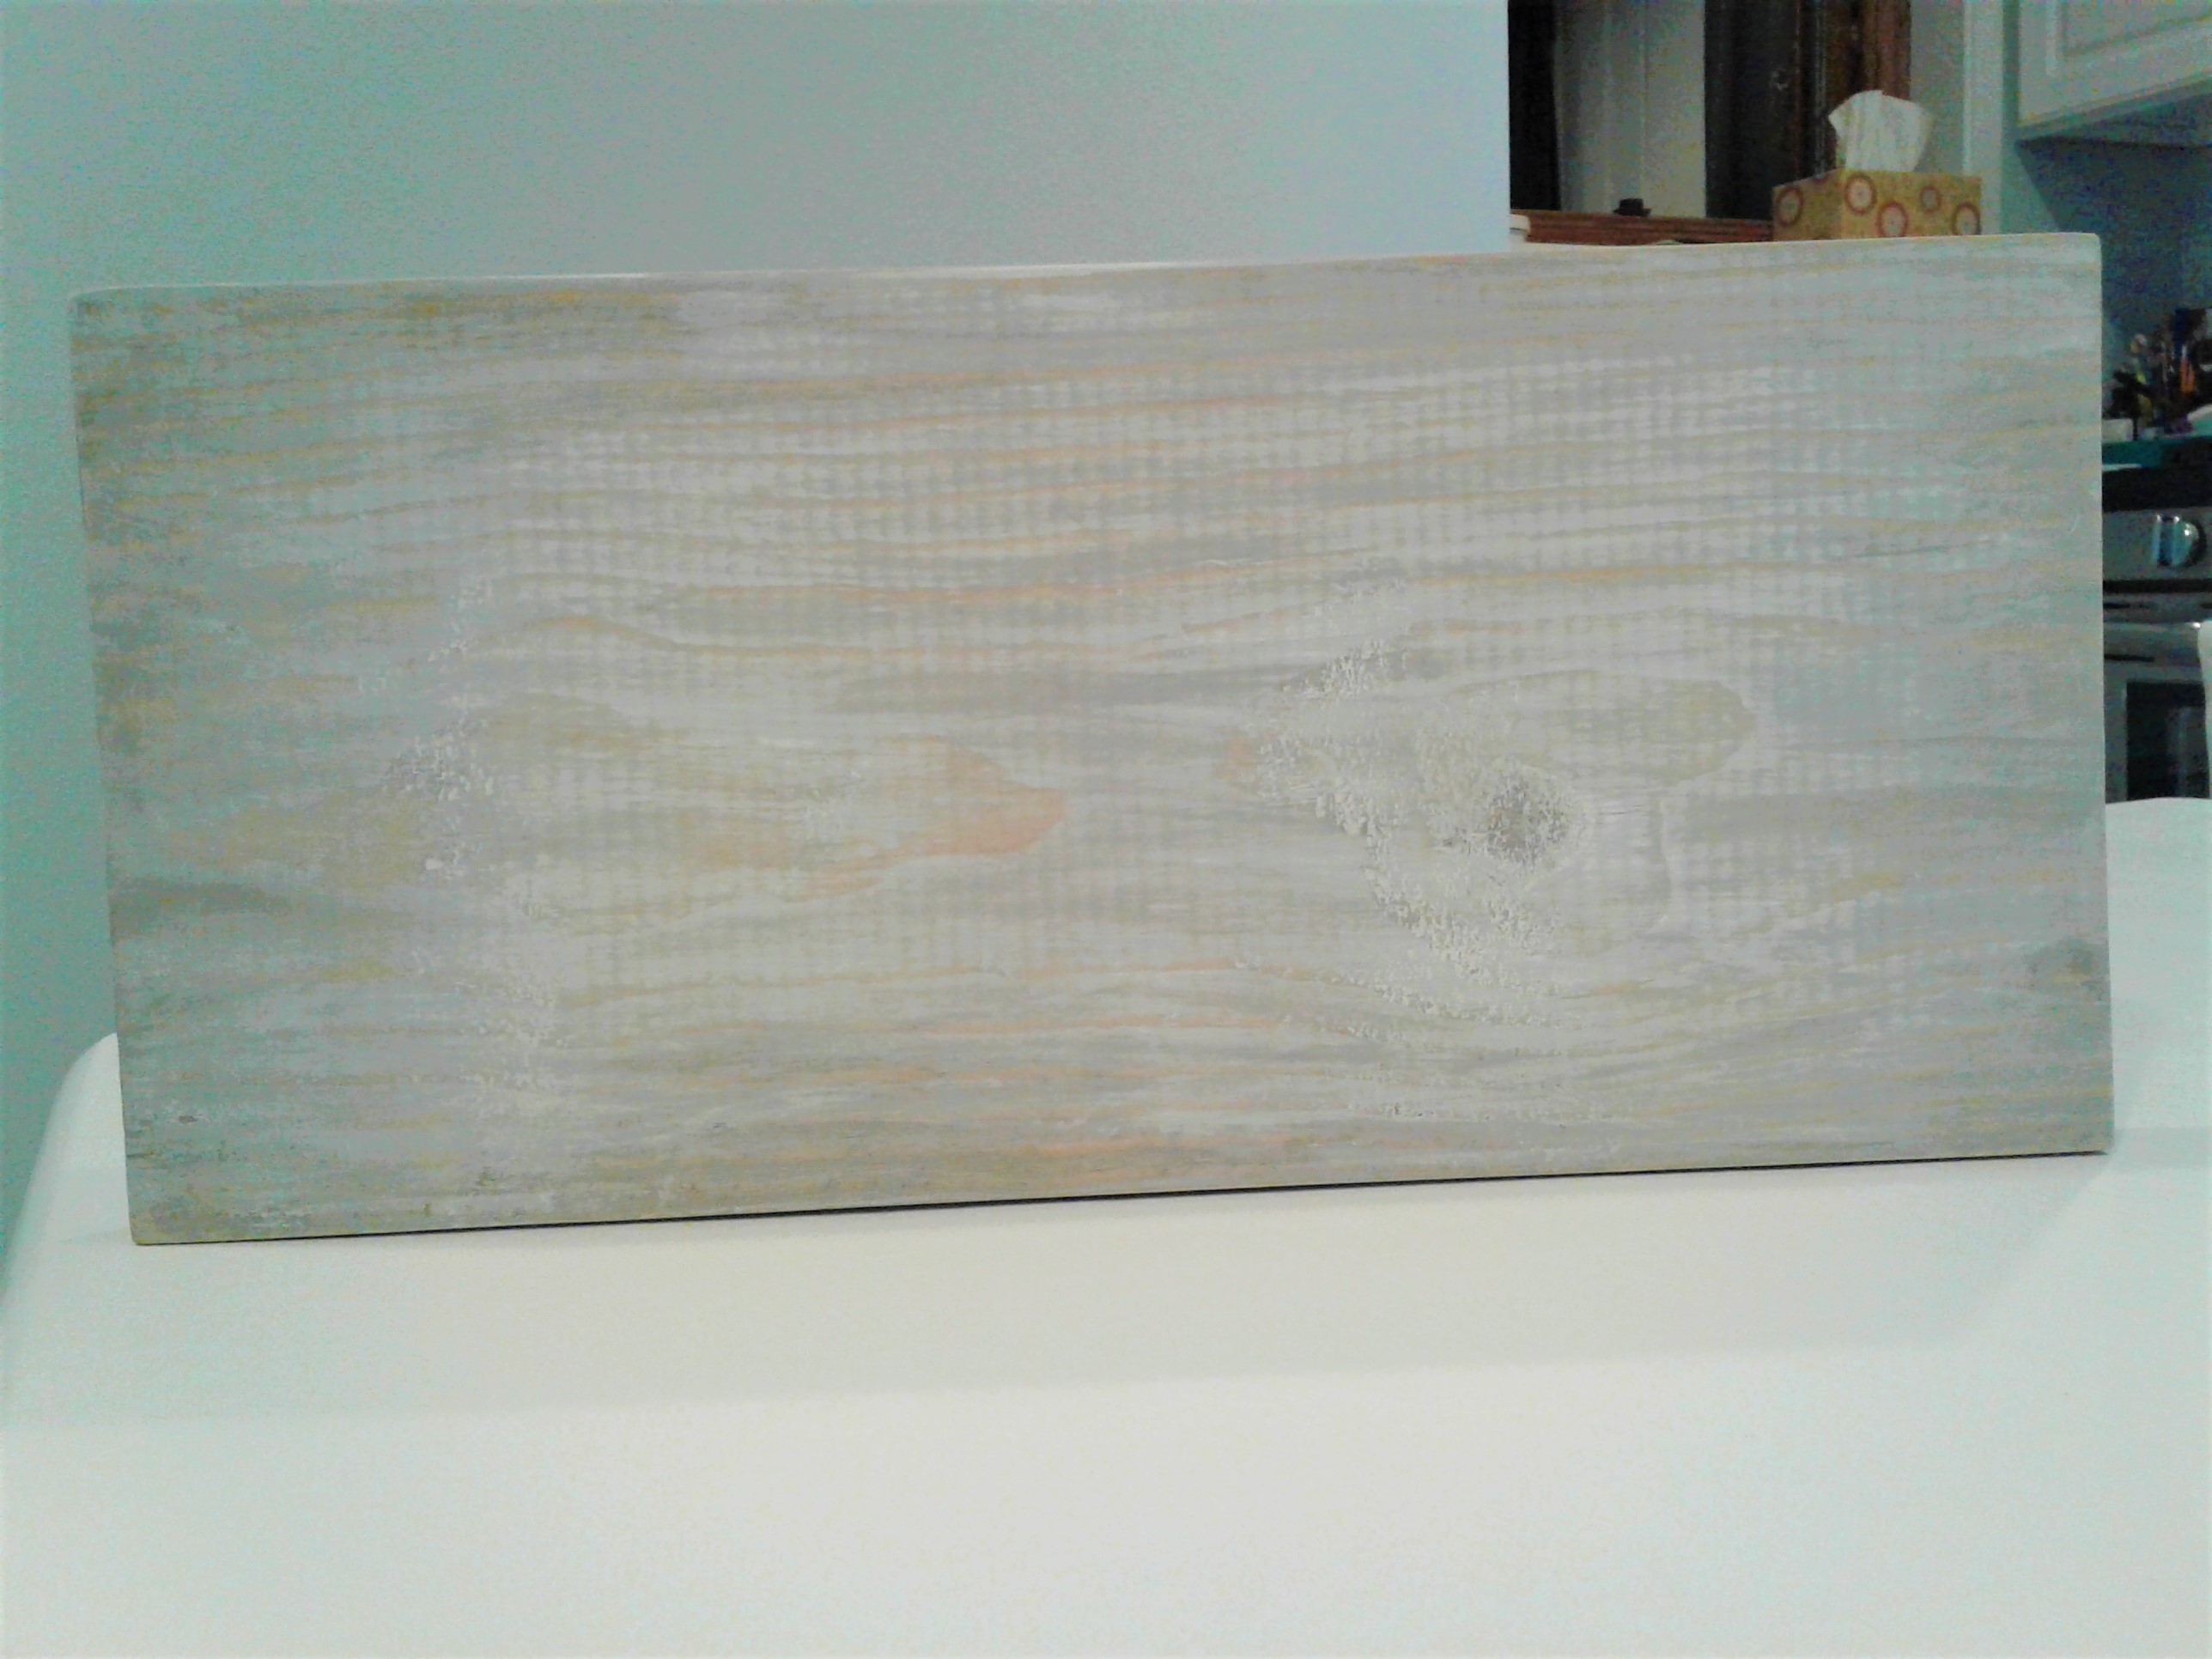
Once that paint has dried, take your sand paper and rub over the entire piece of wood. This will give it the distressed look and bring out different shades of the white, gray and the natural color of the wood.
When everything is dried you are ready to add your saying. I created my saying on Ipiccy.com, but you can use whatever program you like. Create your sign close to the same dimensions of your wood so that you know it will fit properly.
Take a piece of printer paper and then add contact paper to one side of it. So peel apart the contact paper from the backing and then stick your printer paper to the contact paper. Trim off the excess contact paper so that your printer paper will fit through your printer.
Then print your image in the mirrored version - so that it looks backwards when it comes out the printer.

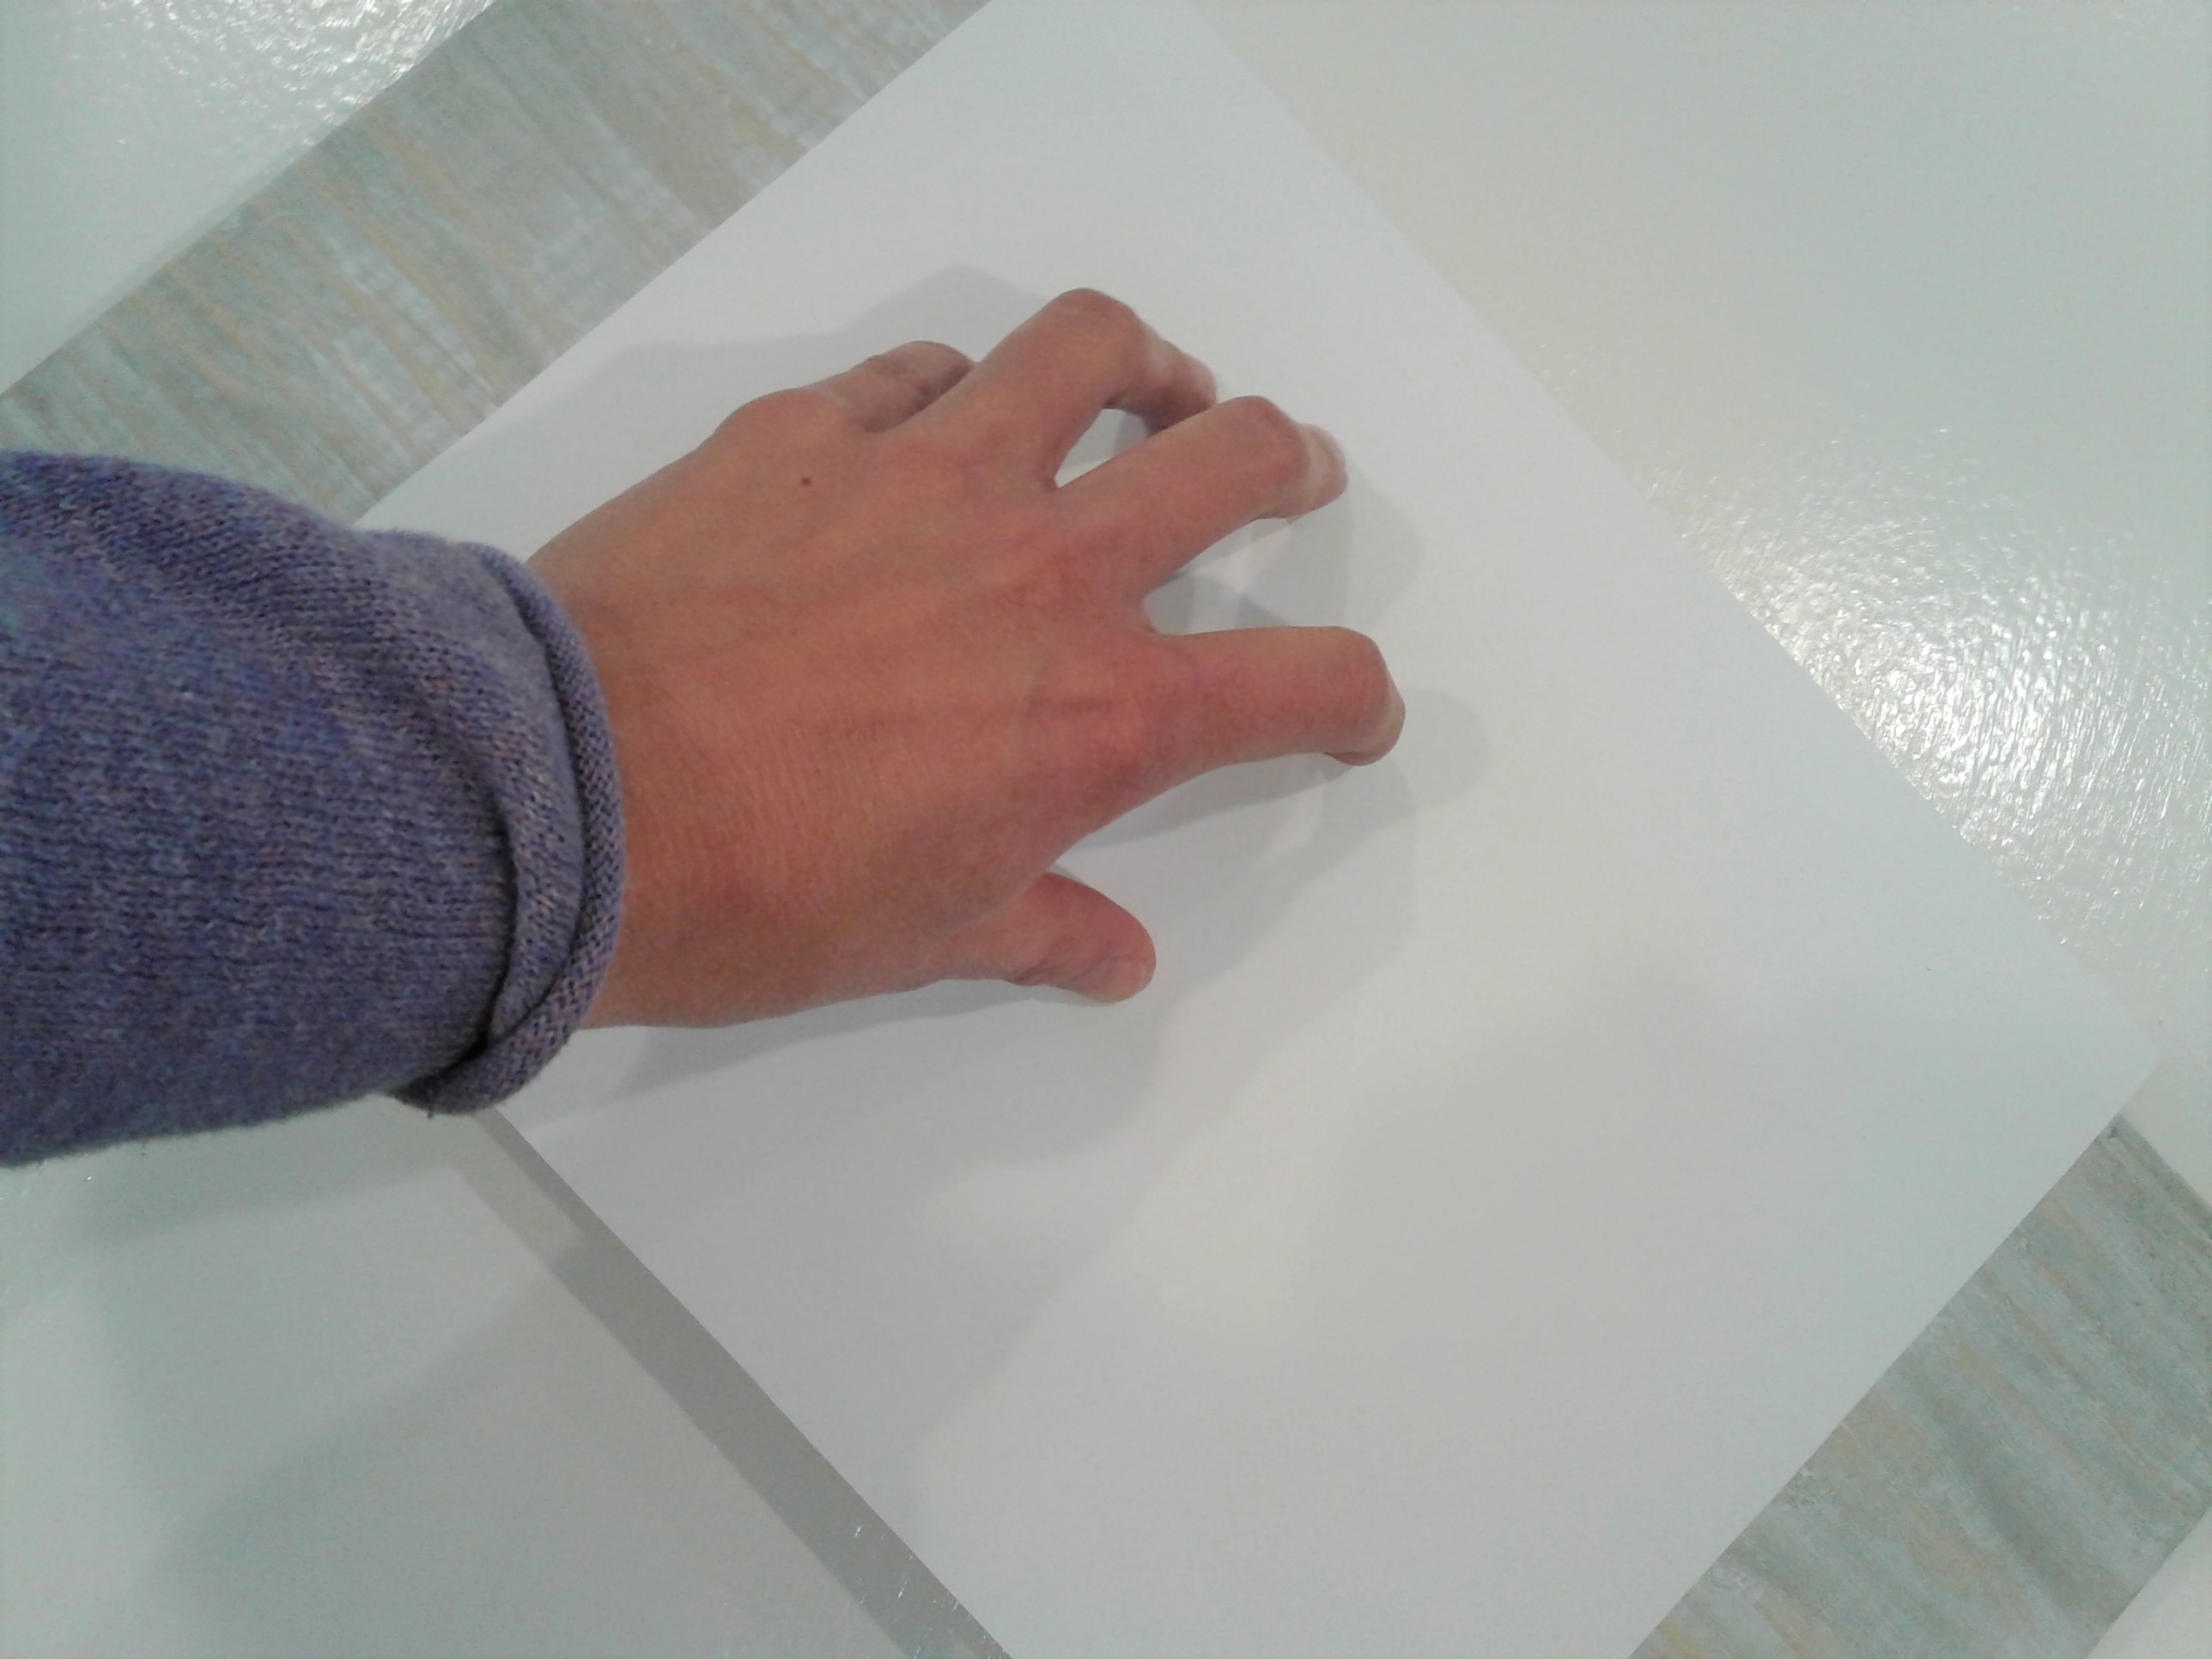
Now take your printed image and carefully place it face down on your wood. Be careful not to move it around, once it touches the wood it can not be moved. Then using the a spoon, ruler or even the heel of your palm, rub over the back of your image. This will transfer it from the paper to the wood. You can carefully lift off one edge of your paper and see how it's transfering, but again, make sure not to move the paper.
Once your image is transfered, wait for the ink to dry completely and then I like to spray mine with a bit of acrylic sealer so that the ink is protected from future cleaning.
Then display it! Isn't it adorable?! I love how the finished sign turned out - cute and simple!
do it yourself
CrazyDIYmom.com Contact Us Privacy Policy Disclaimer About me