
DIY home projects
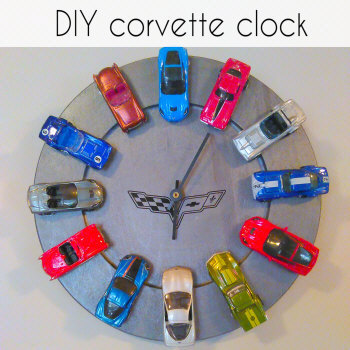
DIY Corvette clock
* This post may contain affiliate links.
My dad is a huge Corvette fan and after raising us kids and getting us out of his house it was finally time for him to buy one for himself. He took me for a ride in it and after some convincing he let me drive it. I'm hooked - now I will have a Corvette...someday....probably when my kids are grown too.
Anyways, buying a gift for dad is always hard. This last year we took a trip out to Bowling Green, KY to tour the corvette plant and see them building the corvettes. When the tour was over I spotted a corvette sign on their wall, but it looked like it was a clock. The wheels started spinning and I knew exactly what dad was going to get - a Corvette clock!
What you need:
12 corvette hot wheels
A board to attach everything to. (I used a wooden plate that I got from our craft store. Make sure it is strong enough to support your cars and can have a hole drilled in it for the clock pieces. Or you can use a face plate that is all ready for you to attach your clock to)
clock mechanism
drill for drilling your hole unless yours is already drilled
E6000 glue
acrylic paint
corvette decal (this I got on ebay for a few bucks)
First drill your hole through your board if it doesn't have one already. Make sure it's large enough to fit the clock parts, but not too large. The clock packaging should tell you what size it is.
Paint your board and wait for it to dry. Once dry you can attach your decal or you can wait until all your cars are glued on. It really depends on your decal and what's easier for you.

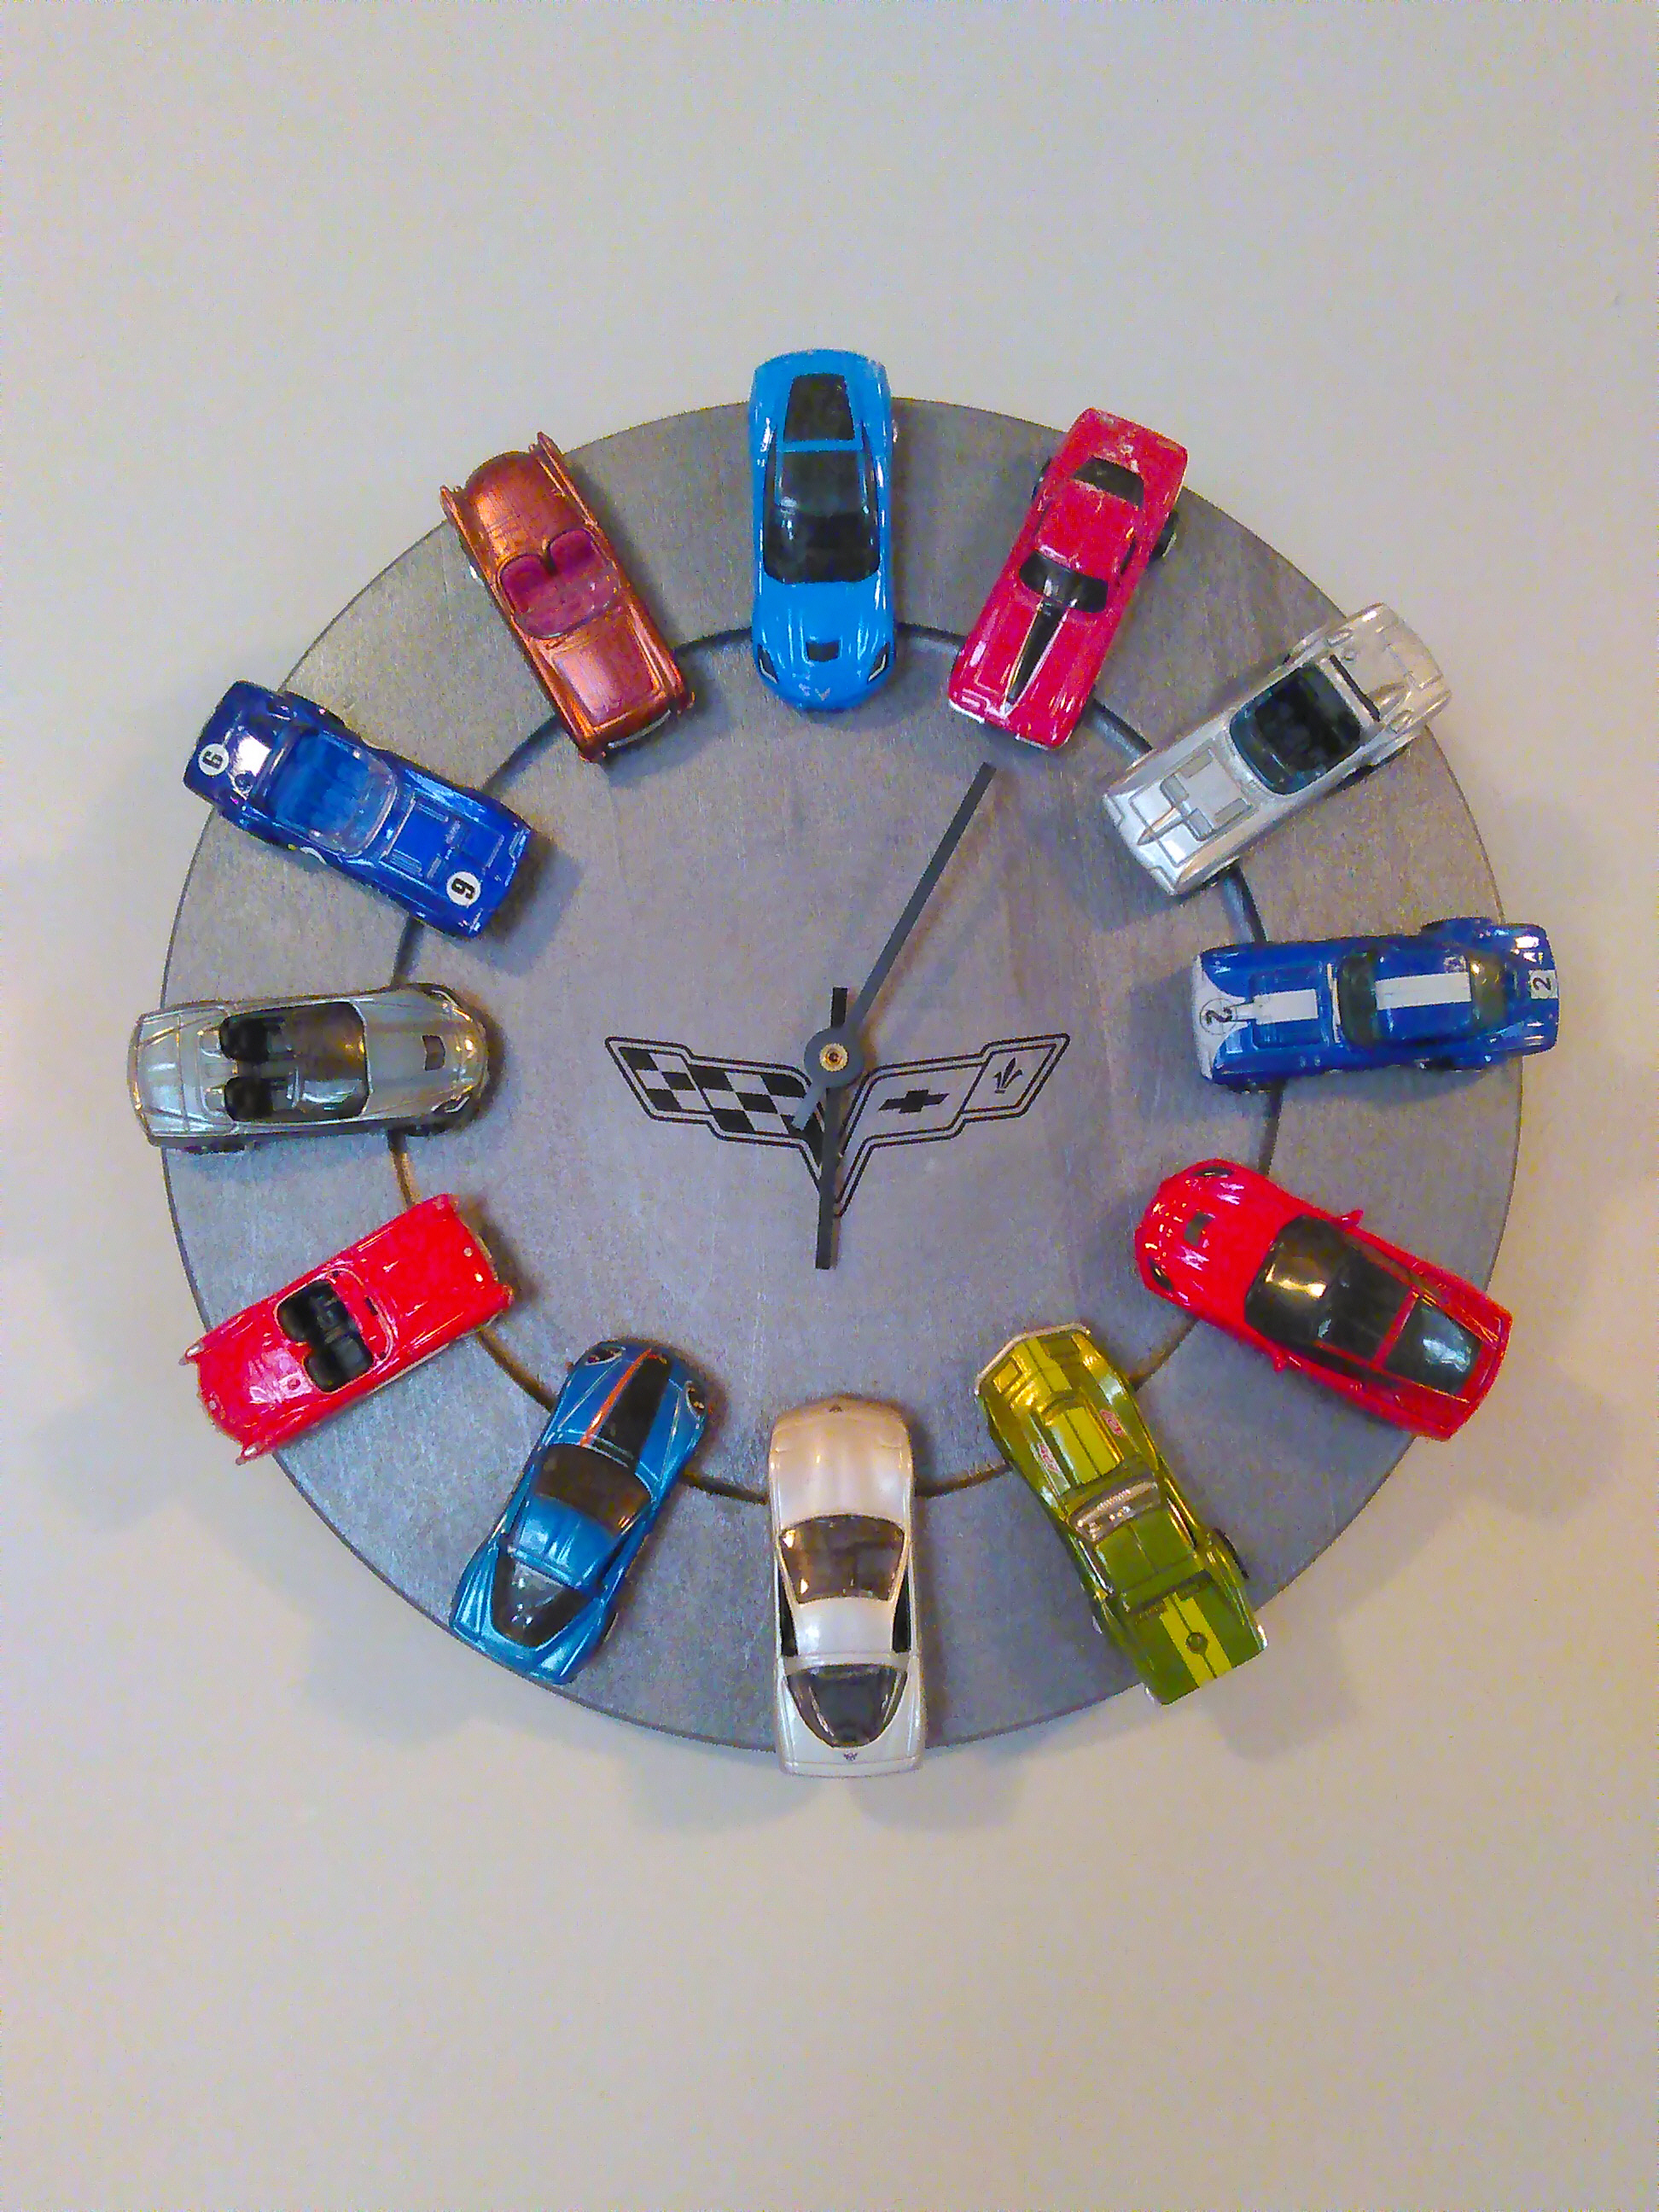
Position your cards in place on the wood, but do not glue them yet. You want to make sure you like the layout, that they all fit, won't hit the clock hands, etc. Once you are happy with your arrangement you can start gluing them on. This can be tricky. Pay attention to what parts of the car are touching the board and apply the glue there. Usually it's on the wheels, but sometimes the bottom of the car may hit. Applying glue to the wheels can be tricky since wheels roll, but it's fine. If you have the clear E6000 glue you will never notice. Just do your best and wipe up the excess with a paper towel.
Once they are all glued down, let the clock sit undisturbed for about 24 hours to dry. If you haven't yet, attach your decal.
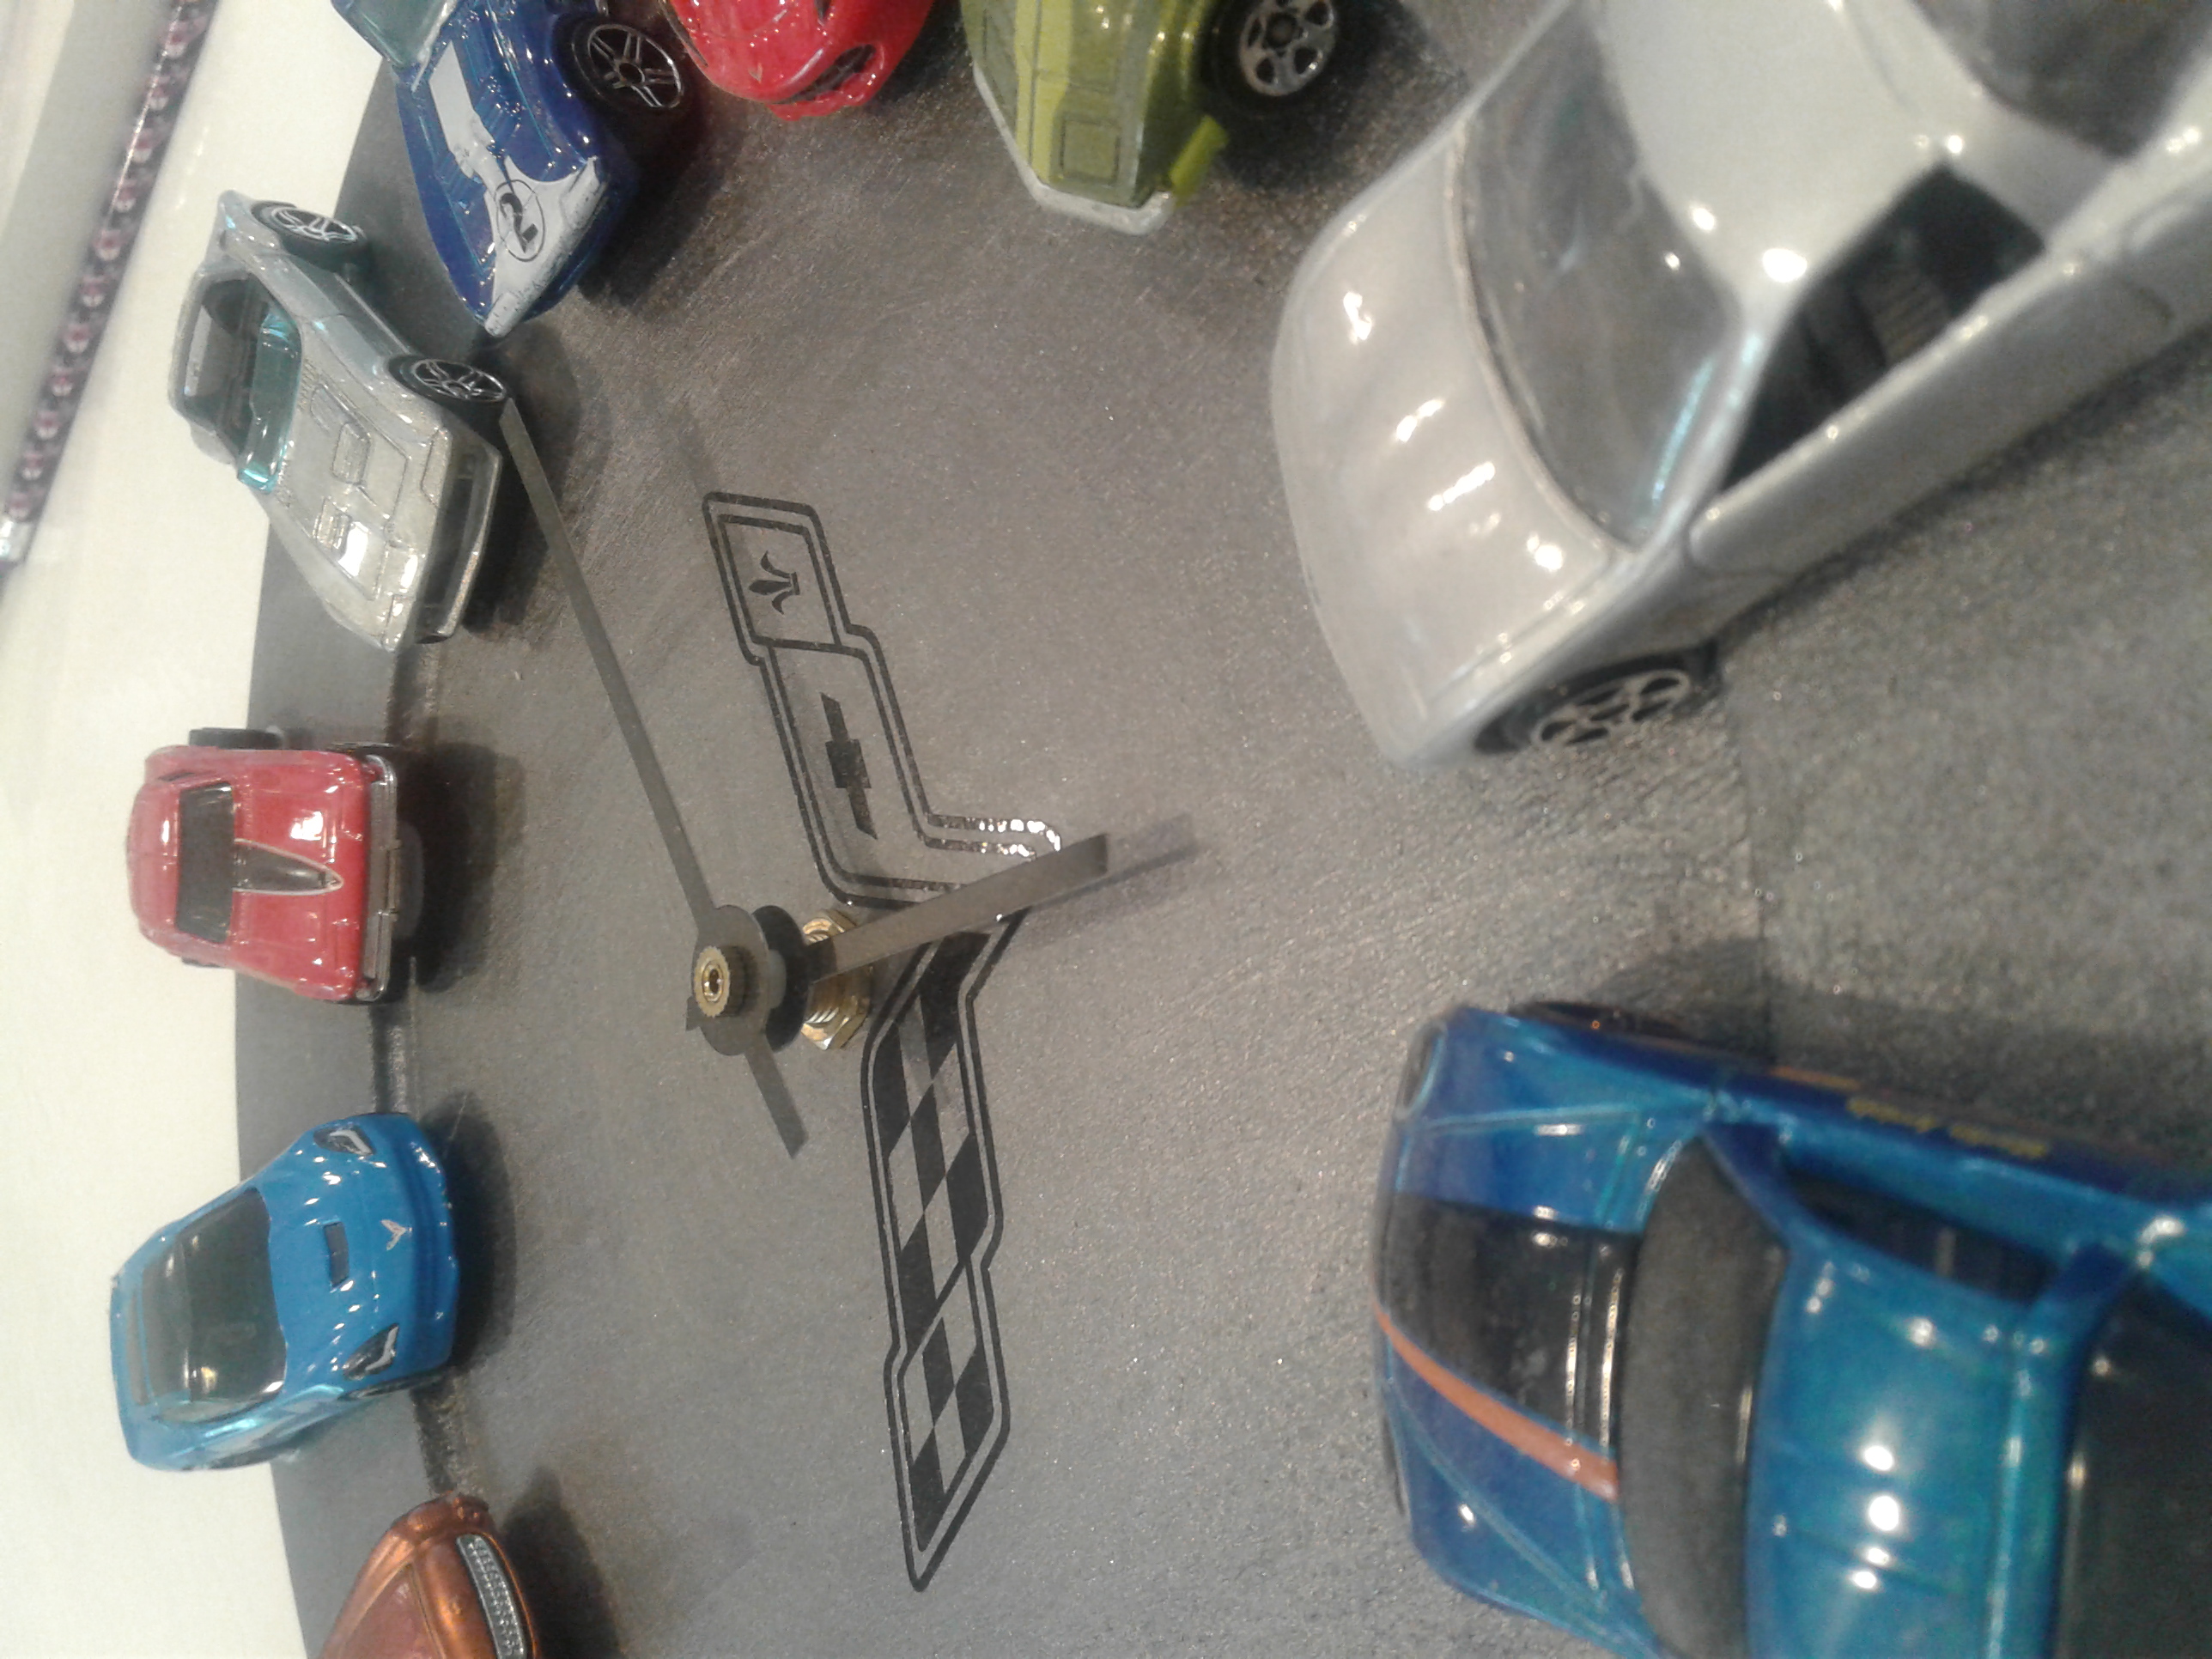
Once your cars are good and tight you can attach your clock parts. Depending on the pieces you bought, you may have to trim down the length of your clock hands. I had a few longer cars and the hands kept hitting their bumpers and I do not want any scratches on any of my vettes!
Put in the batteries and hang it up. It's corvette time!
do it yourself
Want more DIY's?CrazyDIYmom.com Contact Us Privacy Policy Disclaimer About me