DIY home projects
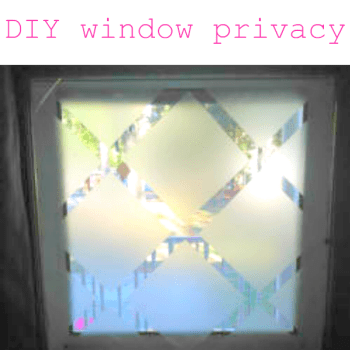
DIY window privacy etched glass look
* This post may contain affiliate links.
When I first saw how this look was done I didn't believe it. How could it be so easy?!
The way our house is layed out, we don't get much natural light in. I have 3 windows in the living room facing the road, but with a covered porch in front of them along with a lot of trees, I don't get much light shining in. But being that they are in the front of the house, I wanted the privacy. How could I get privacy, but still let the light in?
Contact paper!! Yes, just clear Con-Tact paper!
I'm serious. This is so awesom. And depending on how many windows you have, you can find this clear contact paper at the DollarTree.com.
You need:
clear Con-Tact paper (it's not technically clear, but it's sold and labeled as clear)
scissor
poster board or a thick paper for drawing out your pattern

First, decide on your "design". This can be anything from words, to images to shapes. Our windows have a leaded glass on top with a square/diamond pattern, so I wanted my bottom windows to be similar.

I measured out my squares so they were close to the same on both windows, but you can do any size you want.
Trace your pattern onto the paper side of the contact paper. Guesstimate how many "shapes" you will need and trace out that many. Then cut them out.
For placing them on the window, I started in the middle and worked my way out. Again, this will vary depending on what kind of design you are doing.
Then start sticking them on the window. See how you can see out, but not see out?

These let in all the natural light from outside, but in the places where the contact paper is it provides the privacy. I can finally keep my curtains open all day long!
do it yourself
CrazyDIYmom.com Contact Us Privacy Policy Disclaimer About me